



The difference between a competent admiral and a great one isn’t just raw firepower. It’s knowing when to hold the line, when to strike, and when to pull your ships back before they turn into expensive debris. Everything you need to go from “I get the basics” to “I know exactly why my opponent just lost” is right here. Bookmark this – I’ve pulled together the most complete breakdown of advanced mechanics, faction builds, and micro strategies so you don’t have to hunt through dead forum threads.
Core Advanced Gameplay Concepts
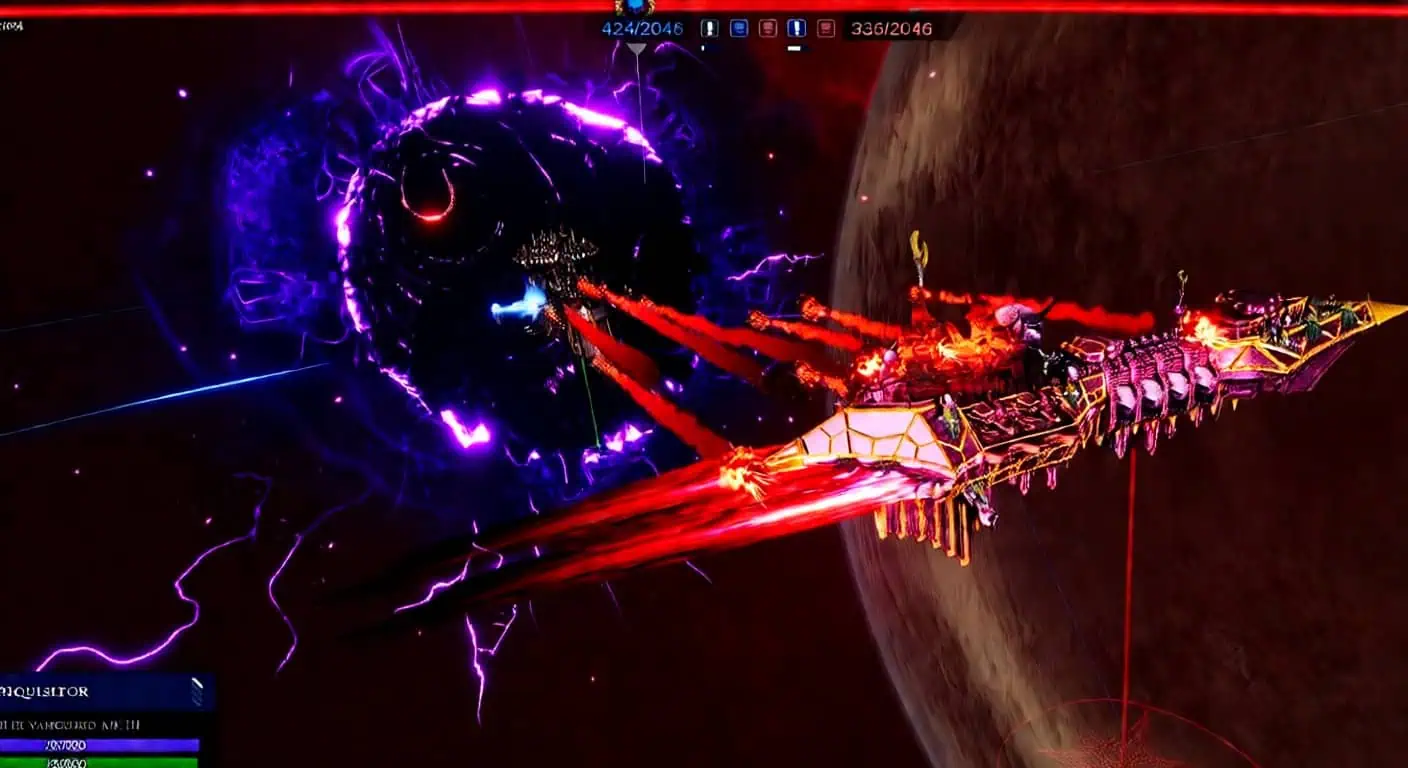
Objectives Beat Pure Destruction
The most common mistake in mid-level play? Chasing kills while your opponent quietly caps every point on the board. Blowing up ships feels great, but losing a match because you controlled zero territory feels terrible. Victory in most modes is all about point control. Your fleet exists to hold positions, not just hunt. Sometimes the right play is letting a crippled enemy limp away so you can swing three ships toward an uncontested objective. Don’t commit everything to a kill you might not even finish. Before you dive into a fight, ask yourself: what does winning this exchange actually get me?
Combustion Gauge Management
Every special move – All Ahead Full, hard burns, emergency turns – eats your combustion gauge. If you run it dry at the wrong time, your ship is a sitting duck. The rule of thumb: don’t bottom out the gauge unless it’s a game-changer. Using a bit for repositioning is fine, but burning everything just to close a few hundred units of distance is a trap. You’ll regret it when a Nova Cannon shell is heading your way and you can’t dodge.
Subsystem Targeting and Priority Management
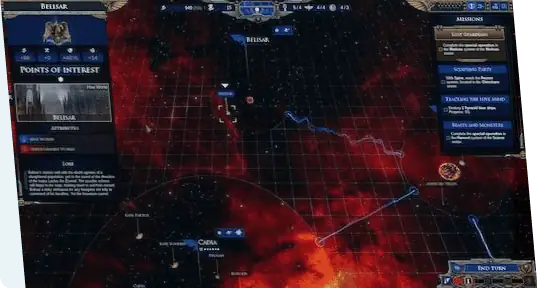
This is where the pros separate themselves from the casuals. Most of the time, just shooting at the hull is the least efficient way to play. The priority logic:
| Target | When to Prioritize |
|---|---|
| Engines | Almost always first – dead engines mean they can’t escape, turn, or teleport. |
| Generators | Against shielded factions – drop the shields, then melt the hull. |
| Weapon Decks | Against carrier-heavy fleets to shut down their squadron spam. |
| Weapons | When one specific gun is ruining your day. |
A ship without engines is basically dead; it’s just a target that hasn’t realized it yet. Against Necrons, killing the engines shuts down their teleport, which is their only real way to survive. Against the Imperial Navy, a stranded ship can still shoot, but it’s easy to flank and destroy. Try this: cripple the engines first, then send in boarding parties. Boarding actually cancels warp jumps, so if you time it right, they’re stuck in the meat grinder with you.
Pro tip: Set your target priorities during deployment. Don’t scramble mid-fight. Tell your ships what to aim for before the first shot is fired, then tweak as things get messy. Focus fire on one subsystem to stack those crit chances – spreading damage across five different systems does nothing.
Fleet Building and Deployment Strategies
The Core Numbers
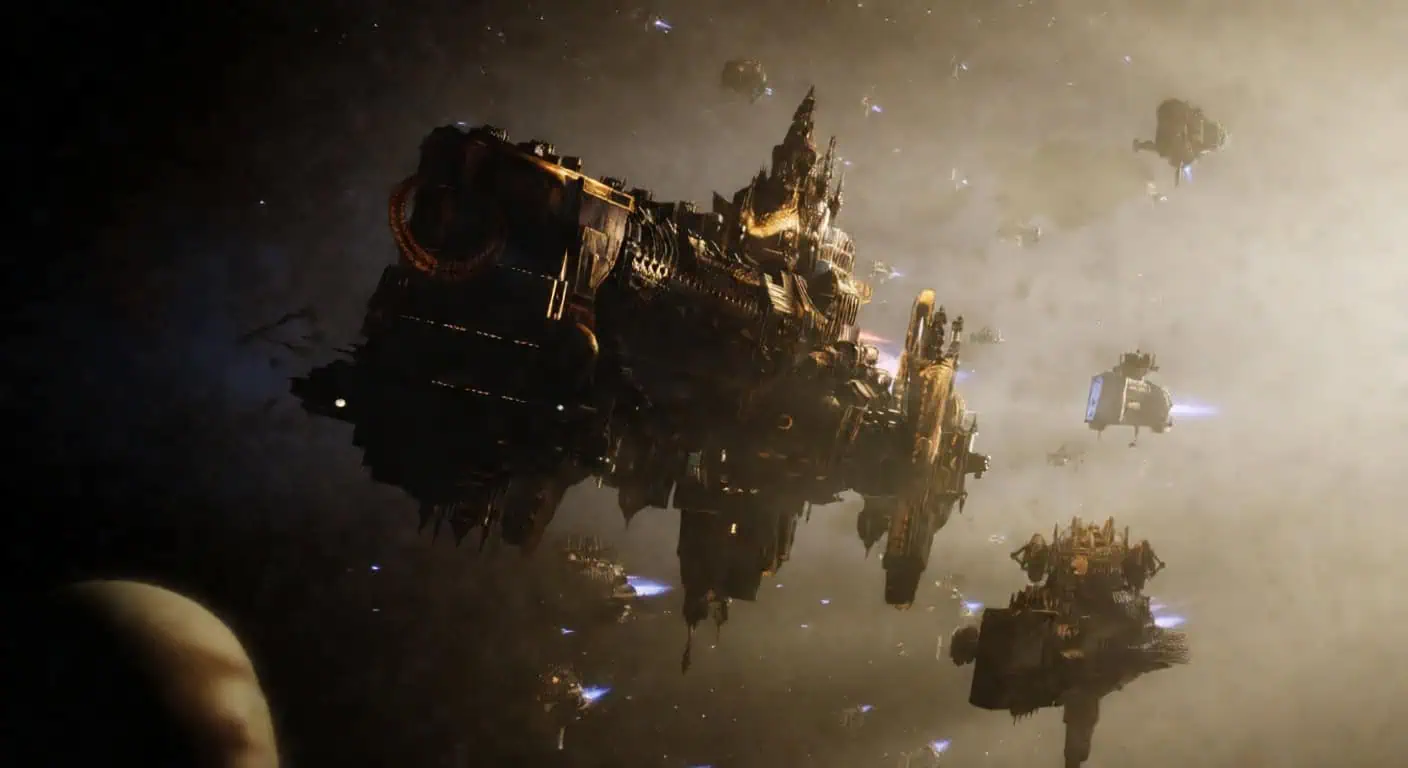
A solid fleet with real staying power usually runs 4 to 6 line ships. Any fewer and a bit of focused fire will delete your fleet before you can react. Any more and you’re probably cutting too many corners on quality. Escorts aren’t optional. A couple of cheap scout destroyers give you eyes on the enemy before the shooting starts – that info is worth its weight in gold. They also cap points while your big hitters do the heavy lifting. Yes, they’ll probably die. That’s what they’re there for. Even if you aren’t playing a “carrier build,” launch bays matter. Fighters intercept incoming torpedoes and bombers. If you have zero bays, a torpedo-heavy player will strip your hull before you even get in range.
Deployment Phase Optimization
Don’t just click through deployment. It’s your best chance to set the pace.
- Set engagement range and facing before the clock starts. Make sure your primary guns are already pointed where the enemy is likely to show up.
- Configure auto-engage for the ships you won’t be micro-managing. It keeps them useful instead of just drifting.
- Assign target priorities early so your fleet knows exactly what to shoot the second they have a lock.
Formation Discipline and Grouping
Keep your ships together. It concentrates your fire on one target instead of tickling the whole enemy fleet. An isolated ship is just a snack for the opponent.
The shortcuts you actually need:
- Ctrl+A: Select the whole fleet.
- Ctrl+Click: Toggle specific ships in/out of your selection.
- Ctrl + [Number]: Create a control group.
- Shift + 1-4: Toggle ship behavior modes.
Small “follow chains” of 3 or 4 ships usually move better than trying to herd the entire fleet at once. When building these groups, pick ships with guns that fire in the same direction. Mixing port-heavy and starboard-heavy ships in one line means half your fleet is always looking the wrong way.
Never get surrounded. Ships have zero rear-arc weapons. If you’re flanked, you’re taking free damage. If you see a pincer move coming, either pull back or burn hard to regroup.
Advanced Combat Tactics and Micro
Fire Concentration
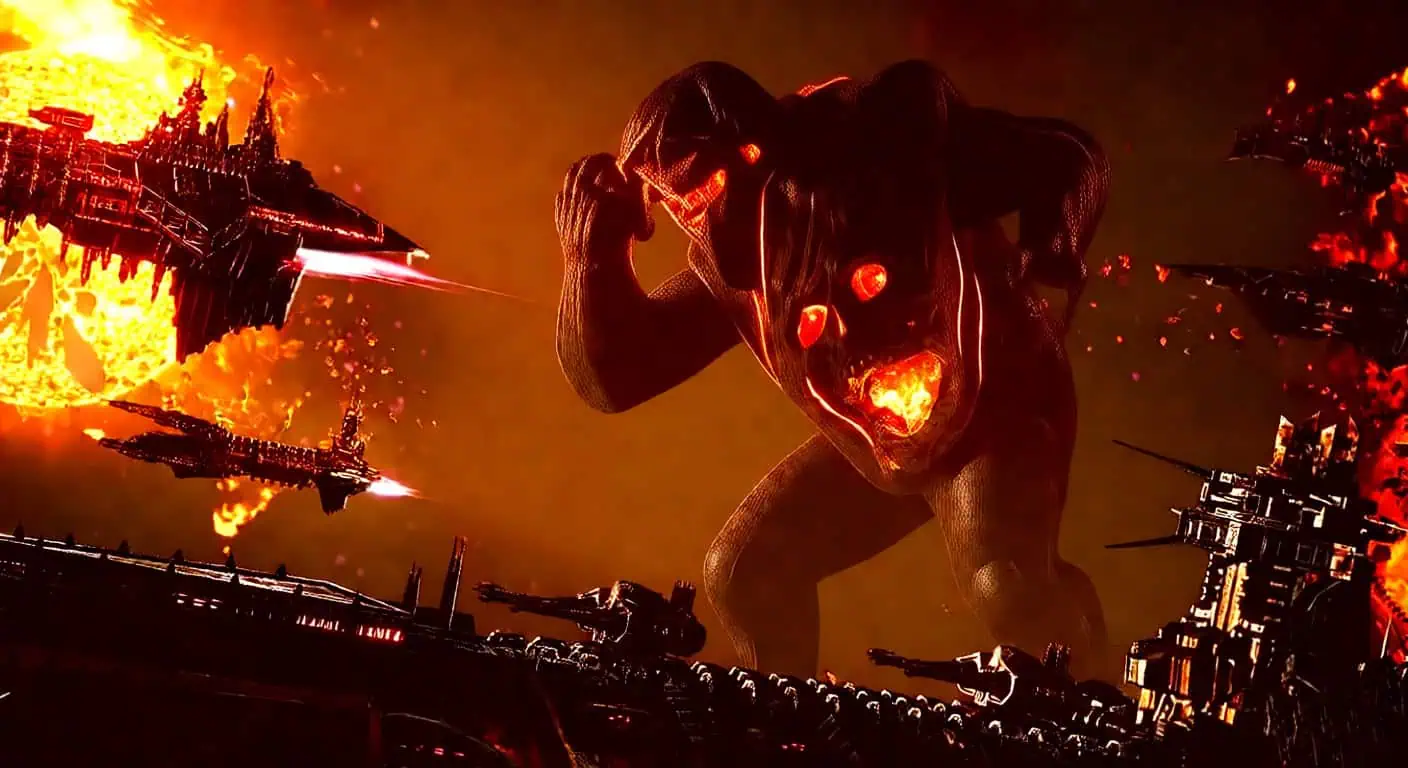
One dead enemy is always better than three enemies at 30% health. Focus every gun on one target, delete it, and move on. Splitting fire just lets the enemy stay in the fight longer.
Movement and Positioning
Stop spinning your ships in circles. It wastes combustion, shows your weak spots, and looks amateur.
Instead, use engine burns to actually flank. Getting behind an enemy is the dream – their rear armor is trash and they can’t shoot back. The goal is a controlled chase where you’re hitting their engines while keeping your broadsides lined up.
Torpedo Techniques
Stop firing torpedoes from across the map. They’re secondary weapons meant for close-range hits. The sweet spot is around 4,500 units.
The move: Get close, spin 180 degrees, lead the target slightly, and let ’em rip. Use the firing lines to see the spread. At point-blank, they have zero time to react. At long range, they’ll just sidestep.
Ramming
If you’re playing Imperial Navy with those big forward spurs, you’re born to ram.
- Close the gap.
- Turn perpendicular (not head-on).
- Hit All Ahead Full.
- Smash them.
- Pull away after a few seconds – don’t stay tangled.
Try the “one-two punch”: fire torpedoes to force them to turn or drop shields, then follow up with the ram. It’s brutal against Chaos players who love to sit broadside-on. The Power Ram upgrade is a must here – it stacks with your ship’s built-in bonuses for massive damage.
Boarding Mechanics
- Proximity Boarding: Hits harder but you have to be close, which is risky. Use this on ships that are already crippled.
- Lightning Strikes: Safer and works at range, but does less damage.
Both cancel warp jumps. If a ship is trying to run, hit it with a lightning strike to keep it in the fight. Always aim for the engines first so they can’t just fly away while your boarding parties are working.
Dynamic Stance Usage
Don’t just pick a stance and forget it. Swap them based on the heat of the moment:
- Reload: The default. Keep the lead flying.
- Lock On!: Use this for sniping or when you need your lances to hit from downtown.
- Brace for Impact: Pop this when you see a wall of torpedoes or heavy fire coming.
- Running Silent: Keep this on your escorts. They should be seen and not heard.
Use the Recharge! order after a big maneuver to get your combustion gauge back in the green.
Insubordination
When things go south, your captains might lose their nerve and try to warp out. Execute them. It sounds harsh, but it keeps the ship in the fight when every gun counts. Use the Rally command early to keep morale from hitting rock bottom in the first place.
Special Orders and Bomb Synergies
| Bomb | Radius | Duration | Best Use |
|---|---|---|---|
| Plasma | 1,500 | Instant | Hit immobile ships; ignores armor. |
| Disruption | 4,500 | 20s | Kill shields/holofields before the real fight starts. |
| Stasis | 2,500 | 20s | The “Nope” bubble. Slows them by 90%. |
The Combos:
- Stasis → Plasma: Trap them in the bubble, then drop the hammer.
- Disruption → Focus Fire: Strip the shields, then spend 20 seconds melting their hull.
- Stasis → Nova Cannon: A slowed ship is a dead ship when Nova Cannons are involved.
Warning: Disruption Bombs kill your shields too. Don’t drop one in the middle of a dogfight unless you’re ready to go naked.
Faction-Specific Advanced Tips
Imperial Navy
The “balanced” choice. They aren’t the best at any one thing, but they have no real weaknesses.
- Skills: Supercharged Void Shield is a lifesaver for your flagship. Micro Warp Jump is mandatory for slow battleships.
- Upgrades: Auxiliary Shield Capacitors is a top-tier pick for the regen. Short-Burn Torpedoes makes your salvos much harder to dodge.
- The Strategy: Use Stasis bombs to set up Nova Cannon shots. If they get close, ram them.
Asuryani (Craftworld Aeldari)
High skill floor, high ceiling. They’re glass cannons – fast, hard-hitting, and very fragile.
- The Stance: Runic Targeting Node is your bread and butter. It doubles crit chances and lets you shoot in a 270-degree arc.
- Torpedoes: Yours ignore armor completely. A point-blank salvo can delete a light cruiser instantly.
- Don’t Brawl: If you stop moving, you die. Hit, run, and reset.
Necrons
Technologically superior but outnumbered. Every ship is a fortress, but losing one hurts.
- The Must-Have: Pyramidal Reconstruction. It clears critical hits. If your engines get crit, you can’t teleport, and a Necron ship that can’t teleport is just a very expensive paperweight.
- Star Pulse Wave: Use this to delete incoming torpedoes and fighters. It’s one of the best defensive tools in the game.
- Teleporting: The difference between a good and bad Necron player is how they use the Inertialess Drive. Use it to flank, escape, or reposition for a Star Pulse hit.
Final Word: Objectives Win Games
You can blow up 80% of the enemy fleet and still lose if you aren’t capping points. Use your escorts to grab territory, use your line ships to bully the opponent off the center, and don’t get tunnel vision on the kills. Stay calm, execute your captains if they chicken out, and keep your guns pointed at the enemy.
