



Late-game Windrose can hit you like a wall if your setup is wrong. The right build is the difference between breezing through a zone and respawning every two minutes. I’ve pulled together the weapon breakdowns, gear combos, and stat spreads you actually need – all in one place. Bookmark this, because you won’t need to hunt anywhere else.
S+ Tier: Rapier Precision and Bleed Builds
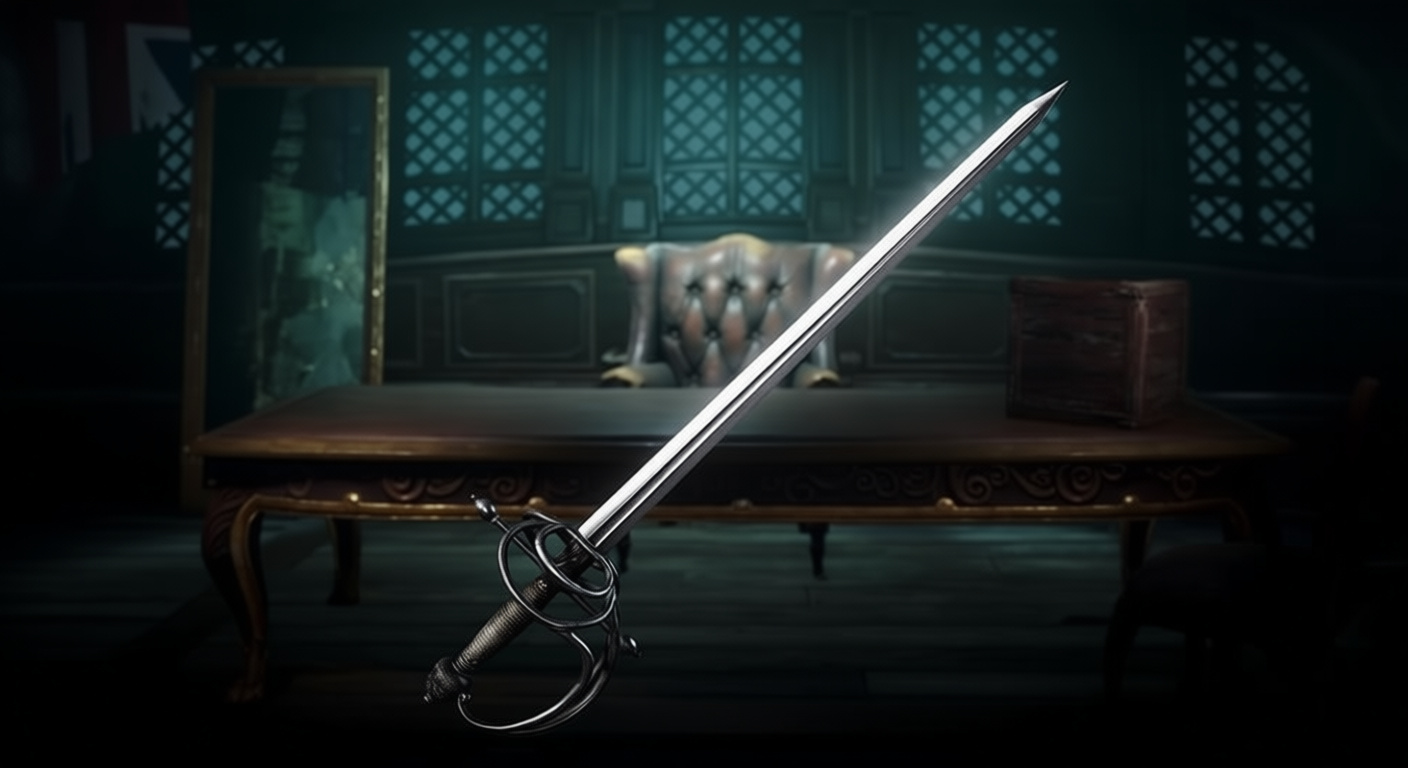
Rapier setups are sitting at the top of the meta for a reason. They mix insane speed, reliable healing, and some of the highest DPS in the game. The secret sauce here is the Perfect Block. Landing a parry opens up attack windows, ramps your crit chance through talents, and keeps you alive in fights that would delete other players. If you aren’t practicing your parry timing, you’re missing half the build’s potential. It’s the engine that drives the whole thing. There are two main ways to run a Rapier, and your choice changes everything:
- Rapier of a Thousand Cuts: Stacks Bleed up to five times. Once ascended, that bleed damage actually restores your health, making you basically immortal as long as enemies are bleeding.
- Rapier of Devastation: A late-game beast that builds Plague Marks. Hitting a heavy attack consumes those marks for a massive explosion and a big heal.
Strengths:
- Massive damage paired with real-time healing.
- Scales with Precision, which also buffs your pistol.
- Works from mid-game all the way to the hardest encounters.
Weaknesses:
- You have to master Perfect Block – lazy blocking won’t cut it.
- Needs specific RNG drops and ascended gear to really shine.
Core Weapons and Offhands
Your sidearm is just as important as the blade:
- Drake’s Double-Barreled Pistol: The gold standard. It applies Vulnerability, making enemies take 15% more damage – which makes your bleeds and marks hit way harder.
- Reliable Pistol / Musket: Solid budget picks until you find Drake’s.
Recommended Gear and Consumables
Armor by variant:
- Thousand Cuts: 2x Conquistador + 2x Pikeman. Good balance of tankiness and raw damage.
- Devastation: 4x Flibustier. Cuts stamina costs so you can keep the pressure on.
- Tanky Focus: 4x Tracker. Boosts healing and damage resistance – perfect for the “Invincible Bleed” style.
Jewelry:
- DPS Focus: Major Spear-Thrower’s Ring (Pierce) or Major Warrior Ring (Special Damage) paired with a Major Necklace of Precision.
- Survival Focus: Ring of Divine Protection and a Necklace of Vitality.
Consumables:
- The Essentials: Swamp Pie (Precision), Coffee (Endurance), and Elixir of Cruelty (Damage).
- Tanking: Seafood Platter and Elixir of Pain Relief.
Stat Allocation
| Variant | Precision | Vitality | Endurance | Notes |
|---|---|---|---|---|
| Pure DPS | 35 | 10 | 0 | Get your stamina from Coffee |
| Tank Bleed | 5 | 15 | 5 | Focus on outlasting them |
| Early Game | 12 | 8 | 5 | Solid level 8 baseline |
Worth saying: Precision is great up to 20 points, but after that, you start seeing diminishing returns. It’s still worth stacking, but those first 20 points are your biggest power spikes.
Talents and Order
Thousand Cuts (Progression):
- Marathon Runner (3/3)
- Just a Flesh Wound (3/3)
- Stout Frame (3/3)
- Too Angry To Die (1/3)
- You Will Answer For This (2/3)
Devastation (Late-game swap):
- Marathon Runner (3/3)
- Just a Flesh Wound (2/3)
- Outnumbered (1/3)
- Deep Impact (3/3)
Playstyle Tips
- Thousand Cuts: Get those five bleed stacks up immediately. Once they’re ticking, focus on parrying. Let the DoT do the heavy lifting while you stay safe.
- Devastation: Poke with light attacks to build marks. Before you blow them up with a heavy, shoot them with Drake’s Pistol to maximize the burst.
- Offhand usage: Only fire your pistol when the passive reload finishes. Don’t get caught in a manual reload animation mid-fight.
S Tier: Plague Halberd AoE/Cleave Build

If you want to stand in the middle of a crowd and watch everyone fall over at once, this is the one. The Plague Halberd deletes enemy Posture and has a special attack that heals you for 35% of your max HP. It’s wild.
Strengths:
- Best-in-class cleave damage.
- Massive self-heal on the special attack.
- Simple Strength scaling.
Weaknesses:
- No Perfect Block. You have to dodge or eat the hits.
- Slow, heavy animations that burn through stamina.
- If you just stand there blocking, your Posture will get shattered.
Core Weapons and Offhands
- Main: Plague Halberd (Found in Cursed Swamp ruins).
- Offhand: Plague Pistol for even more healing, or Drake’s for more damage.
Gear and Stats
- Armor: 4x Pikeman for the HP and damage, or 4x Conquistador if you want “Bulwark” to stop enemies from interrupting your swings.
- Jewelry: Major Necklace of Strength and the Warrior Ring (+30% Special Damage).
- Stats: 20 Strength, 15 Vitality, 10 Endurance.
Playstyle Tips
- Heavy attacks are key: They hit way harder and aren’t much slower than lights. Use them.
- Watch your Posture: Since you can’t parry, you have to weave dodges in. Don’t just hold block or you’ll get stunned.
- Save the Special: The buff doesn’t expire. Wait until you’re surrounded or low on health to pop it for that 35% heal.
A Tier: Reliable Musketeer (The Sniper)
Ranged builds in Windrose are actually cracked if you can hit your shots. The Reliable Musket turns the game into a point-and-click adventure, but you’re a glass cannon.

Strengths:
- Highest sustained ranged DPS.
- Headshots are basically delete keys.
- Zero stamina cost. You can shoot all day.
Weaknesses:
- You’re squishy. If they get close, it’s over.
- Ammunition is expensive. You’ll be grinding gunpowder constantly.
- If you can’t land headshots, don’t play this.
Gear and Stats
- Armor: 4x Marksman’s set. No contest.
- Jewelry: Necklace of Precision and the Cutthroat Ring (+30% Crit Damage).
- Stats: 35 Precision, 10 Vitality, 0 Endurance. (Yes, zero. Shooting is free).
- Talents: Bull’s Eye, Quick Hand (for fast reloads), and Bulletstorm.
Playstyle Tips
- Pre-aim: Stand still for 8 seconds before a fight to stack Sniper’s Focus for a massive +28% damage opening shot.
- Target Priority: Kill enemy snipers first. They’re the only ones who can actually hit you back.
- Ammo: Use Iron Bullets for trash mobs. Save Bullet Arborum for bosses or you’ll go broke.
A Tier: Saber Crit / Dragon’s Breath Hybrid
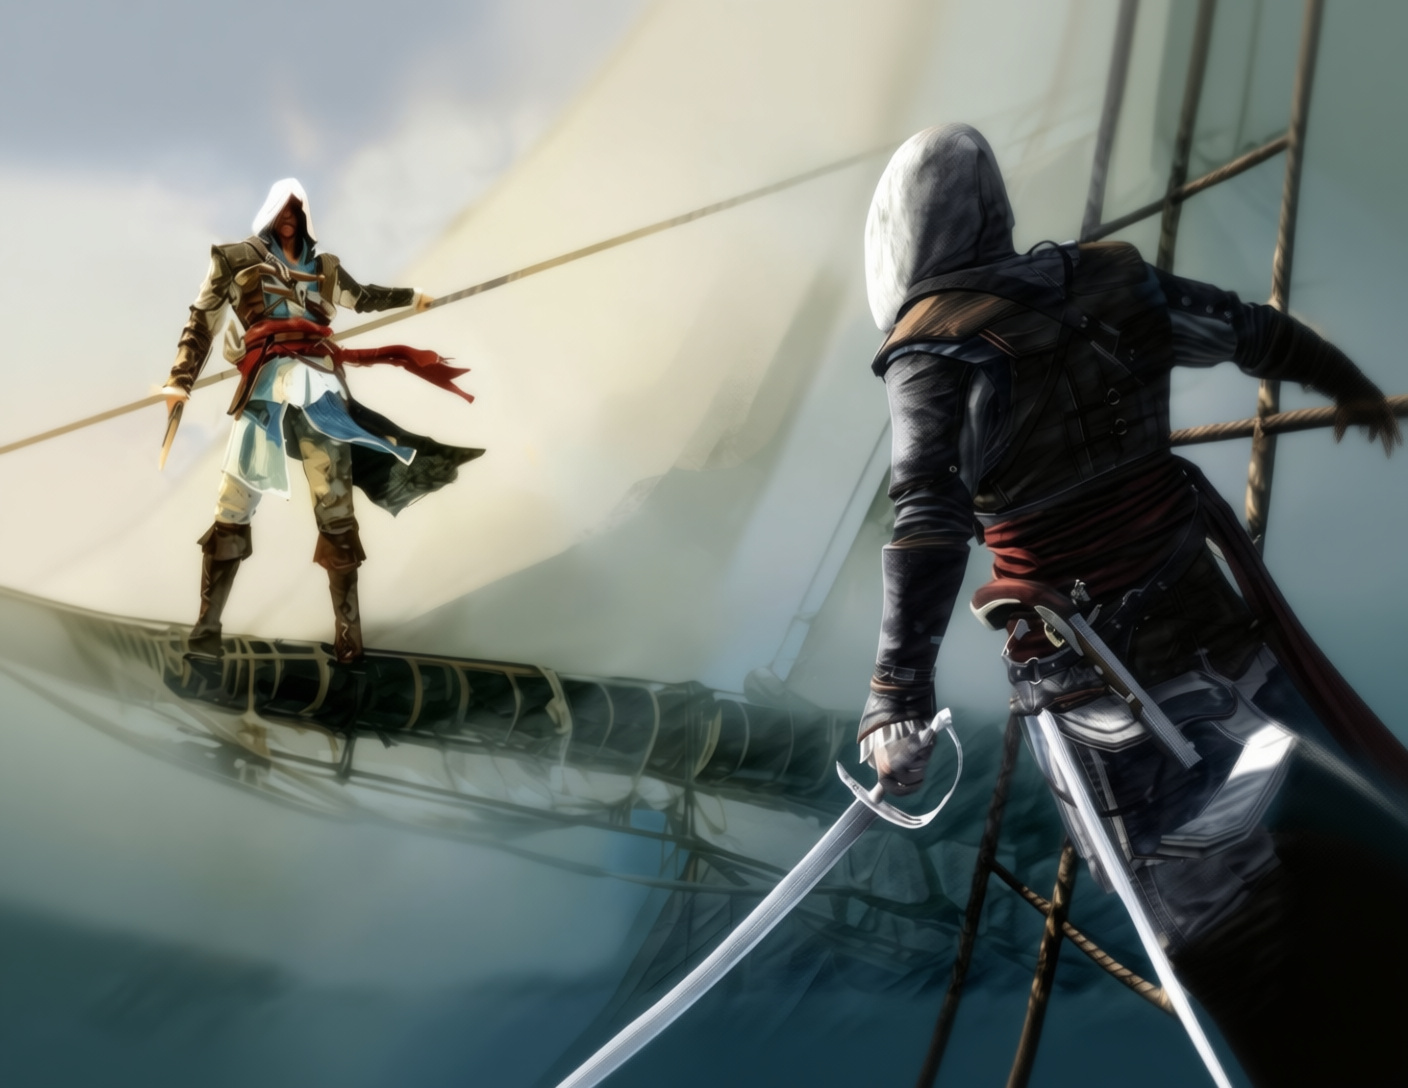
This build has the highest auto-attack DPS in the game. It’s all about stacking buffs until your crit numbers look like phone numbers. It’s a high-skill, high-reward melee/ranged hybrid.
Strengths:
- Insane burst with the Blunderbuss opener.
- Every parry makes you stronger.
- Fast, aggressive playstyle.
Weaknesses:
- Very low health.
- One missed parry can ruin your entire buff stack.
Gear and Stats
- Weapon: Razor or Dueling Saber + Dragon’s Breath Blunderbuss.
- Armor: 4x Privateer set for the crit chance and damage.
- Stats: 15 Agility, 20 Vitality, 10 Endurance. (Use Gazpacho and Tacos to boost Agility and Mastery).
- Talents: Surgical Cuts and Perfect Counter are mandatory.
Playstyle Tips
- The Opener: Start every fight with a Blunderbuss shot to the face.
- The Loop: Switch to the Saber and start parrying. Each parry stacks crit chance and damage.
- Stay Aggressive: Deadly Finale ramps your damage as long as you keep hitting. Don’t let the pressure drop.
C Tier: Smasher (The Fish Build)
Is it good? Not really. Is it funny? Absolutely. You’re hitting people with a giant fish.
Strengths:
- High knockback. You can literally send enemies into orbit.
- You get tons of fish fillets while farming it.
Weaknesses:
- Terrible damage.
- No parrying.
- You have to spend hours fishing just to find the damn thing.
How to play: Stack 35 Strength, eat Strength food, and just left-click until the knockback proc sends the enemy across the map.
Survival Foundations
No matter what you run, keep these rules in mind:
- Upgrade to Level 5: The jump from base gear to +5 is huge. Don’t move to a new island until your gear is maxed.
- Food is Mandatory: Always have a scaling food (Strength/Precision/Agility) and a Vitality food active.
- Crew Members: Get a Cook and Mortar Joe early. They’ll save you hours of grinding for food and ammo.
- Parry Practice: Even if you’re playing a Halberd or Musket, learn the timings. It’ll save your life when things get messy.


