



Blackbeard’s Treasure in Assassin’s Creed Black Flag Resynced Blackbeard’s Treasure is one of those side quests that actually catches you off guard. You go in expecting a massive payday, but you end up with something way more interesting – and a cave full of smugglers who really don’t want you there. Here’s the breakdown: where to go, how to handle the barrels, the bugs you need to watch out for, and what’s actually inside that chest.
How to Unlock the Quest
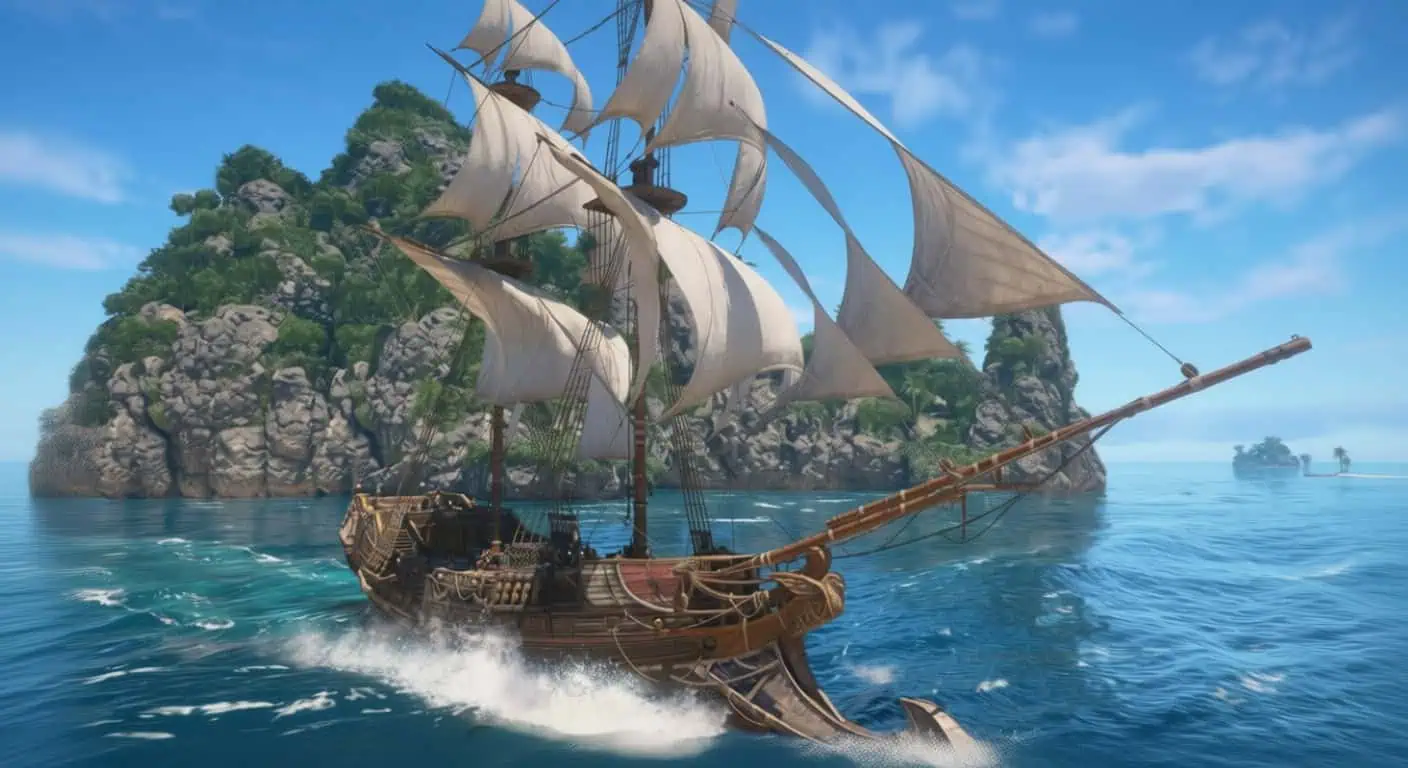
You won’t see this until you’ve pushed through the main story to Sequence 08: Do Not Go Gently. Once that’s wrapped up, the game gives you a quiet moment on the beach where Edward finds Blackbeard’s hat. You’ll get two things:
- Burn Blackbeard’s Beard – A new sea shanty for the Jackdaw crew.
- Blackbeard’s Treasure Map – A rough sketch with an “X” north of Kingston and an arrow pointing toward a cave filled with barrels.
Once that map is in your inventory, you’re good to go.
Reading the Treasure Map
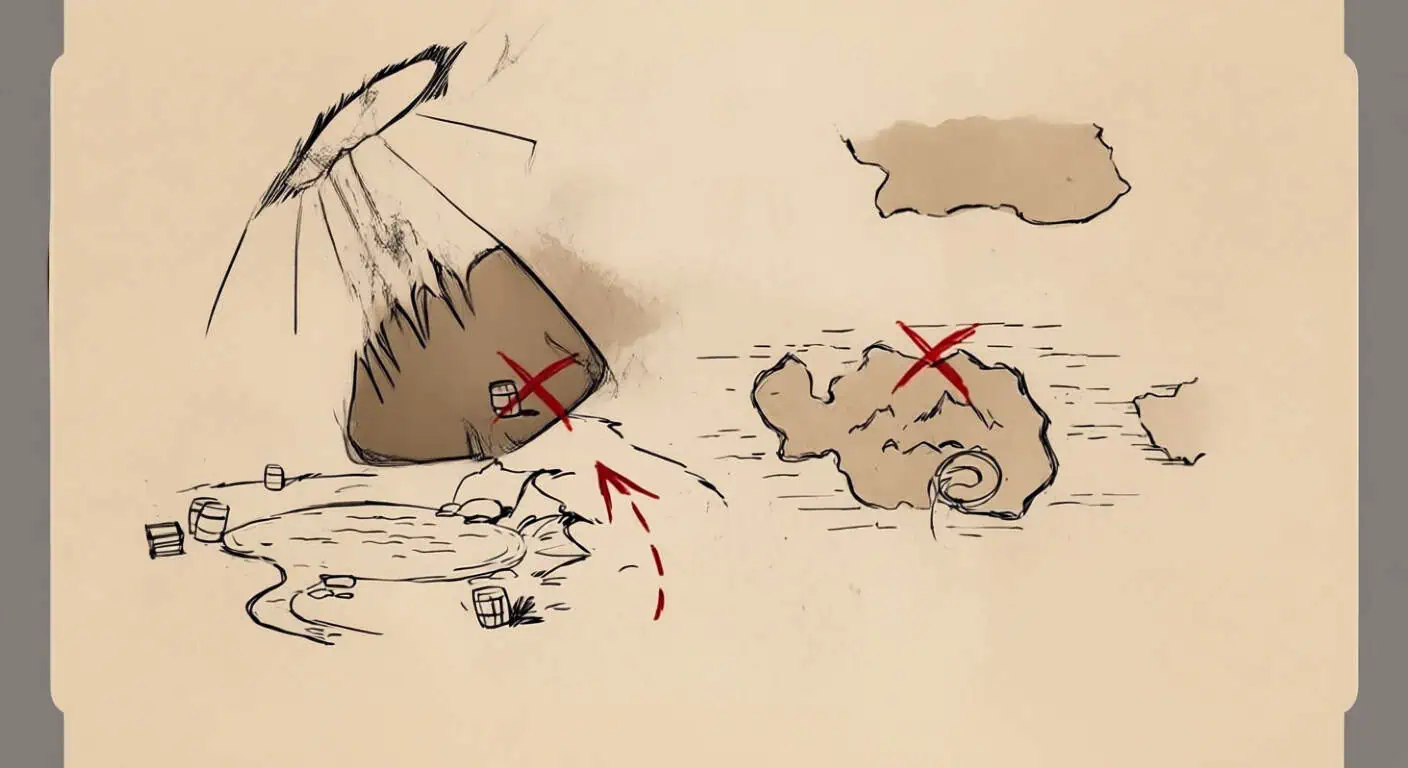
The drawing is pretty crude – classic Thatch – but the clues are easy enough to spot. The mark is north of Kingston, and the arrow points straight into a cave.
Your destination is Anotto Bay at coordinates
591, 243. Plot the course and head north.
Getting to Anotto Bay and Into the Cave
Clearing the Water
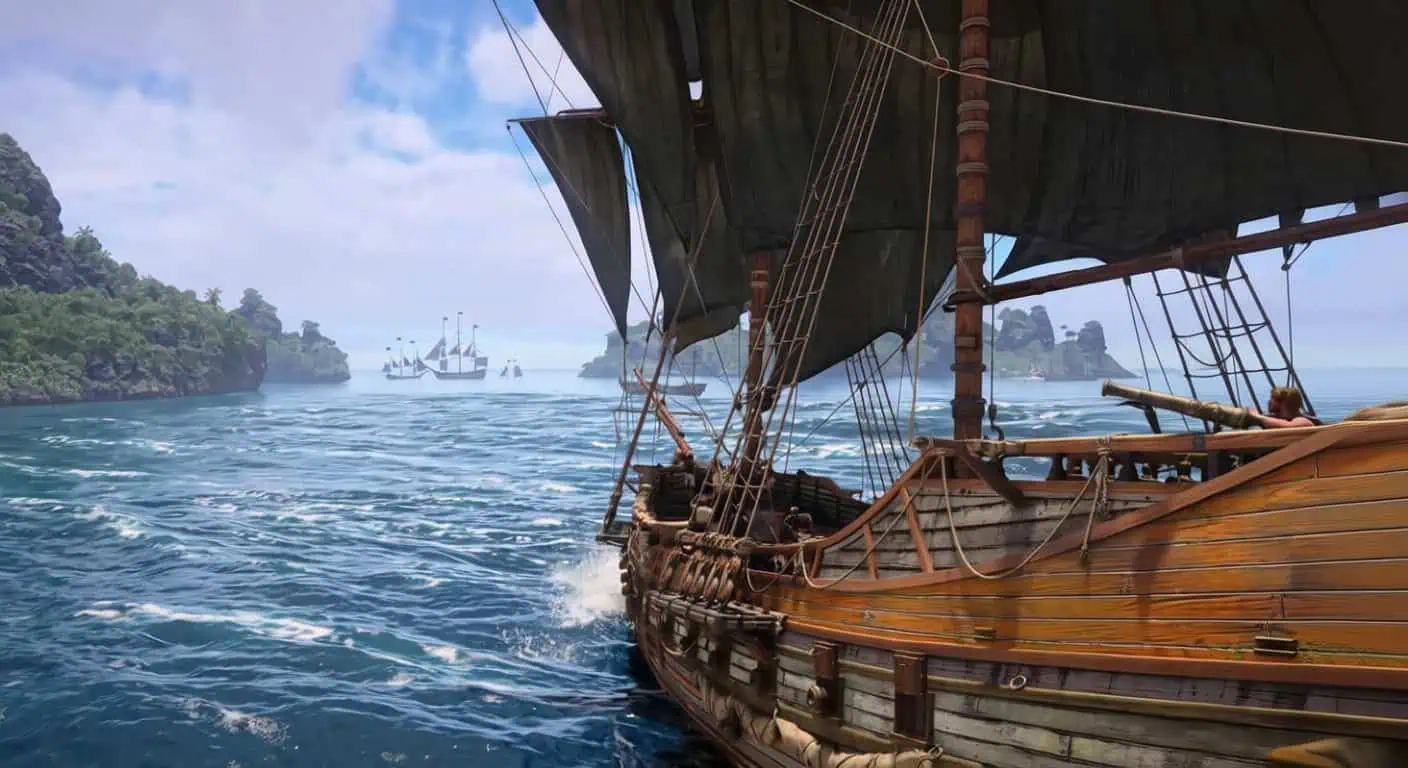
As soon as you pull up to Anotto Bay, smuggler ships are going to try and stop you. Don’t even bother trying to dock yet. Open up with the Jackdaw’s cannons and clear the area. These ships aren’t that tough if you stay aggressive, so just trade broadsides until they’re at the bottom of the ocean.
Once the coast is clear, dock and get ready. Some smugglers might already be waiting for you in the tunnels.
Diving In
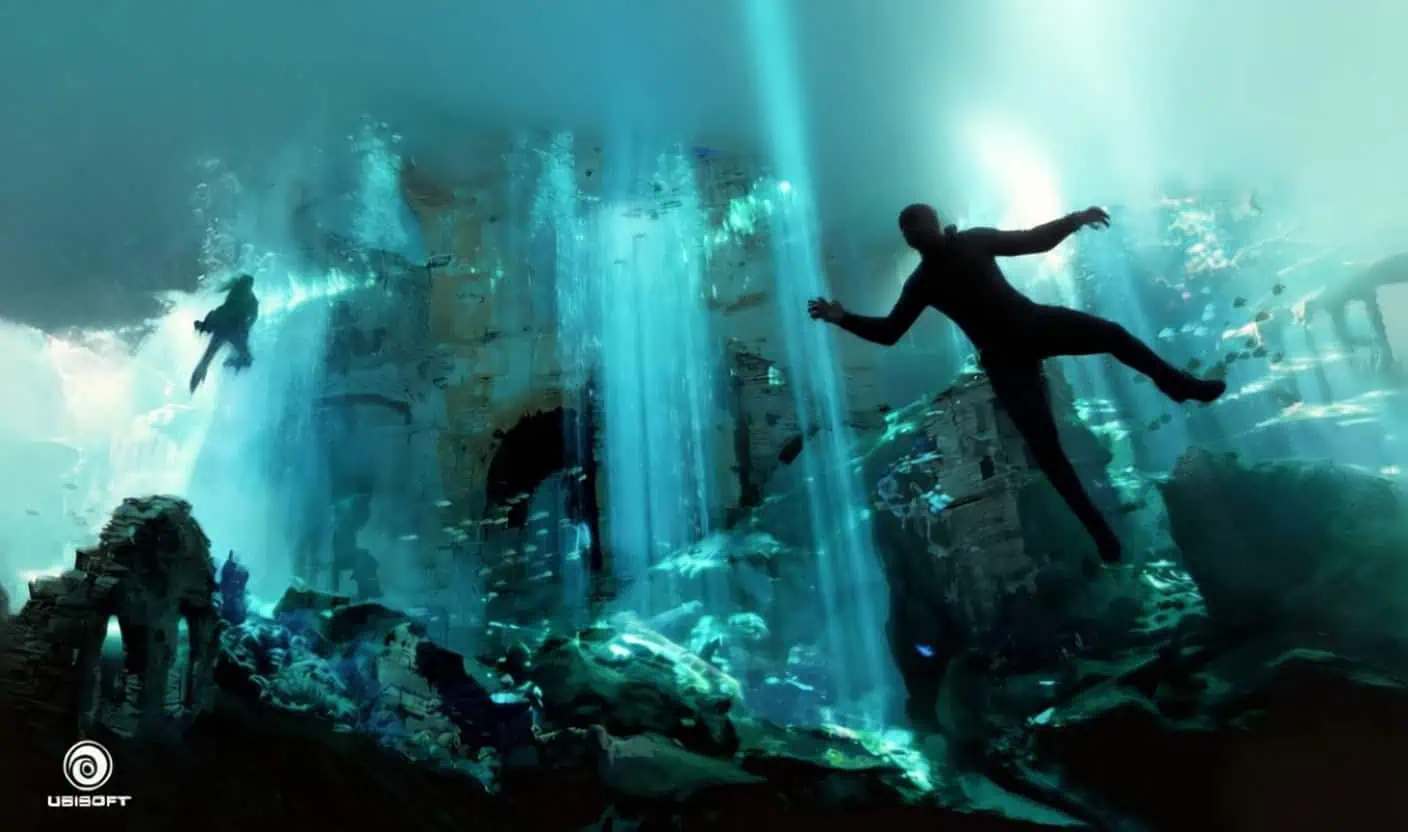
Look for the wreck of the diving bell and head underwater. This part is a bit of a gauntlet:
- Watch the jellyfish – They’re clustered right at the mine entrance and they hit hard. Swim around them, not through them.
- Shark ambush – There’s a shark in the tunnel. Hit the dodge prompt the second it lunges and move your stick to the side to slip past. If you miss it, Edward’s toast.
- Hit the air bubbles – Use every single one you see. The swim is way longer than it looks, and you don’t want to drown halfway through.
Follow the tunnel until you finally surface inside the cave system.
Smuggler’s Den: Combat and Secrets
You’ll pop up in a smuggler’s den with about half a dozen enemies. Deal with them however you like – stealth is easy here since it’s cramped, but going loud works too. A quick Hidden Blade kill on the first guard usually makes the rest of the fight a breeze.
Two things to keep in mind before moving on:
- The large chest here needs a smuggler’s key, but the guy carrying it doesn’t show up during this quest. He only appears in free-roam. If you want the map fragment inside (which you can take to the Treasure Dealer in Great Inagua), you’ll have to come back later.
- There’s also a collectible Treasure Map in this zone that points to another buried chest nearby – definitely grab that if you’re going for 100% completion.
Step-by-Step: Reaching the Final Chamber
The path forward is blocked by two powder keg puzzles. They aren’t hard, but one of them is prone to glitching out. powder keg puzzles
- Grab the first red barrel in the collapsed passage. Carry it over to the rubble blocking your way.
- Drop it, back up, and shoot it with your pistol. The explosion clears the path.
- Move through and take out the guards in the next room. There’s a pool here, but it’s just for show.
- Find the second red barrel near the end of the path. Carry it to the sealed wall and blow it up the same way.
- This triggers a cutscene, and the treasure is finally yours.
What’s Actually in the Chest

This is the part that sticks with you. It’s not the gold Edward was hunting for, and Blackbeard knew it. Inside, you’ll find:
- Pieces of eight
- Shovels, pitchforks, and a plow
- Farming gear and a manual
It’s a “retirement starter kit.” Blackbeard’s letter inside explains the whole thing: he wanted Edward to have what he needed to build a real home, something like the dream they had for Nassau. He also makes sure to mention that this wasn’t his whole fortune – the rest is hidden somewhere else with no map at all. Edward’s reaction says it all: “Clever bastard. All right, Thatch. I’ll see to it.” After a quick time skip, you’ll unlock Blackbeard’s Portrait to hang in your manor. That’s the official end of the quest.
Bug Warning: Disappearing Powder Kegs
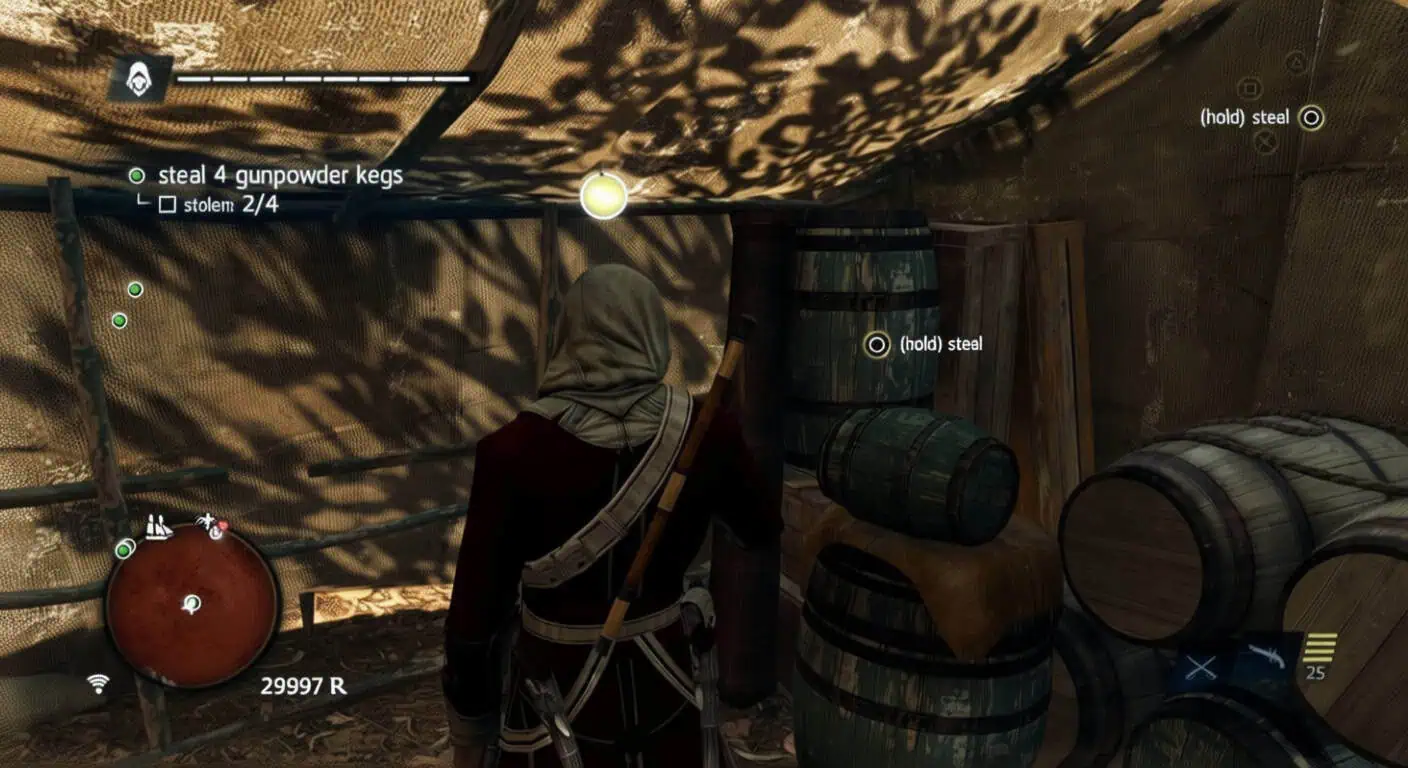
This bug can actually soft-lock your progress in the final room if you aren’t careful.
The Issue: If you shoot the big explosive barrel and the blast hits the two smaller kegs nearby, they can vanish or blow up early. If they’re gone, you can’t blow the wall, and you’re stuck.
The Fix:
- Manually save while you’re still in the cave.
- Fully quit the game (don’t just pause).
- Reload your save.
- The kegs should respawn, and you can try again. Just be careful with your shots this time.
Deluxe Edition Bonuses
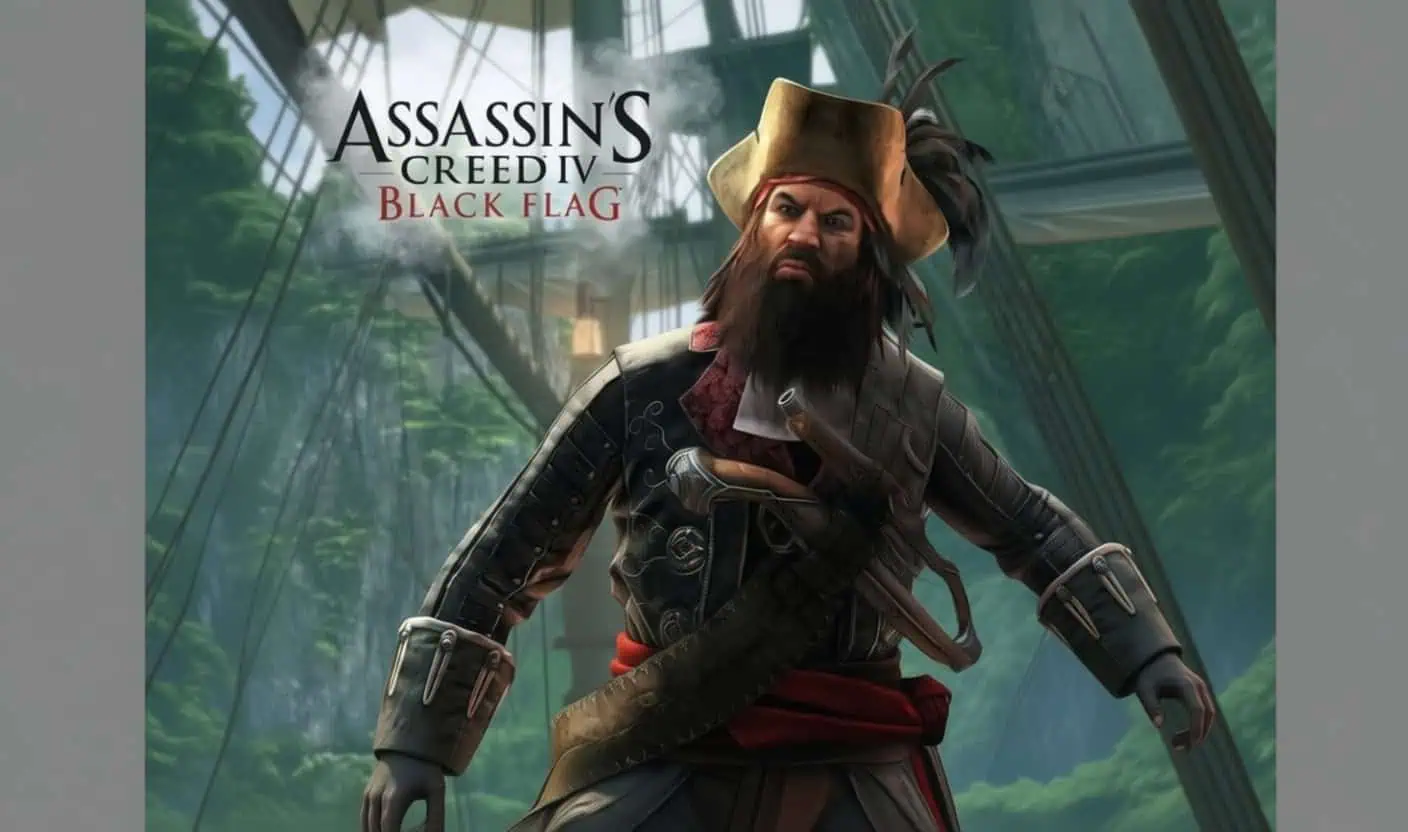
If you’ve got the Deluxe Edition, there are a few extra perks:
- Blackbeard’s Crimson Pack (Cosmetics)
- $5 Xbox gift card (Check “Offers & credits” in the Store; it usually takes 3-5 days to show up).
- Resources Pack for extra materials.
Quick Tips
- Don’t skip the air bubbles. You’ll need the oxygen.
- Use the Jackdaw’s cannons. Don’t make the Anotto Bay fight harder than it needs to be.
- Keep your distance from barrels. They have a decent blast radius.
- Read the letter. It’s a new addition for the remake and it’s honestly the best part of the quest.
