


I’ve sunk countless hours into these seas, and trust me, I’m dropping the pitfalls that derailed me for weeks. Straight talk from the grind – no sugarcoating.
The One Rule That Will Make or Break Your Entire Game

Burn this into your head right now: never, ever sell Battle Marks, Voodoo Skulls, or Escudos. That gold payout tempts you, sure. But these unlock Imperial ships and late-game goodies – you can’t snag them back once spent. Full stop. Countless skippers cash them out early, smack into progression walls later. Don’t join that club.
Your First 10 Moves (In Exact Order)
Your launch plan for those make-or-break opening hours:
- 1. Finish the Tutorial Quests – Tutorials drag, but this delivers the Horizont and core mechanics. Free gear too.
- 2. Unlock Fast Travel and Escort Skills Immediately – Non-negotiable. Fast Travel cuts sailing drudgery, Escort handles fleet control. Nail these first.
- 3. Build Your First Iron Mine – Spot the nearest iron spot from spawn, lock it down. Iron fuels every build.
- 4. Add a Wood Mine Next – Pair it with iron. These two kickstart your whole economy.
- 5. Save for the Blackwind Ship – Ditch La Salamandre – total waste. Jump Horizont straight to Blackwind.
- 6. Use Faction Discount Ports for Building – Ships show faction flags. Matching ports shave 25% off materials. Blackwind alone saves stacks.
- 7. Create Your Personal Island at Level 9 – Drop it near black waters (level 12 access). Sets you up huge down the line.
- 8. First Building: Plate Workshop – Early on, just gold cost. Plates gatekeep everything else. Priority one.
- 9. Complete 5 Core Buildings Before Level 20 – Costs explode at 11 and 21. Lock in basics cheap.
- 10. Start North-South Trading Runs – Scoop sugar and salt north, dump south. Prime early coin grind.
Follow the order above to avoid common early traps and resource misallocation.
Choosing Your Ship Line (And Why It Actually Matters)

Lines aren’t linear power creeps. Playstyles clash hard:
Combat Line: Your Safe Bet
Newbie pick. Solid guns, tough enough to survive. No extremes, just reliable all-rounders while you figure ropes.
Spread upgrades even. Versatility’s their edge – don’t force specialties.
Heavy Line (Constitution Branch): Tank Mode Activated
Sluggish bruisers that eat hits. Park, broadside, outlast foes. Volley traders’ dream.
Dump into armor. Plates, frames, crew slots – go unbreakable.
Trading/Transport Line: The Money Machine
No flash, pure profit. Huge holds, solid pace for hauling.
Cargo max first, speed next. Combat? Laughable – evade, deliver, repeat.
Fast Line: High Risk, High Skill
Zippy glass cannons. Hit-run mastery or bust. PvP chasers and blackmark hunters thrive here.
Speed and turns only. Hull tweaks? Pointless – you dodge clean.
Arena Meta: San Martin Dominance
Tier 5 San Martin rules. Elite Sails, Peak Frames, Incendiary Mixture core. Iron patches, phosphorus rounds standard.
Pro tip: BR rating dictates gun/crew/upgrade loss speed on hits. Low-BR speedsters bolt fine but crawl home crippled. Pick playstyle smart. Pirate crew clashes with military. Sort your roster. Trial cheap hulls early. Lock in what fits before big spends.
Skills That Separate Good Captains from Dead Ones

Levels 1-16 unlock order:
- 1. Fast Travel – Top slot. Time saver supreme.
- 2. Escort – Fleet wrangling essential soon.
- 3. Logistic (Extra Fast Travel Charges) – If you’re always hauling ass. One charge suffices? Pass.
- 4. Workforce – 5k gold unlocks four island factories. Passive cash flood.
- 5. Everything Else – Combat perks, scouting, crafts – grab when flush. Front four rule.
Island Management: Your Economic Engine

Location Strategy (This Gets Overlooked Constantly)
Level 9 island drop. Smart moves:
Early game: Spawn-adjacent, iron and wood mines under 7k meters. Stopgap setup.
At level 12: Shift to black waters. Superior yields.
No teleport – new island, scrap old. Haul goods first.
Building Order (Follow This Exactly)
- Building #1: Plate Workshop – Gold-only early. Gates all else.
- Building #2: Pier – Ship ops hub.
- Building #3: Mission Hall – Grabs mine hauls in 7k range. CTRL-map hover checks distance.
- Building #4: Lighthouse – Island fast travel.
- Building #5: Warehouse – Storage bump.
Halt at five. Six-seven drain deep – circle back loaded.
Critical timing: Level 11/21 price walls. Five basics pre-20 or bleed.
Endgame Mine Setup
- 2 Iron Mines (king resource)
- 1 Coal Mine (smelt fuel)
- 1 Wood Mine (build base)
Two slots early? Iron-wood spawn-side, refresh black waters.
Resource Gathering: Every Method That Actually Works
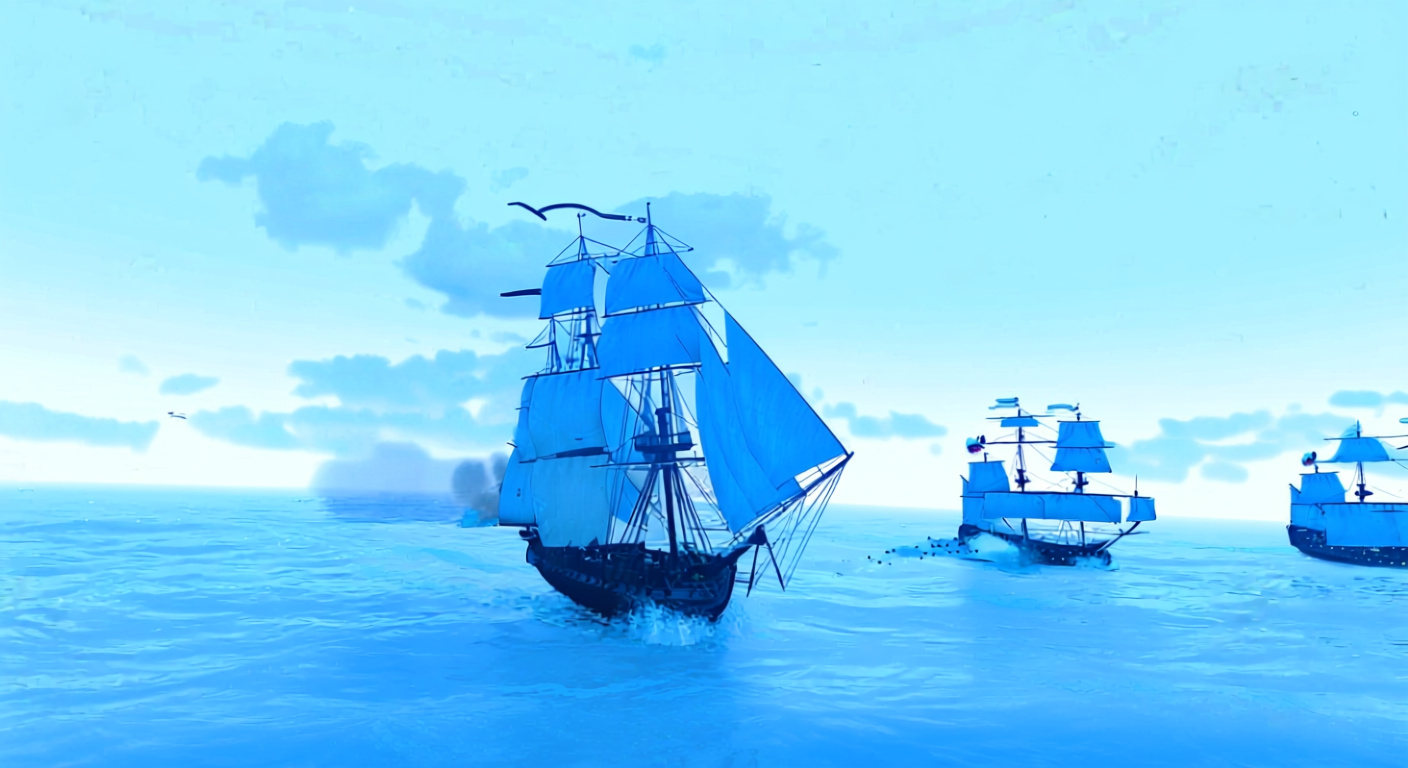
Passive Mining
Island pits churn steady. Log in, auto-grab. Idle income.
Fishing (Underrated Money Maker)
Hauls trade bait, rare drops. Fisherman Villages swap for iron, wood, extras.
Spoiler: Fish spoils. Move fast.
Ship Dismantling (Better Than Crafting Early)
Snag NPCs, port-dismantle for beams, parts. Beats forging beams fresh.
Trading House Economics
Big ports, player markets. Supply swings prices – low buy, high flip.
Random Merchant Encounters
Ocean peddlers with bulkheads, plates, beams for coin. Scan waters; goldmines.
Combat Looting
E-scan NPC cargoes pre-strike. Fish freighters? Pass for iron haulers.
The North-South Trade Circuit (Your Main Income)
North sugar/salt buys, south sells fat. Tavern transport rumors stack rep.
Market mechanics you need to understand: Bulk buys hike port costs. Bulk sells tank payouts. Route wise.
Pirate Token Strategy
Grind tokens, pirate traders swap cannons, auction flip. Easy gains.
Crafting Location Optimization
Island Workshop: Heavy stuff – bulkheads, planks, plates. 20% off, captives refill manpower over port timers.
Any Port: Canvas-likes. Quick craft, easy shift.
Island savings snowball thousands long-term. Heavy crafts only.
Combat Fundamentals (Beyond Point and Shoot)
Ship Control Basics
W drops sails, speeds up. S pulls ’em, slows/reverses. Wind rules – tailwind max, headwind zigzags.
Map: teal friendly, gold neutral, red foes. Forget, eat strays.
Fighting Smart
Drop speed, aim true. Left full blast, right singles. Lead movers.
Ammo types (keys 1-6):
- Round shot: Bread-and-butter hull punch
- Heated shot: Flames, short reach
- Bar shot: Sail ripper, cripple chaser
- Grape shot: Crew shredder
Track hull, sails, crew bars. Zero hull = Davy Jones.
Boarding Mechanics
Pound to ~50% hull, sideswipe, spacebar. Crew count decides – outnumber ’em.
Crew Composition
Arena: Musketeer stacks (26+ builds), soldiers/merc balance. Boardings, musketeers first.
Special crew note: Rare find boosters. Test mixes, but pirate-military no-go same ship.
Farming Silver and XP (Locations That Actually Deliver)
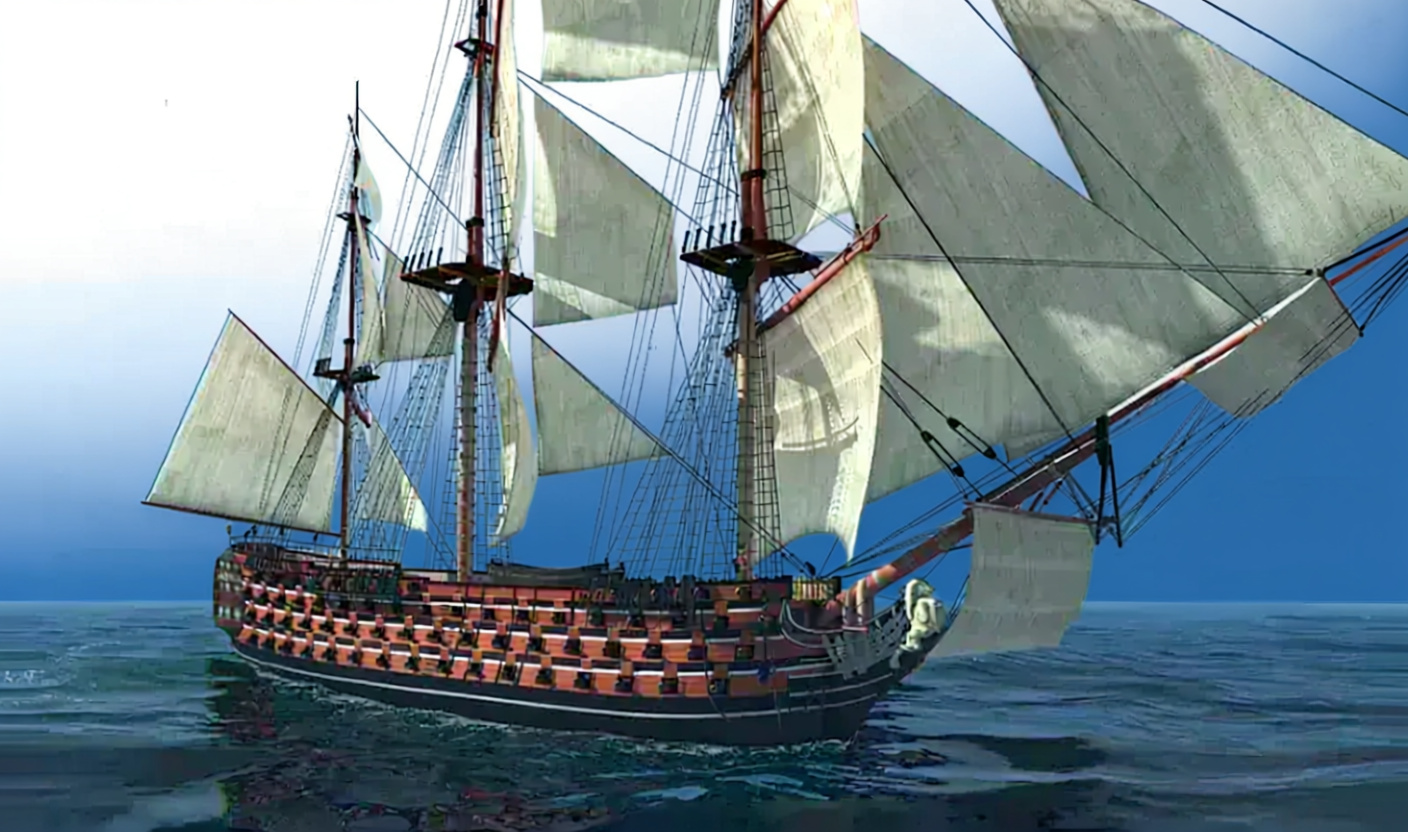
Top Grinding Spots
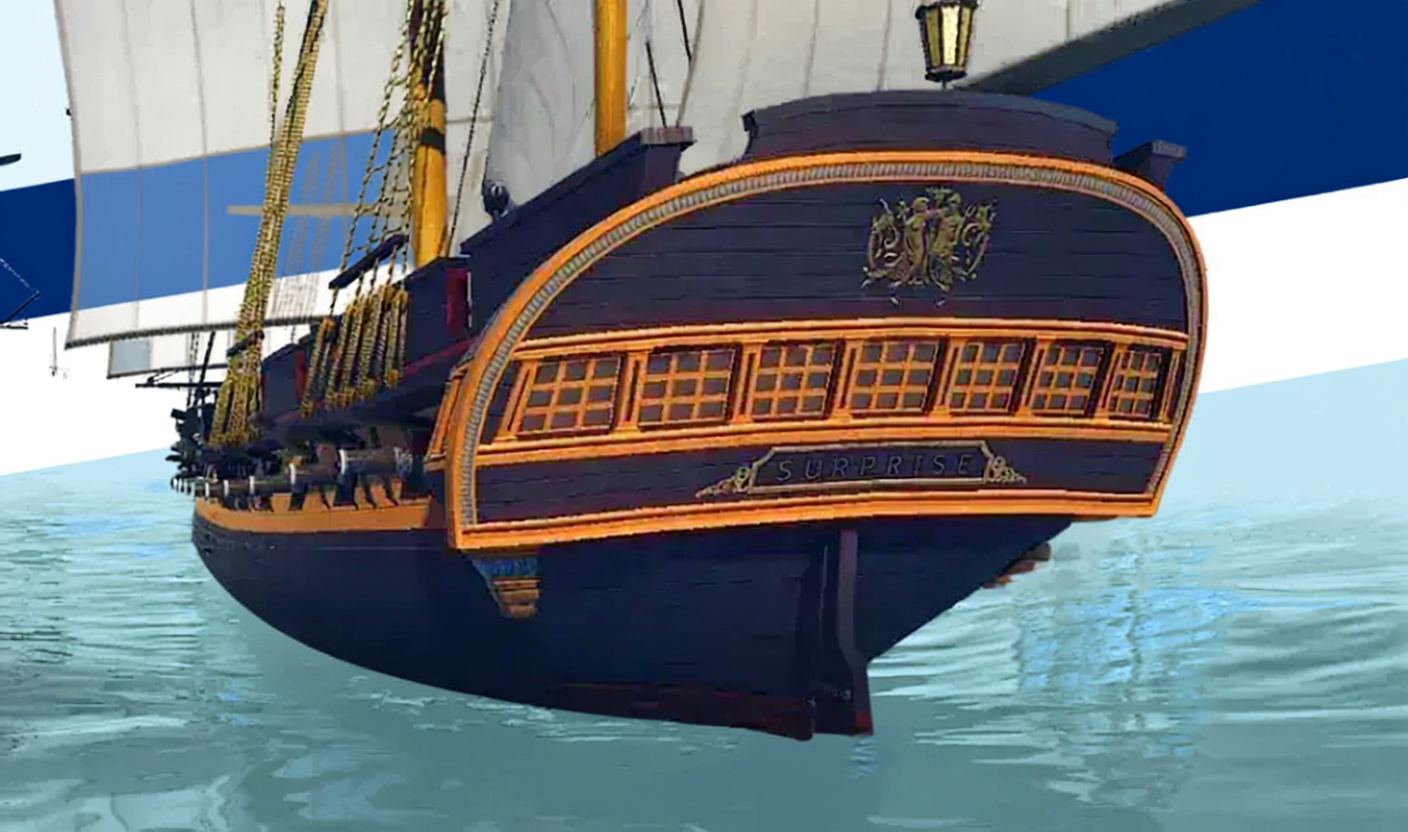
Corsa-Nois Bay – NPC packs, fast resets, port nearby. Steady silver, decent XP.
Pirate City/Laguna Blanco – Nonstop action, fat drops, quick loops. Fight junkies’ spot.
Thermopylae – Big risks, bigger bags. Tough foes, geared ships only.
4 King Shen Area – Wave hell. Peak XP/silver for campers.
Port Clusters – Bridgetown, San Cristobel, Tortuga, Charleston, Nevis. Mission-dense, fast sells, low wait.
Efficient Farming Routes
Beginner: Bridgetown → San Cristobel → Tortuga (short hops, soft targets, ports galore)
Mid-game: Corsa-Nois Bay → Pirate City → Laguna Blanco (dense kills, prime loot, XP/hour king)
Advanced: Thermopylae → 4 King Shen → ruins (brutal, max payout, scales best)
Daily Farming Checklist
- Wipe one hot zone
- Raid a ruin
- Dump non-essentials
- Scan bonus quests/events
- Quick fix/restock
Efficiency over power: Speed/cargo before DPS. Swift clears, fat hauls trump minor booms.
Skip bosses/story for farms. Density wins.
Advanced Building and Discount Strategies
The 25% Faction Discount (Stop Wasting Resources)
Faction flag per ship. Matching port control = 25% material cut.
Step-by-step:
- 1. Eye target ship’s flag
- 2. Map matching ports
- 3. Ferry materials over
- 4. Build, pocket hundreds
Big hulls? Game-changer – 100+ iron/wood shaved per.
Crafting Strategy
Heavy components: Island (20% cut, manpower)
Light components: Ports for ease
Build Timing
11/21 hikes everything. Frontload pre-20 – future you cheers.
Final Success Tips (And Mistakes That Will Wreck You)
- Join a guild immediately. Intel, crews, shields – solo’s punishment.
- Don’t rush levels. Island base, hull quality, materials over level spam. Foundations crush haste.
- Regularly upgrade based on activity. Fighters get guns/armor. Haulers prioritize holds/speed. Fit the role.
- Plan transport runs. Surplus jams holds – sell excess fast.
- Learn from small mistakes, avoid big ones. Tinker free, but Battle Marks sales or discount skips sting forever.
Trading rules gold. Fights/quests hook, but north-south routes bankroll empires. Nail it, coffers burst.
Patience and resource smarts trump grind hours. Rig your setup solid, rest clicks.
