


New to World of Warships Legends? Don’t sweat the button overload. Here’s the straight scoop to launch you into naval scraps without faceplanting.
Getting Started: Your First Steps in World of Warships Legends
The Port handles all your downtime stuff – repairs, tweaks, upgrades, new buys. Poke around here first; skipping it means pain down the line.

Navigating the Warship Panel
Ships stack up in the Warship Panel (carousel to most) along the screen bottom. Defaults sort by tier, low to high per nation. Fine for starters, but tweak it quick.

Setting Primary Ships:
- Right-click any ship icon
- Select “Set as a primary ship”
- Favorites jump to the front – no cap on picks
Undo with another right-click.
Filters & Display Options:
Filter by tier, type, nation, or mix ’em in Ship Display settings. Two layouts:
- Full view: Single line hogging the bottom
- Compact view: Rows for quicker scans



Hunt a specific boat? Upper-right search bar shoves it upfront, filters be damned. 
Selling Ships When Needed:
- Right-click the ship icon
- Choose “Sell”
- Credits hit your stash
| Filter Category | What It Shows |
|---|---|
| Primary ships | Your marked favorites |
| Rented ships | Temporary access vessels |
| Researchable ships | Available for progression |
| Ships with XP bonus | Grinding accelerators |
| Elite ships | Fully researched, earn bonus XP |
| With a Commander | Ships currently assigned commanders |
| Special ships | Event or unique vessels |
| Without a Commander | Unassigned ships |
| Premium ships | Real-money or reward vessels |
Stick basic at first. Pin a couple ships you’re grinding; filters kick in past ten hulls. Search saves your sanity once the fleet bloats.
Hold off selling – missions or Ops might need ’em. Pick starter lines smart (more on that soon), but nail navigation now.
Understanding Ship Classes and Tech Tree
Four classes, wildly different vibes. Wrong pick early? You’ll bail fast.

The Four Ship Types

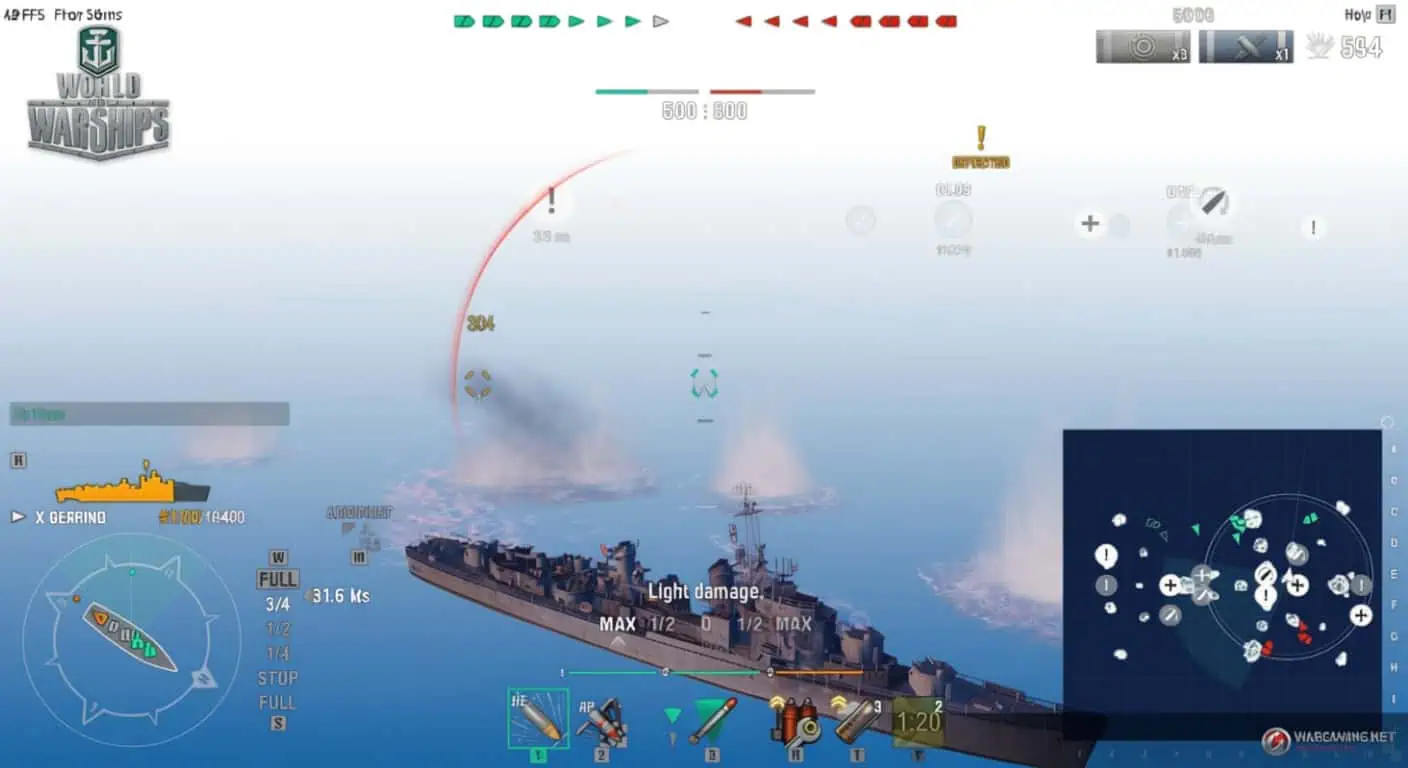
Battleships (BBs): Huge guns, brick armor, fat health – but they crawl. Love drawing fire while allies feast? BBs fit. Pitfall: Broadside exposure? You’re toast. Rookies vanish because angling’s foreign.
Cruisers (CAs/CLs): Do-everything workhorses. Solid guns, zippy speed, passable plating. No extremes, just reliable. Ideal learner ride – pivot on the fly, screen buds, AA duty, zone fights.
Destroyers (DDs): Nimble speedsters slinging torps, spotting foes, snagging caps, vanishing. Paper thin: BB salvo yeets you home. Steep curve, huge payoff right, total wipeout wrong.
Aircraft Carriers (CVs): Planes over direct control – odd setup, unique keys. Skip till basics click. Spot, bomb from afar.
Tech Tree Navigation
Nations pack tiered trees – Japan, USA, USSR, Germany, UK, etc. Grind XP, burn credits. Events drop specials.
Tooltip icon on TECH TREE ships spills details.

Categories:
- Researchable: Grindable for all
- Elite: Maxed, bonus XP machines
- Special: Events or quirks
- Premium: Buy/reward, fat earnings
Best Ship Lines for Learning
USN DDs from Clemson to Farragut nail torp runs, cap grabs, spots without overload. Forgiving slip-ups, core lessons locked.
Dodge Japanese BBs early – stunners with bite, but broadside? Shredded. Angle on US/German tanks first.
Cruisers? US/UK lines deliver flexible starts, no perfection needed day one.
Core Game Modes and Battle Types Explained
Modes roll out as you grind – smart gatekeeps the chaos.
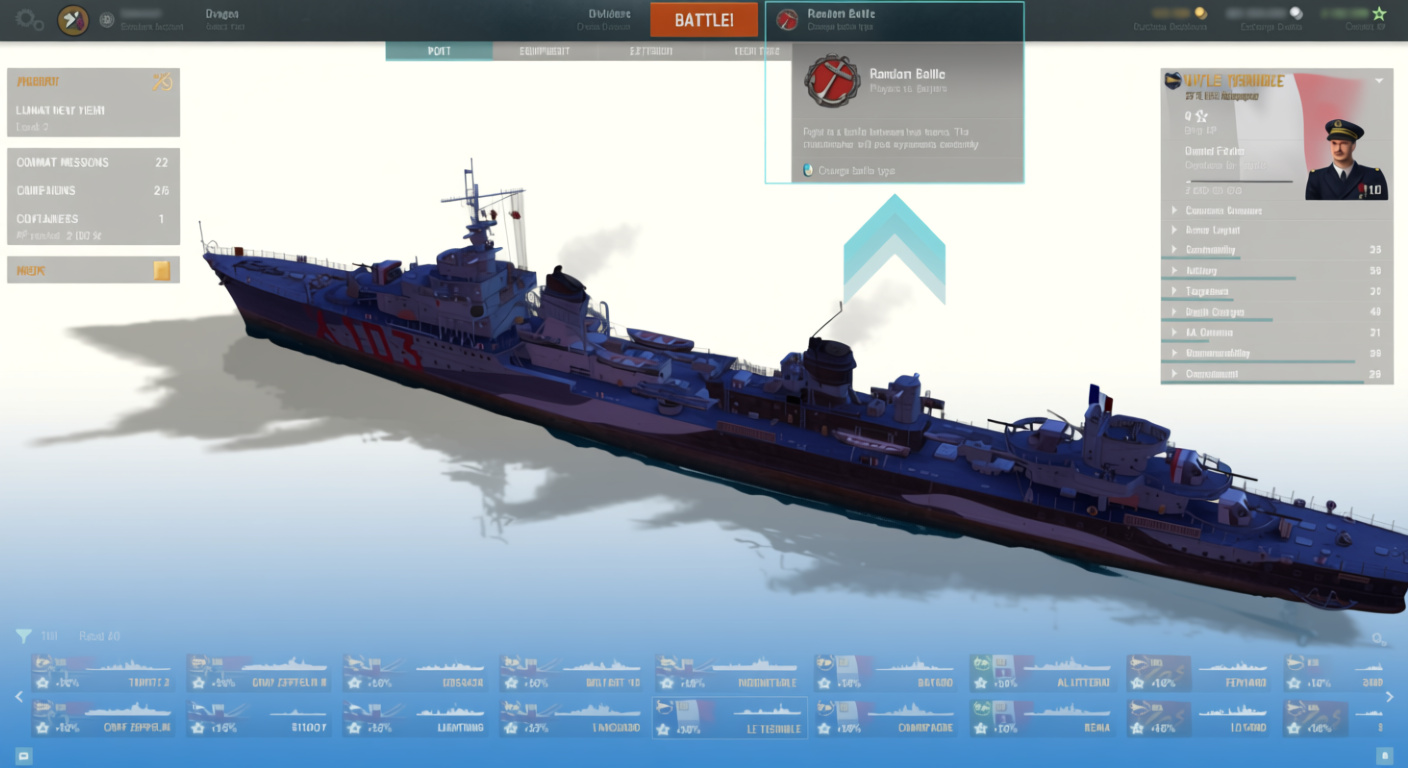
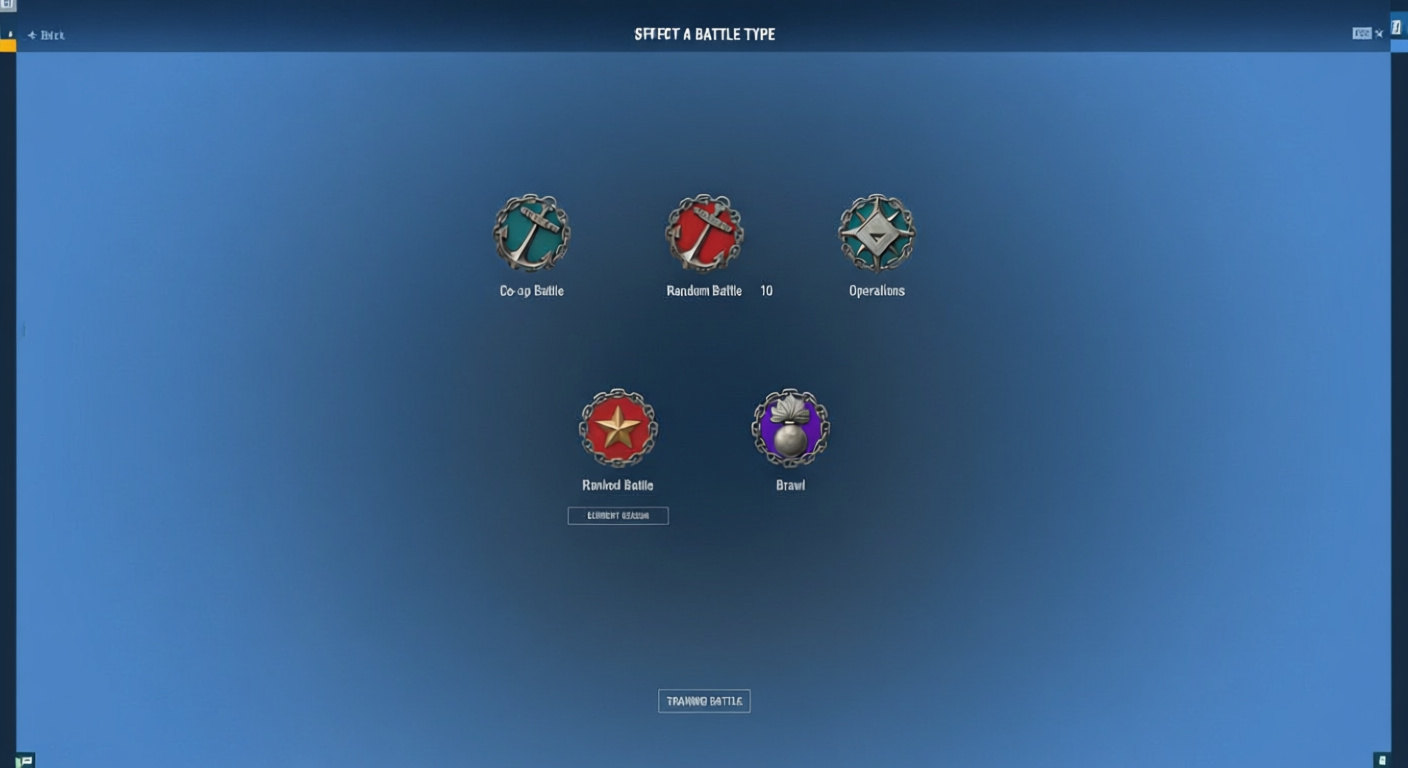
Battle Types (Unlock Order)
Co-op Battles (Available Immediately):

- Players vs bots, mirrored teams (9 max/side)
- Mechanic sandbox, no PvP salt
- Weaker loot, pure chill
Random Battles (Unlocks After 3 Co-op Battles):

- PvP staple: 12v12 max
- Prime rewards hub
- Your main haunt post-basics
- Win via 1,000 points, full wipe, base nab, or enemy zero
Operations (Unlocks After 25 Battles):

- PvE tasks – base holds, convoy escorts
- Standard or event twists
- Extras juice rewards big
- Solo random pick; 4+ Division picks target
Ranked Battles (Unlocks After 130 Battles):

- Seasonal ladder: Bronze/Silver/Gold
- Sprints 1 – 3 weeks
- Bronze start, Stars up wins, down losses
- Rank 1 + qualify jumps Leagues
- Pays for wins, tops, quals
Clan Battles (Requires Clan Membership + 200 Battles):

- Clan clashes seasonal
- Wins bank rating, Steel
- Tougher Leagues, fatter cuts
Brawl (Unlocks After 130 Battles):

- Short seasonal scraps, small teams
- Solo/Division
- Shrunk maps, frenzy fights
- Tier/type matchmake
Training Battles (Unlocks After 200 Battles):

- Custom rooms, friend drills
- No consumable burn; no XP/credits; free repairs
- Build tests, move practice, ship trials
Game Mode Variations
Standard Battle:
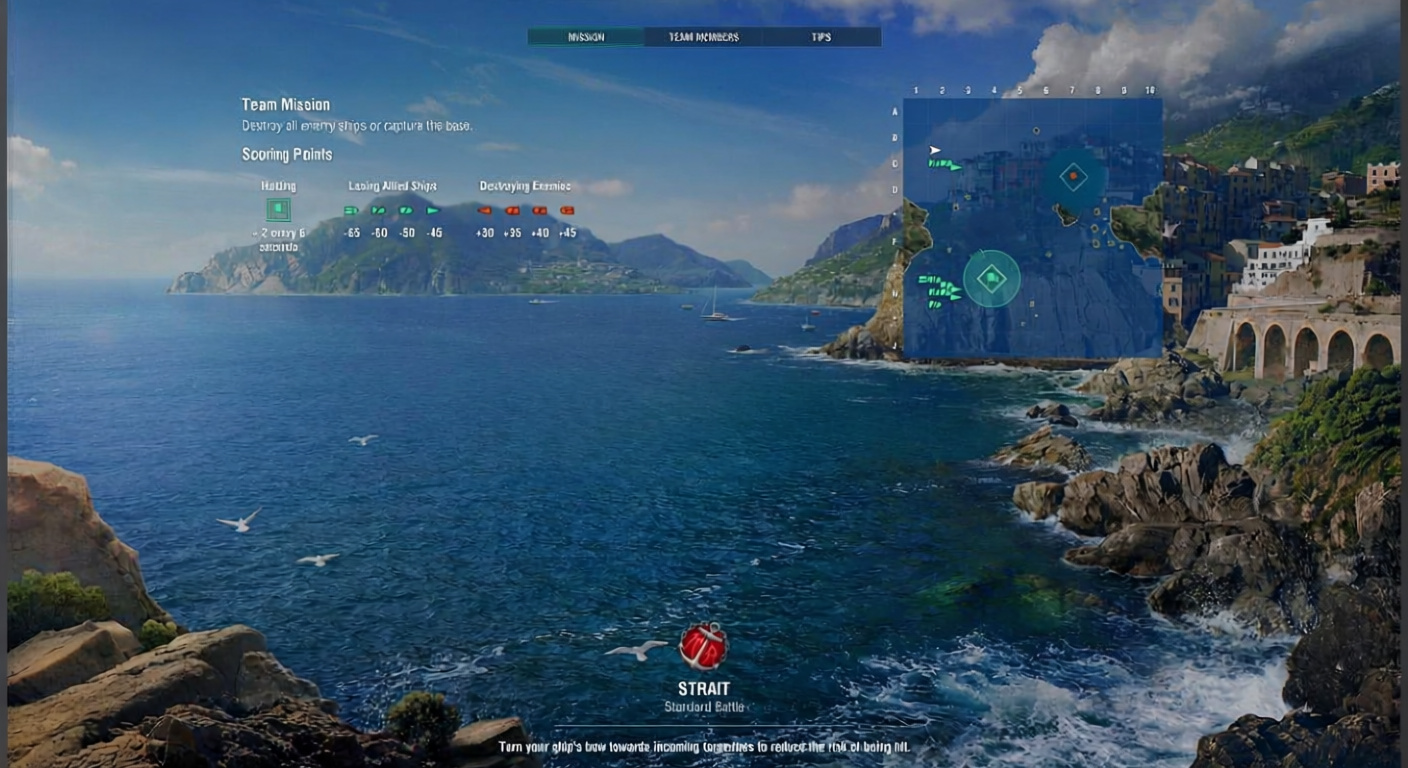
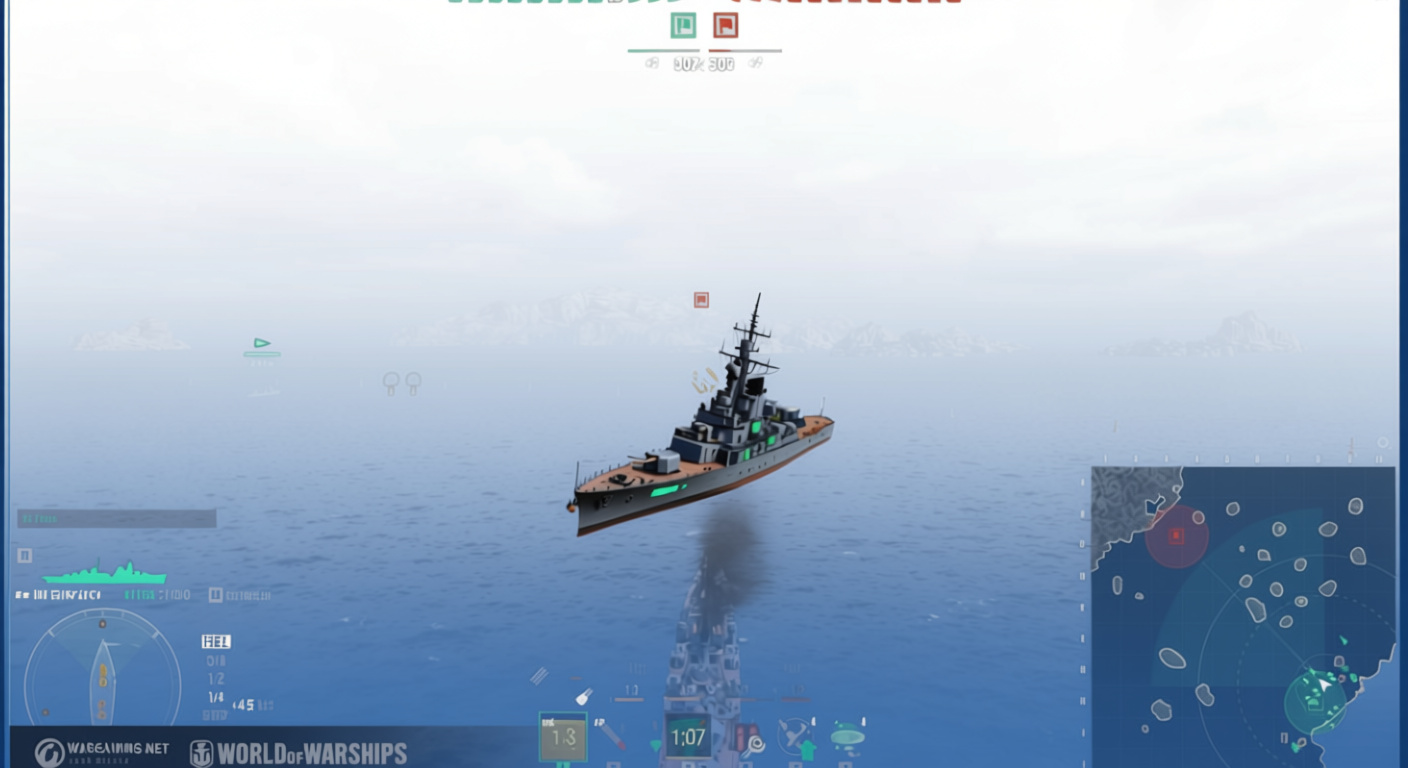
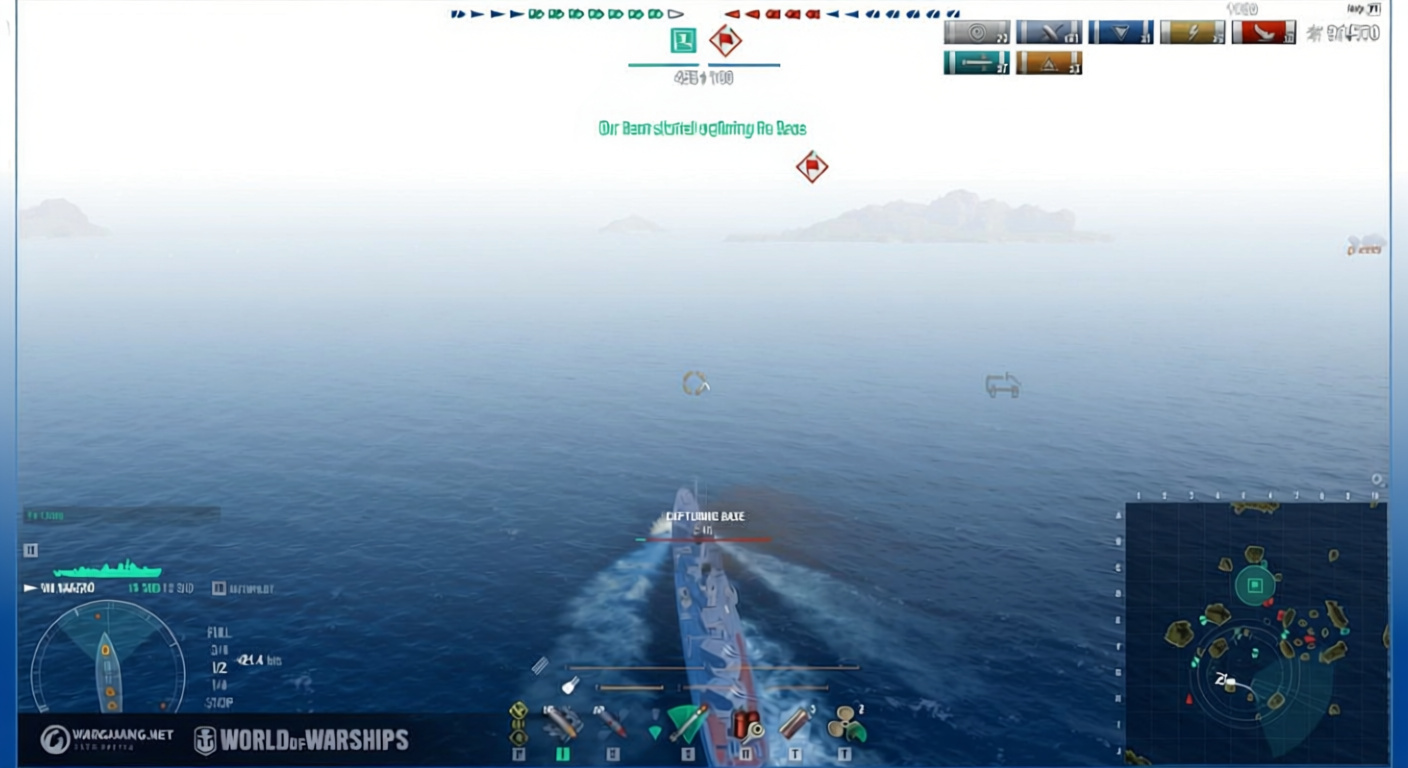
- Dual bases
- Cap theirs or sink ’em all
- Cap: Linger for points; ally bumps 50% (two-ship max boost)
- Defend: Direct hits halve points (one doesn’t ripple)
- HE fires ignore; own base entry halts; exit resets
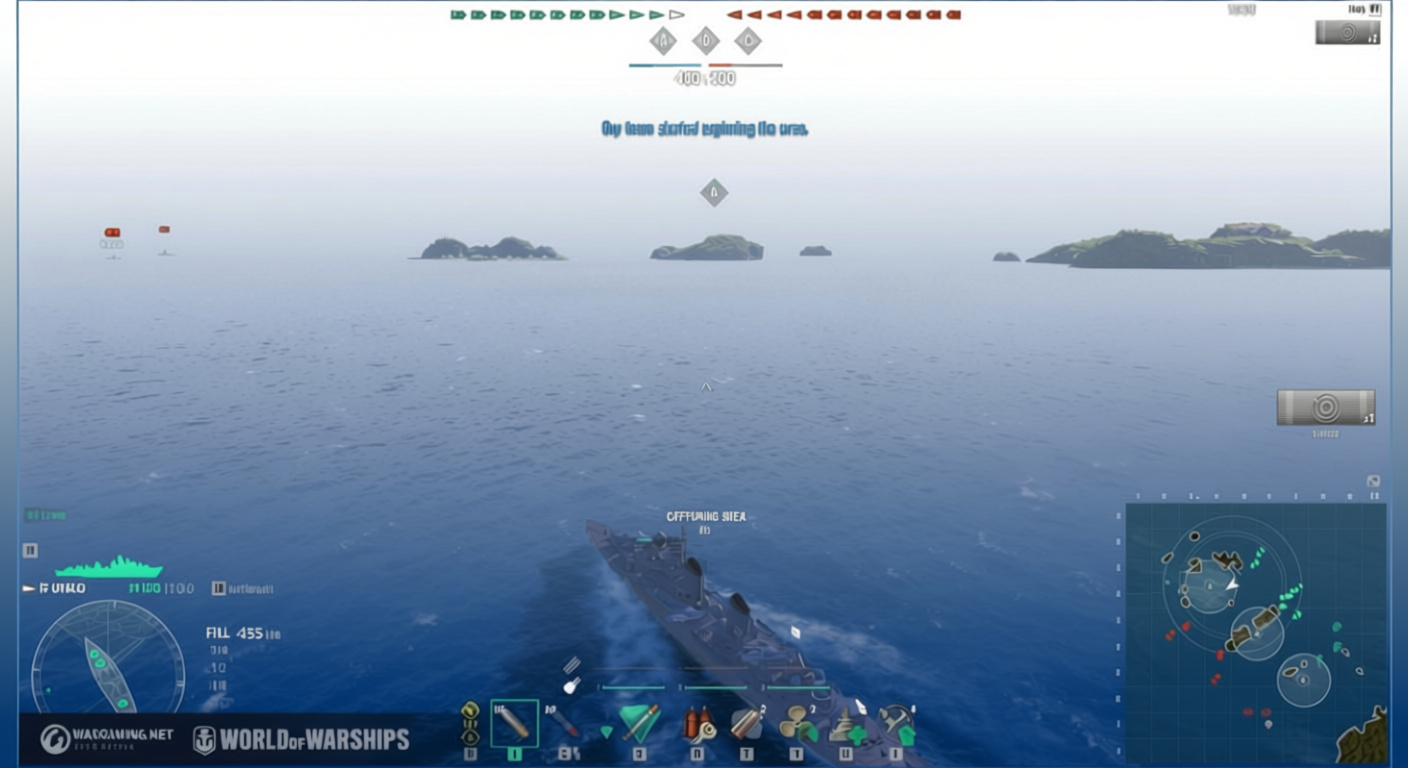
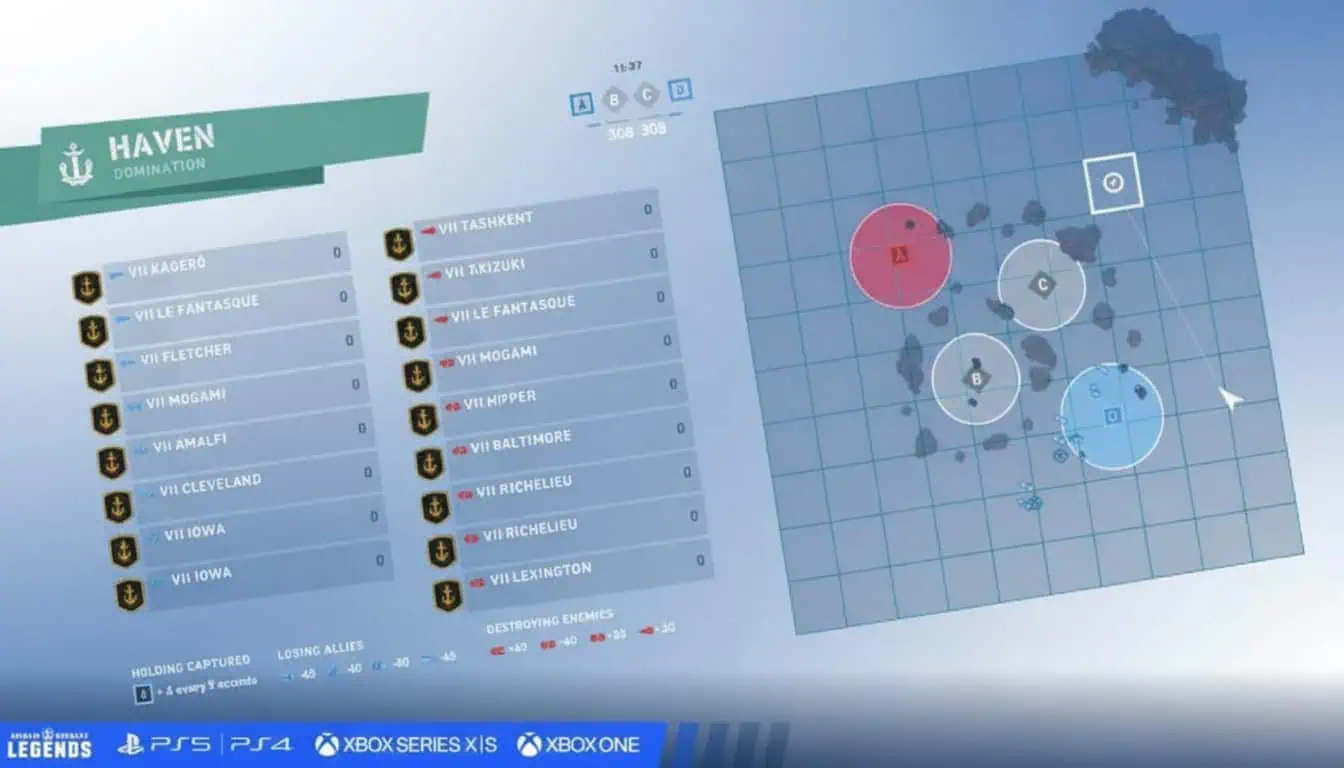
Domination:
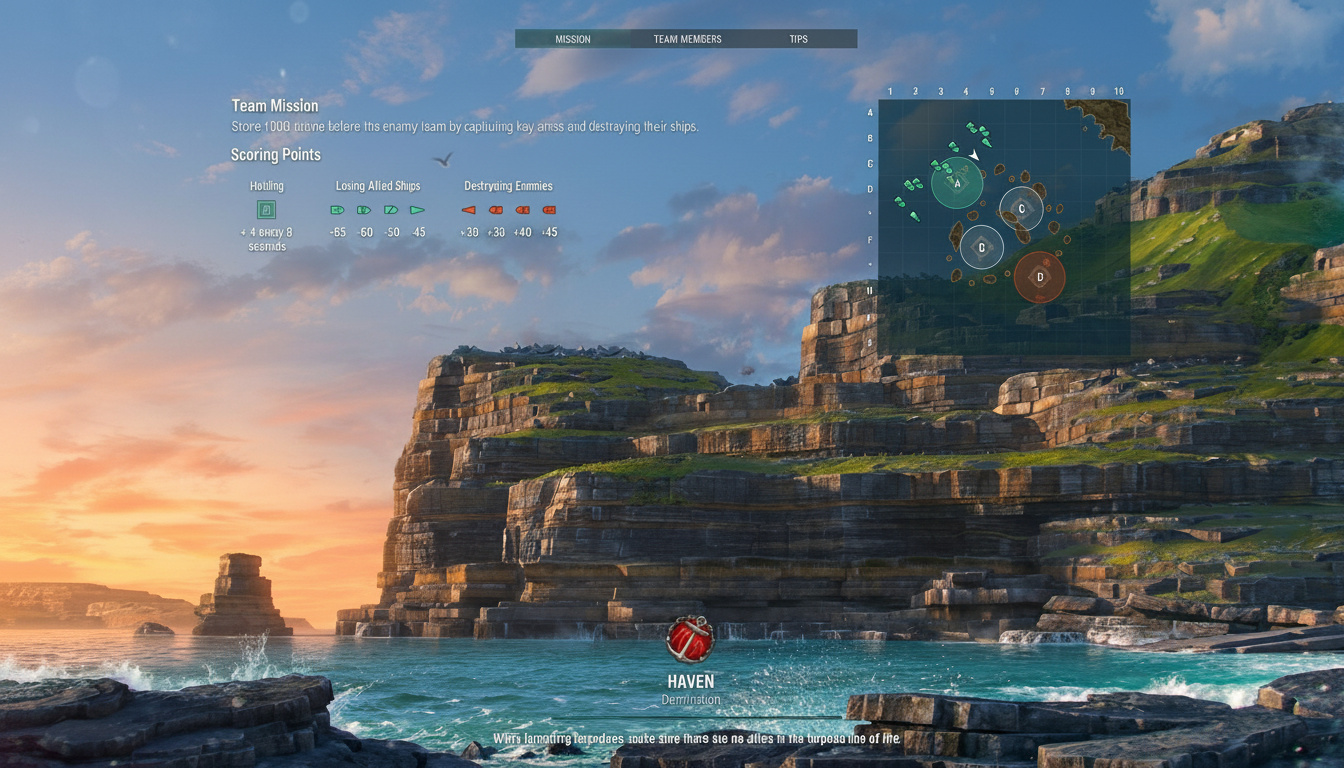
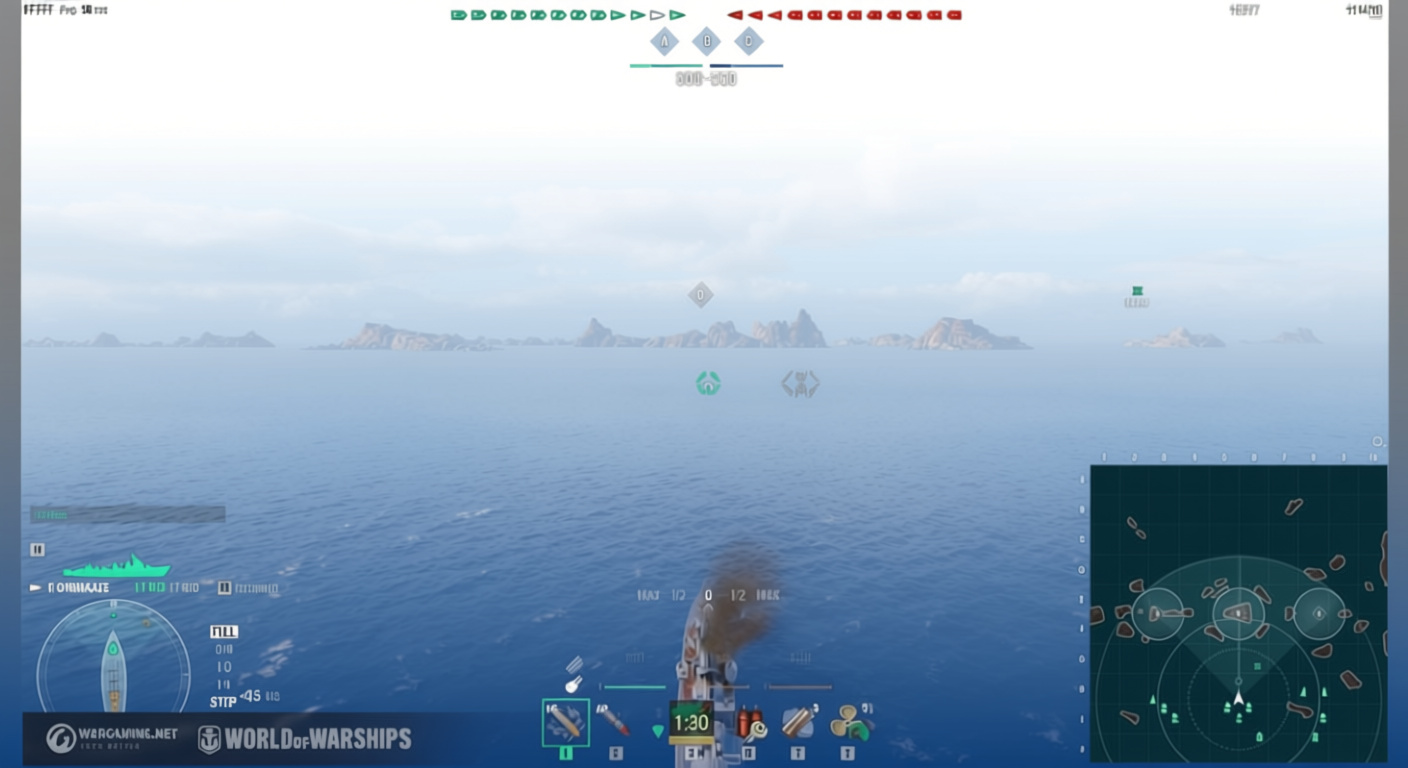
- 3 – 4 Key Areas
- Hold for points
- 1,000, zero enemy, or wipe
- Standard cap rules
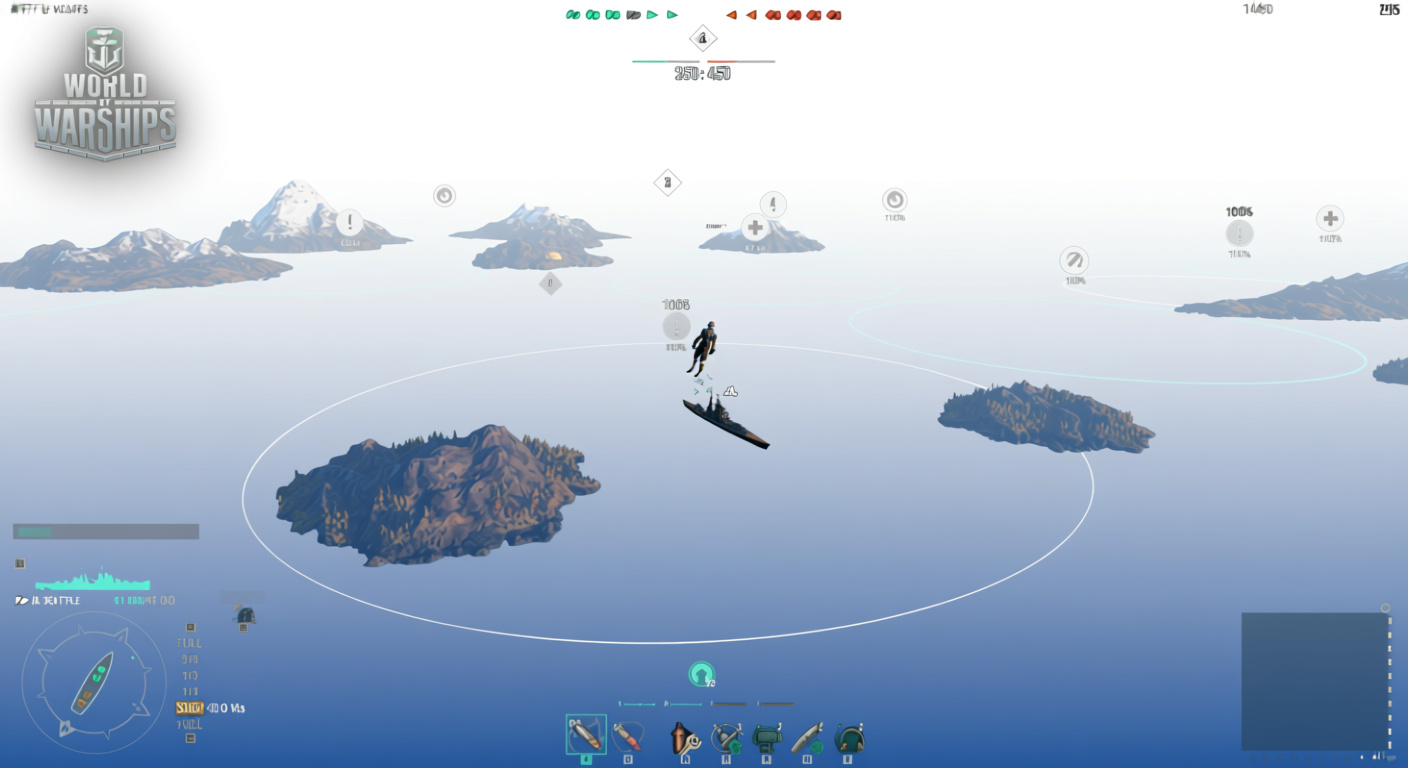
Arms Race:

- Late single Key Area, shrinks
- Grab for point flood
- Buff zones spawn – enter for ship perks all game
- Same buffs stack
Maximum battle duration: 20 minutes across all modes (battles rarely last that long though).
Fundamentals of Combat: Aiming, Maneuvering, and Awareness
Tech skills split noobs from BB chum.
Aiming Basics & Crosshair Setup
Binoc zoom drops crosshair lines for range, spot. 14 statics, 1 dynamic (zoom-scales) at Settings > HUD > Crosshair.

Background templates fight glare – shell hell demands it for 12km DD tracks.
Leading Targets Step-by-Step:
- Zoom enemy
- Clock speed/course
- Lead current spot (shell arc + speed dictactes)
- DDs far? Full hull lead min
- Tweak off first splash
Weak Spot Targeting:
- Supers take HE full, spark blazes
- Cits (belly core) AP nukes
- Angle skips – perpendicular hits
Destroyer Torpedo Aiming (This Deserves Special Attention)
DD torps make or break – botch, you’re dead weight.
Leading Shots:
- Fire future spot, not now
- Torp travel 60 – 90s range
- Course-predict
Spread Management:
- Wide spread: Zone lock, wild turns
- Narrow spread: Pinpoint pain, straightliners
Prediction Tactics:
- Straight? Cake
- Slow/turn? Recalc
- Never if allies block – teamkill fines sting
Maneuvering for Survival
Turn radius, accel/decel knowledge = life insurance.
Angling vs Broadside:
- Bow/stern slashes profile – ricochets galore
- Trade: Front/back guns only
- Side-on? All broad, cit pen city (RIP)
Dodging Shells:
- Juke speed/dir random
- 8 – 15s incoming range – exploit
- Straight >10s? Suicide
Torpedo Evasion (Critical Skill)
Spot torps? Juke now.
If Torpedoes Approach from Side:
- Bow to ’em
- Hard slow
- Thread or bow-pass
If Torpedoes Are Far:
- Gentle bow turn
- Speed tweaks
If Torpedoes Are Close:
- Hard weave gaps
- Throttle/stop per space
Against Acoustic Torpedoes (Submarines):
- Damage Control kills ping highlight
- Post-kill, straight runners
- Hold DCP till close – no reping
Common Mistakes (Stop Doing These)
- Torpedo spamming at long range: Wasted shots, easy dodges
- Charging into objectives alone: Focus fire vaporizes
- Sitting in smoke without moving: Radar nails you
- Ignoring minimap: Blind to doom
- Opening fire unnecessarily: Early spot = early grave
Ship-Specific Play and Strategy
Class tweaks or die.
Destroyers: The Scout Assassins
Main Roles:
- Torpu nukes
- Team spots
- Cap contests
- Smoke hides/supports
Playstyle Differences:
| Type | Examples | Focus | Tactics |
|---|---|---|---|
| Torpedo-focused | Japanese DDs | Stay hidden, launch torpedoes | Avoid detection, maximize torpedo hits |
| Gunboat | USN, Russian DDs | Engage enemies, contest caps aggressively | Use guns actively, trade HP when advantageous |
Stealth & Positioning (Non-Negotiable for DD Survival):
- Undetected rules – stealth’s your shield
- Islands/smoke LOS breaks
- Blind rushes kill – orbit caps, no crossfire dives
- Constant motion – sitting’s death
- Detection check; radar/sonar dodge
Torpedo Usage:
- Heavy leads (drill it)
- Wide chaos turns
- Narrow straight prey
- Behavior reads
- Ally clear – no blues
Using Guns (Gunboat DDs):
- Spotted? Blast away
- Juke shoots
- Supers/weaks max DPM
- Edge fights only
Capturing Objectives & Spotting:
- Cap poke, no solo charge – CA/BB backup
- Lead spot (close leash)
- Smoke retreats/protects
- Radar cruisers smoke-pierce
Survival Tips:
- Stronger DDs? Bail early
- Radar/Hydro smoke-busts – anticipate
- CV planes shred – AA ally hug
- Speed out when lit
Team Play:
- Quick comms sync
- Early YOLO? Trash – late alive gold
- Pos calls nonstop
Battleships: The Heavy Hitters
Strengths:
- HP tanks
- Salvo crushers
- Close sec batteries
- Front bully
Key Tactics:
- Armor angle always – no sides unless clear
- Reloads sting – perfect shots
- Range support
- Team push/kite matchups
Weaknesses:
- Turn slog, dodge hell
- Torp swarm sink
- Fires stack drain
Evasion Techniques:
- Space turns
- Bow to DD hunches
- Threat angle bounces
Tank/damage beasts – wrong spot wastes it. Max range cowards; solo charges delete. Support push, angle threats, island repos.
Cruisers: The Versatile Support
Role Flexibility: AA? Screen? Zones? Cruisers own.
Best Practices:
- Speed kite
- Angle BBs (no tanking)
- Island abuse
- Multi-threat dodge
Anti-Air Duty:
Tier V+ Defensive AA – squad close, pop. Auto, time wins.
Supporting Team:
- BB spots
- DD hunts
- Cap DD relief
Aircraft Carriers (and Battle Carriers/Hybrids)
Squad control shift – steep.
Main Controls (Console-Focused):
-
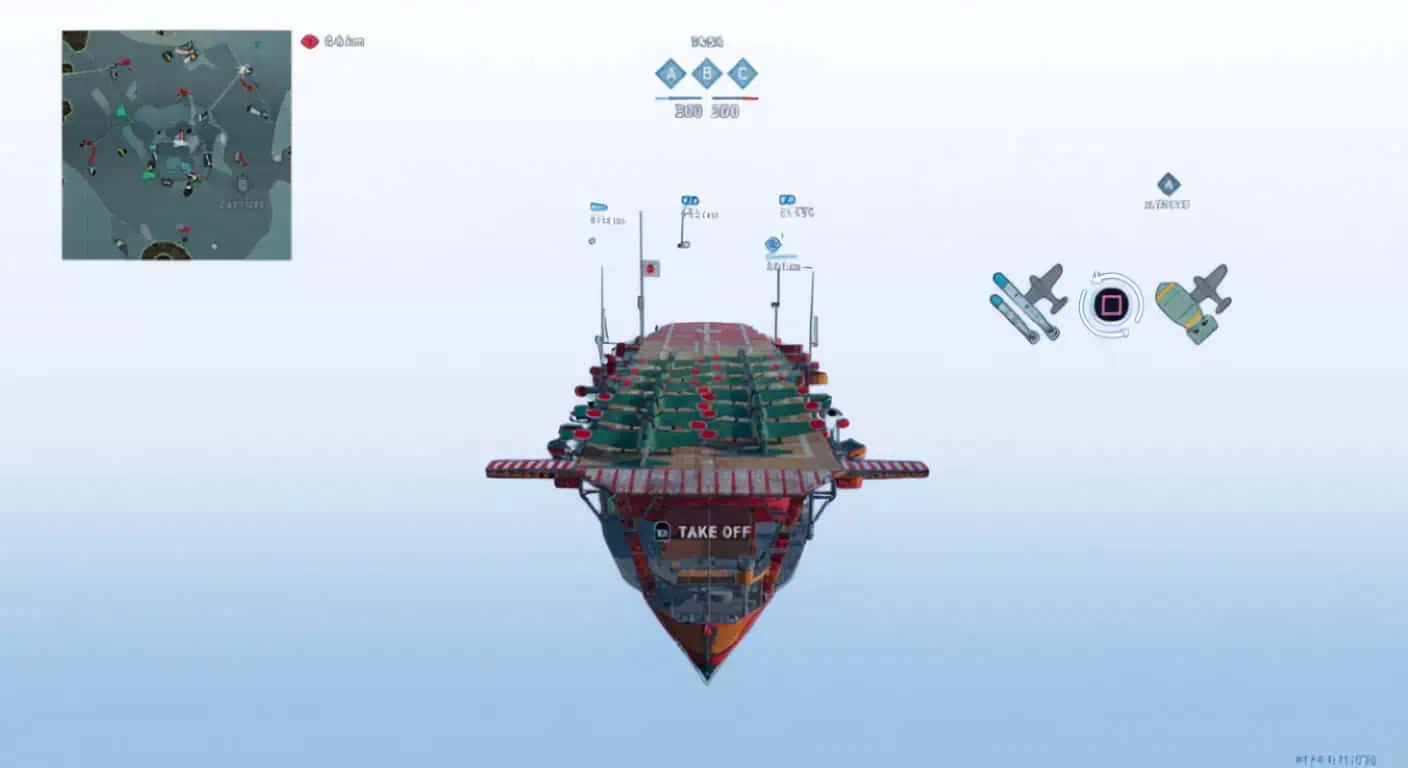
Launch a squadron:
- Choose torpedo or dive bombers: press X (Xbox) or Square (PlayStation)
- Launch planes: Right Trigger (Xbox) or R2 (PlayStation)
-
Move carrier while operating squadron:
- Open Tactical Map: View button (Xbox) or touchpad (PlayStation)
- Set automated course by selecting map square and pressing X (Xbox) or Square (PlayStation)
- Carrier moves on autopilot and avoids collisions
- Manual movement overrides autopilot; plot new course to resume
-
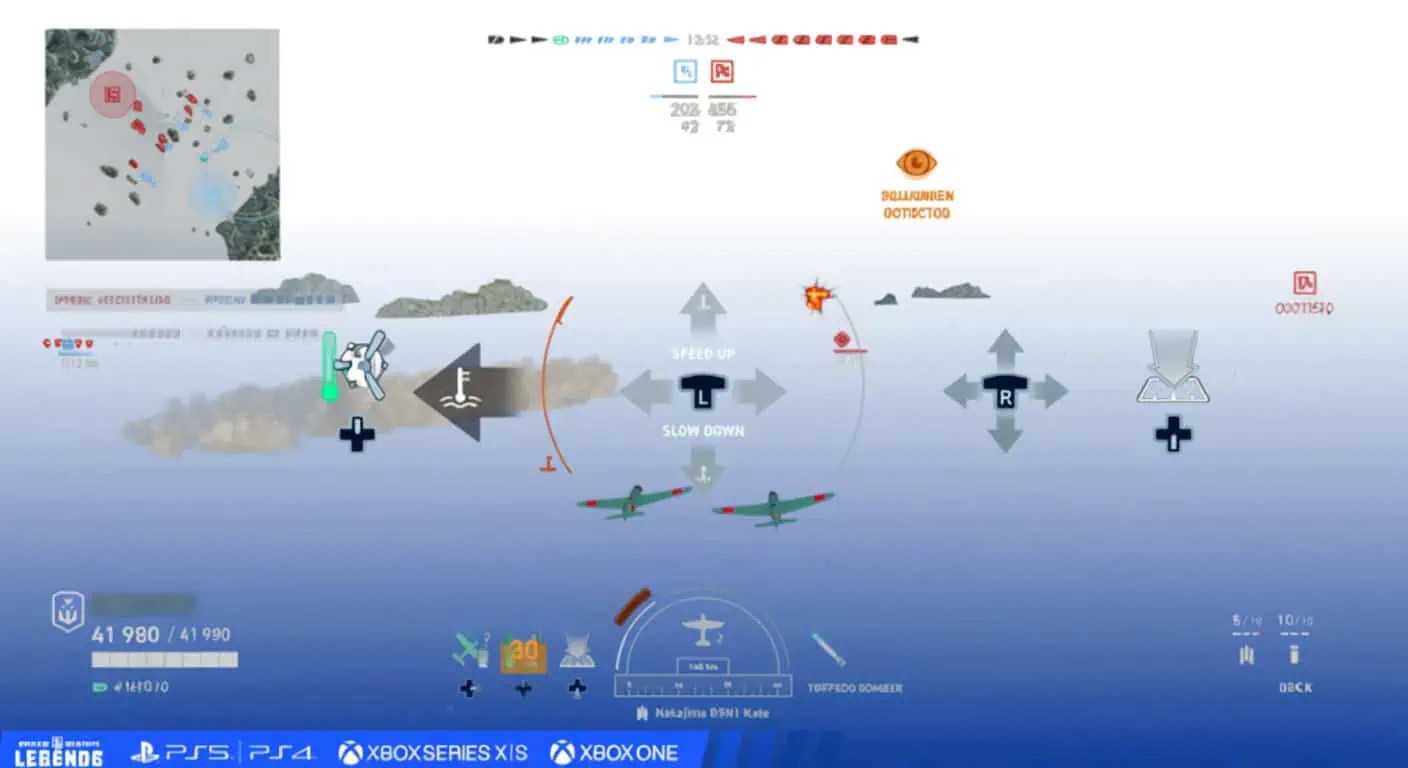
Maneuver the squadron:
- Left stick: steer left/right
- Left stick forward/backward: speed up/slow down (heats engines)
- Cool engines with consumable (available once planes airborne)
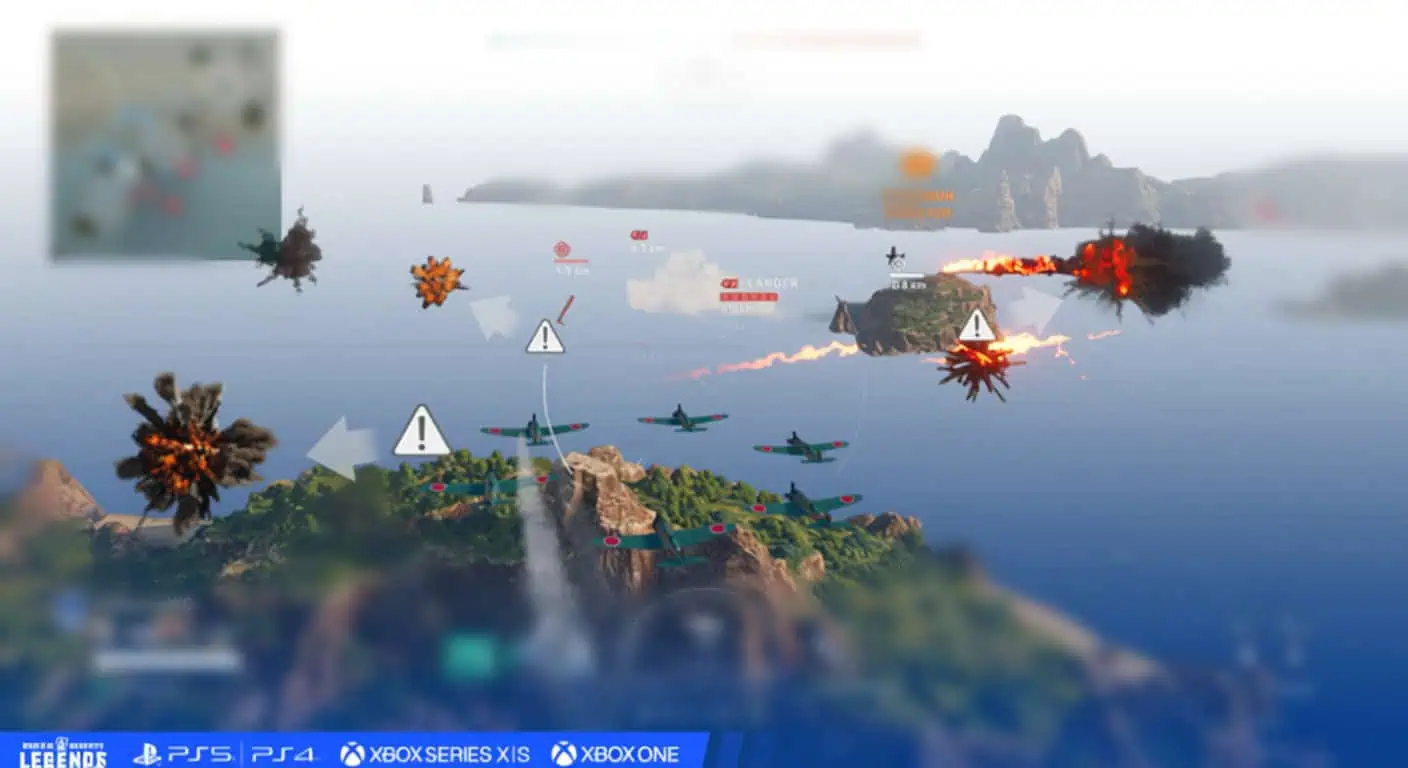
- Avoid flak explosions – AA suites deal damage over time; flak bursts can delete entire squadrons
Attacking with Torpedo Bombers:
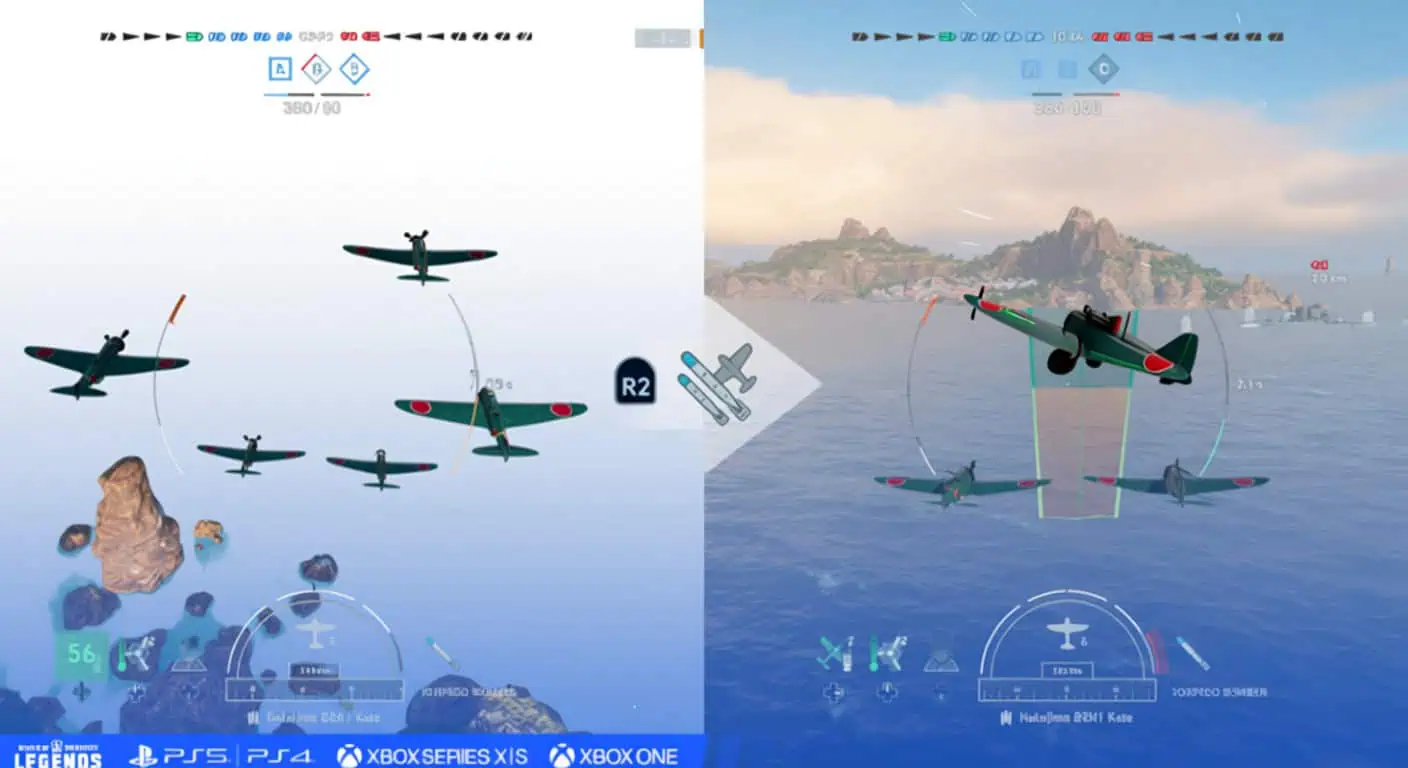
- Line up grey triangle with target
- Take significant lead ahead of their bow
- Press RT (Xbox) or R2 (PlayStation)
- Two planes descend to prepare launch
- Moving squadron left/right widens spread
- Speed up/slow down when approaching
- Press RT/R2 again to launch before countdown expires
- Don’t overshoot – torpedoes need arming distance
Attacking with Dive Bombers:
- Aim is an ellipse; bombs fall downward
- Lead fast targets (destroyers/cruisers) by a full hull-length or more
- Prefer lining up horizontally in front of ship and “overtaking” them with your aim
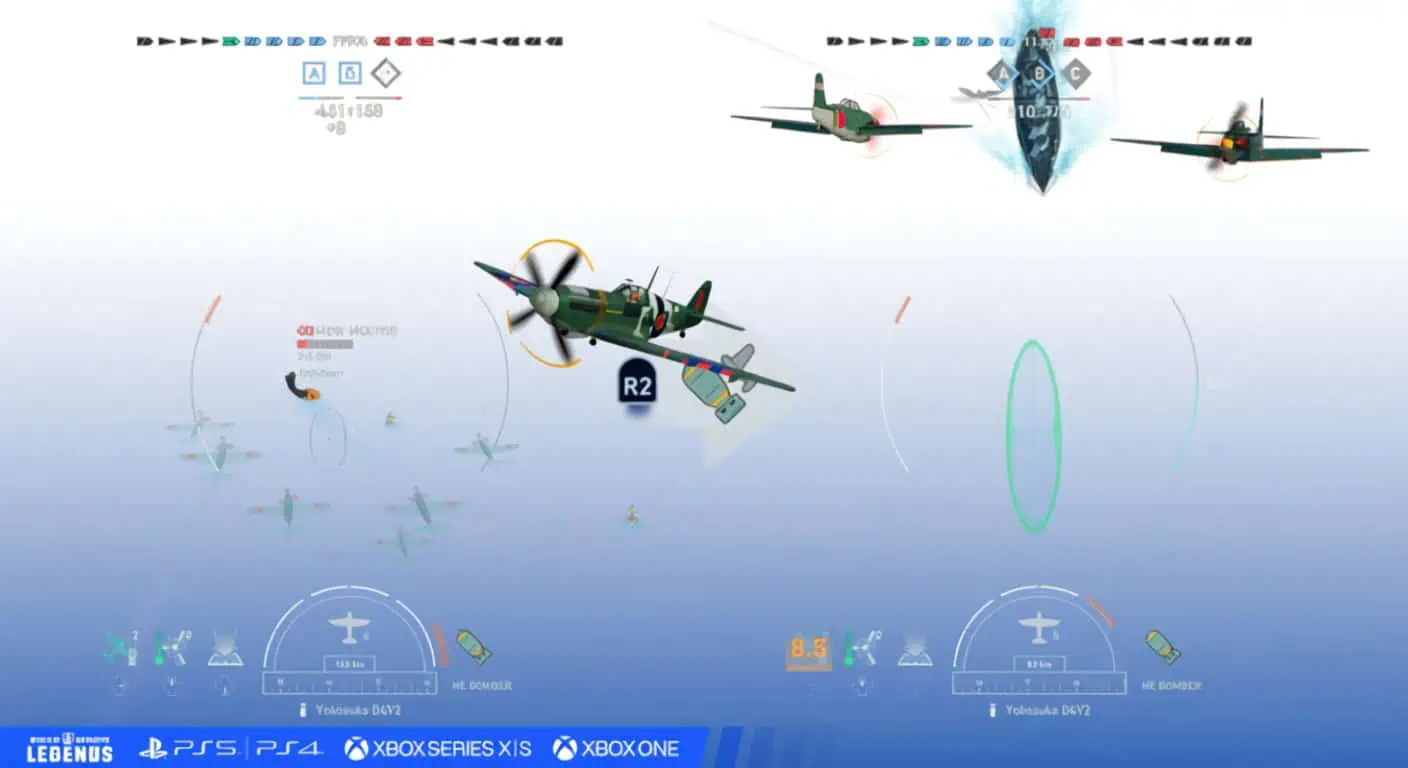
Squadron vs Fighters:
- Tier III carriers have limited options
- Tier V+ can call patrol fighters to defend squadrons
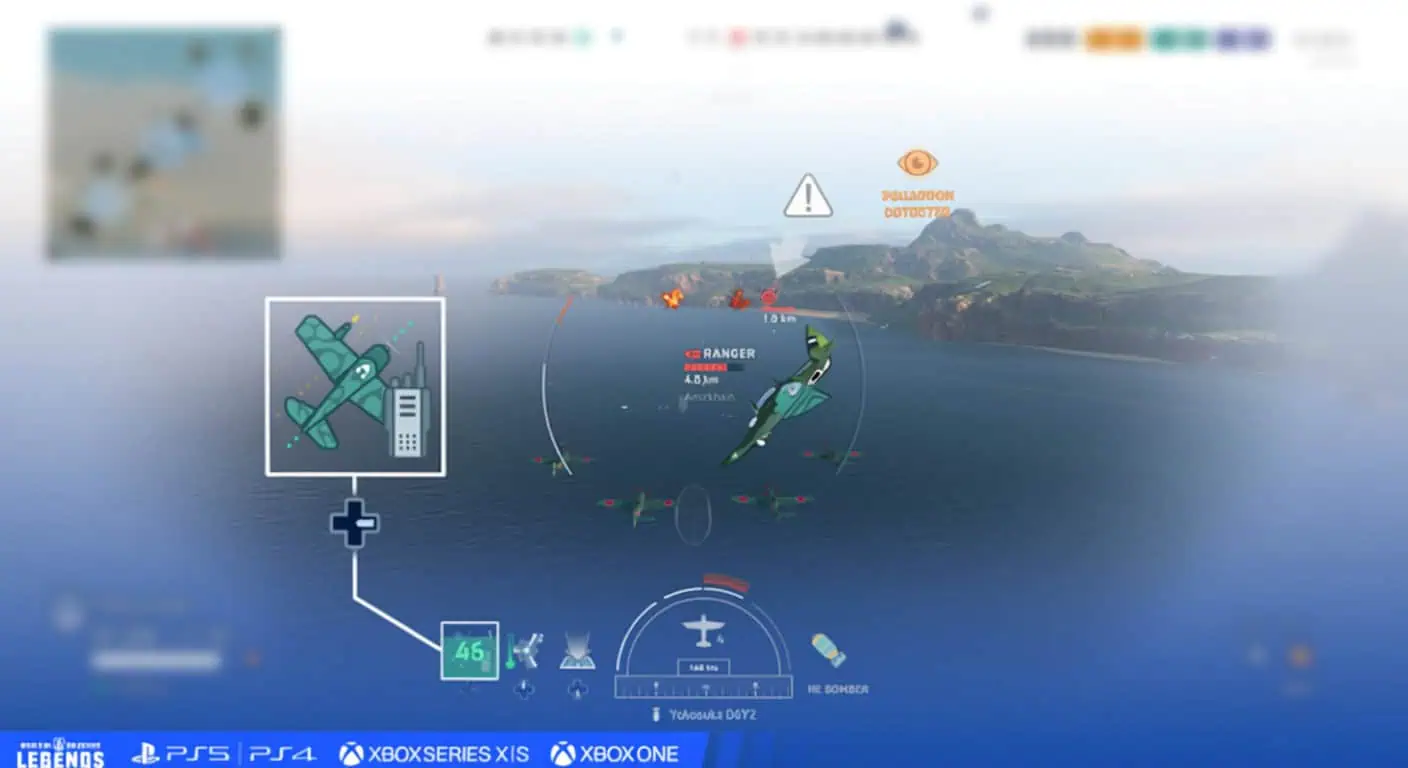
After Attack:
- Start another run if planes remain
- Return squadron to carrier by pressing down on D-pad
Trial/error heavy – Co-op grind first.
Essential Settings and HUD Customization
Defaults suck for edge – tune up.
Crosshair/Reticle Settings
Accessing: Esc > Settings > HUD > Crosshair
- 14 static options plus 1 dynamic (scales with zoom)
- Try different ones; personal preference varies wildly
- Adjust background template for contrast
My Recommendation: Dynamic crosshair with high-contrast background for visibility in all conditions.
Alternative Interface Modes
Accessing: Esc > Settings > HUD > Interface > View


Three versions exist:
- Simple: Basic info about allied/enemy ships only
- Adaptive: Shows info only when locked onto targets, near ships, or in Binocular view
- Full: Detailed information always displayed with extra parameters near reticle
Use Full Mode – the additional information (player names, ship names, exact HP) helps decision-making dramatically. You need to know if that enemy cruiser has 5,000 HP or 25,000 HP before committing to an attack.
Loading Indicators
Accessing: Settings > HUD > Indicators > toggle “Separate armament reloading”

Shows a bar above consumables with loading progress of each weapon mount – crucial for tracking when torpedoes are ready or which gun turrets can fire.
Default only shows main battery reload via aiming reticle.
Team Lineups
Accessing: Settings > HUD > Interface > toggle “Team lineups”
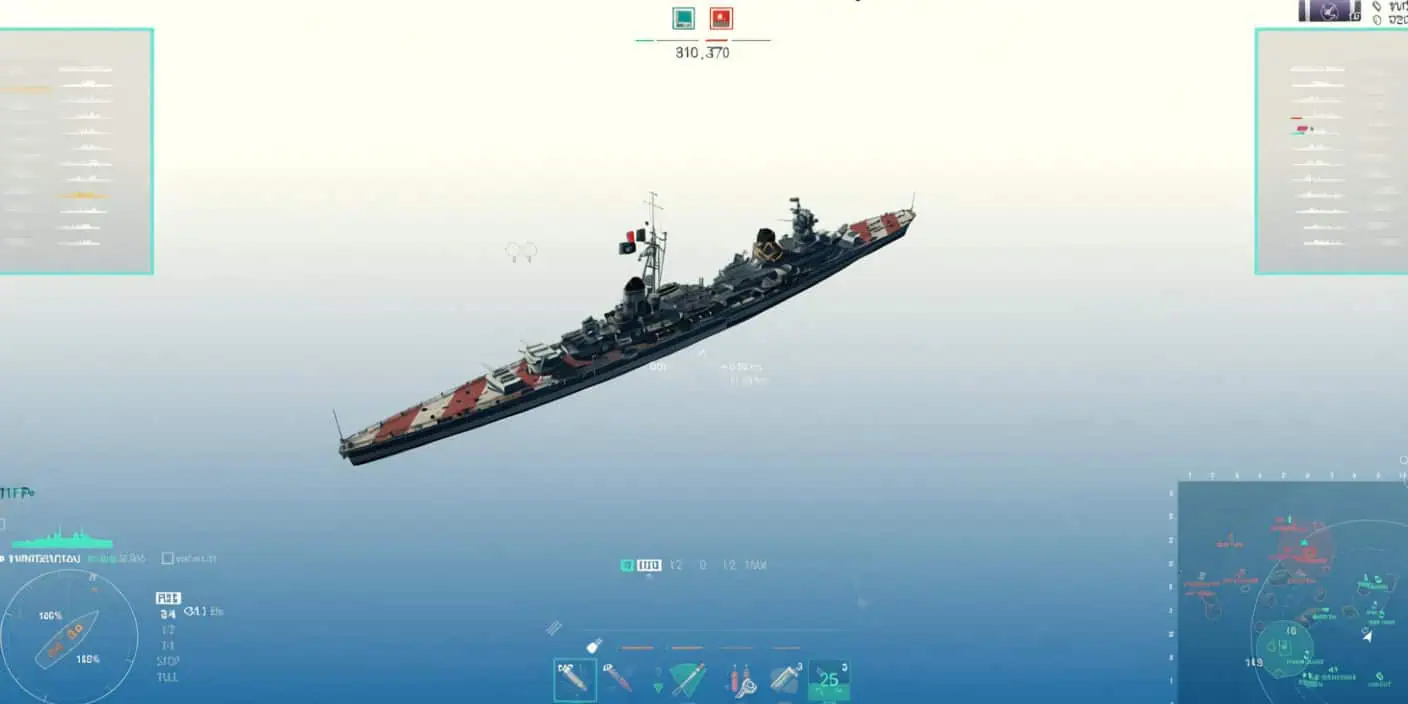
Displays two columns on either side of screen showing:
- Ship silhouette
- Player name
- Number of kills
Helps track who’s alive/dead and who’s performing.
Additional Damage Counters
Accessing: Settings > HUD > Interface
Shows:
- Amount of damage you could have taken from shells that hit you or landed within 700 m
- Amount of damage allies inflicted to enemies you spotted
Useful for understanding your spotting contribution.
Minimap Optimization (Critical Setup)
Adjust size in battle with + and – keys.
Open Minimap Menu: Hold Ctrl to bring up cursor; click cog icon in Minimap upper-right.
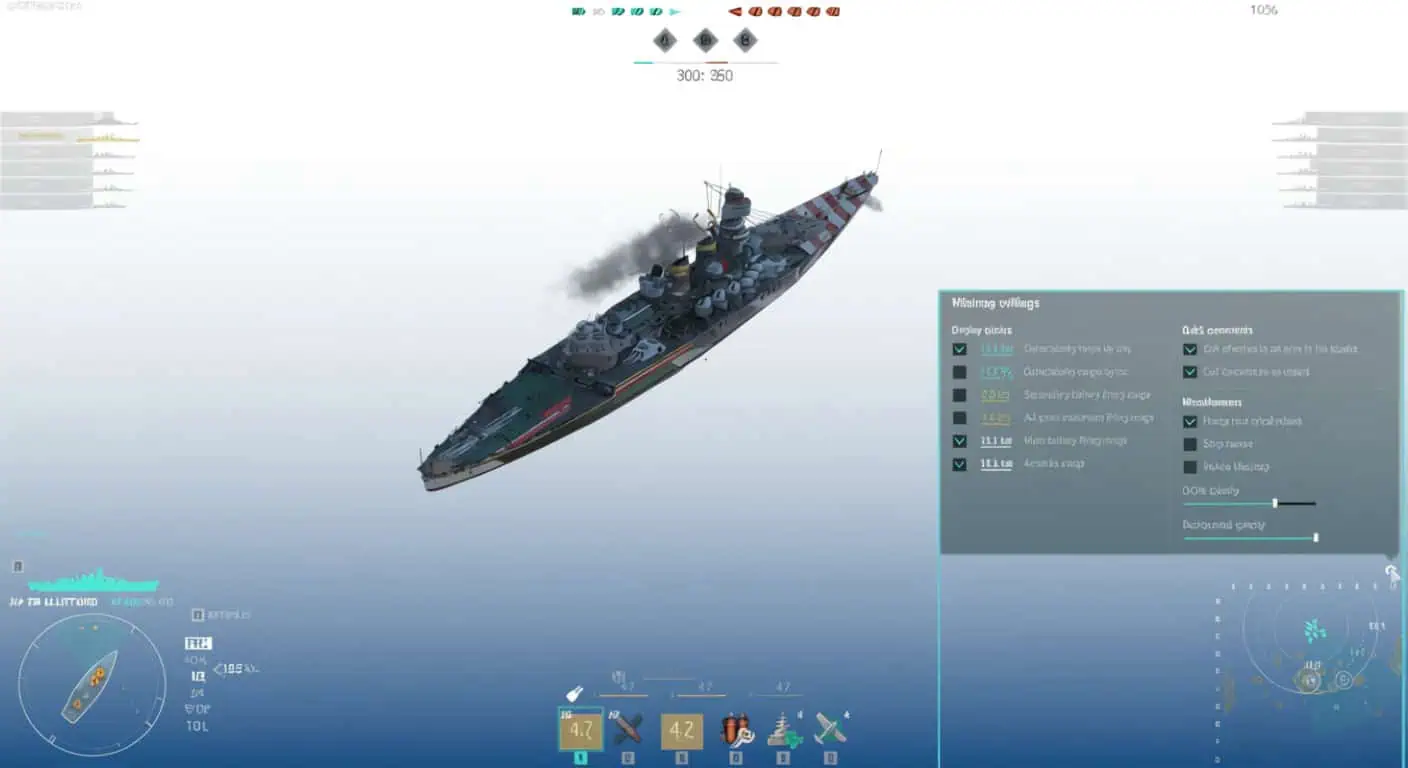
Options:
- Toggle display/hide for range rings:
- Detectability by air/sea
- AA range
- Hydroacoustic Search range
- Surveillance Radar range
- Transparency sliders for rings and water
- Quick commands to ping map areas/objects
- Range numerical values: displays distance (km) from your ship to edge of active rings
- Ship names: displays enemy/ally names under icons
- Rotate Minimap: automatic rotation responding to your view direction
My Setup:
- Maximum size possible
- All range rings enabled
- Ship names ON
- Rotation OFF (personal preference – some love it)
- Numerical values ON for accurate positioning
Audio Customization
Accessing: Esc > Settings > Audio
Voiceover Language: 17 options available
Voiceover Types:
- Standard: Commanders speak in selected voiceover language
- National: Voiceover matches ship Commander’s nation
- Extended: Unique phrases from Commanders with individual voiceovers
- Individual: One Commander’s voiceover for all messages, including allies’ commands
Sound Presets:
- Standard: Default balanced audio
- Cinematic: Foregrounded sound effects; vivid and saturated
- Simple: Reduces effects, focuses on notifications
- Night: Optimized for low/medium volumes; preserves effects/notifications
- Custom: Manual sliders to fine-tune each sound group
I recommend Night preset for long sessions – easier on ears while maintaining critical audio cues.
Commander Skills and Upgrades for Beginners
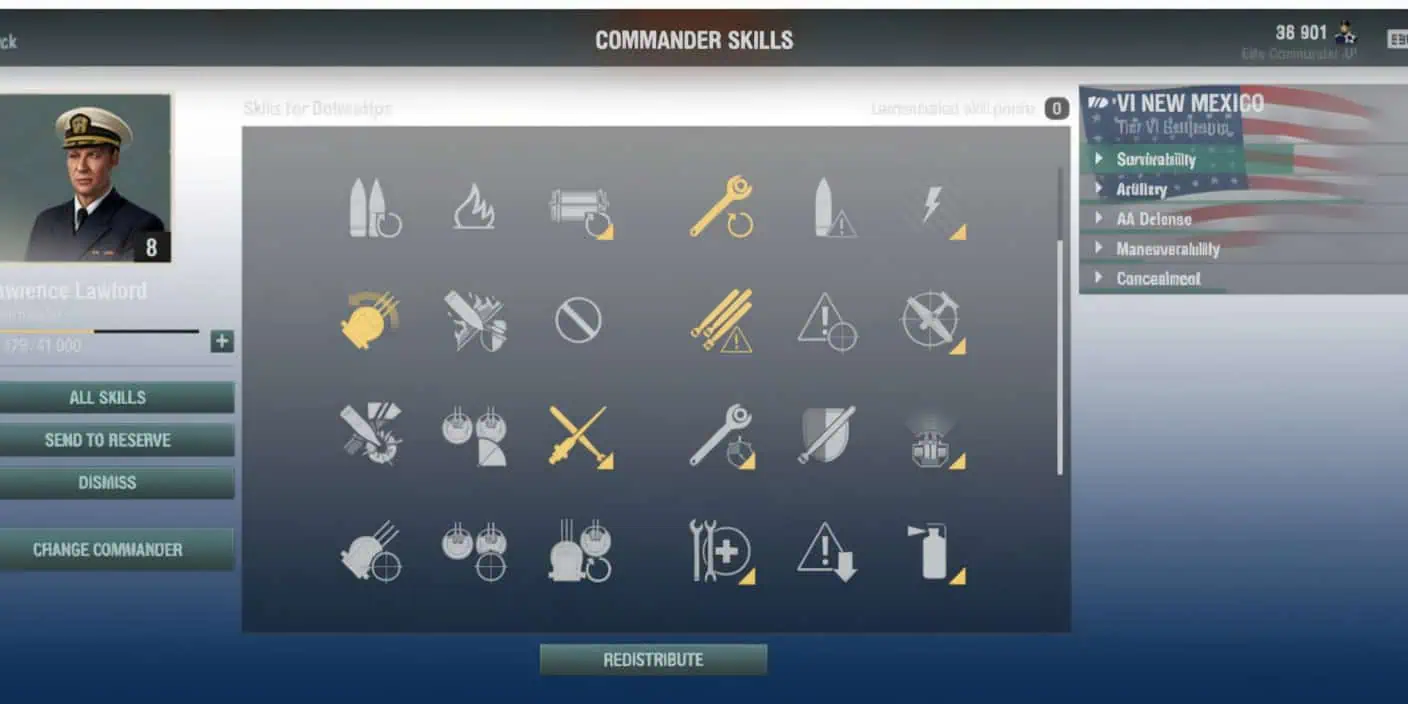
Commanders grind levels, drop points for skills. Game-changers.
Priority Skills (Everyone Needs These First)
Concealment Expert (Max Priority):
- Shrinks spot range
- Spot-dodge godsend
- Every ship, first slot, no debate
Last Stand (Destroyers Specifically):
- No engine/rudder cripples
- DD fire survival
- Conceal next
Skills to Avoid Early:
- Adrenaline Rush: Meh for quick-diers
- High-end specs: Vet-only
Module Upgrades (Equipment for Your Ship)
Common upgrades across tiers:
Slot 1 Options:
- Aiming Systems Mod 1: Tightens gun spread (all-ship pick)
- AA Guns Mod 2: AA reach (Tier IV+ CV foes)
Slot 2 Options:
- Propulsion Mod: Quicker accel (DD/CA kings)
- Damage Control System Mod 1: Fire/flood cuts (BBs)
Slot 3 Options:
- Concealment System Mod: Spot shrink (must)
Slot 4 Options:
- Main Battery Mod 3: Turret zip
- AA Guns Mod 3: AA DPS (Tier VII+)
- Rudder Shift Mod: Helm snap
Basic Upgrade Path for Beginners:
- Slot 1: Aiming Systems Mod 1
- Slot 2: Propulsion Mod (or Rudder for destroyers depending on ship)
- Slot 3: Concealment System Mod (always)
- Slot 4: Main Battery Mod 3
Economic Boosters & Camouflages
Buy economic camos from Armory with doubloons – the 100% XP/credits boost legitimately carries you through Tier V grind without needing premium time.
Doubloons are premium currency but economic camos are relatively cheap and provide massive value. This is the one worthwhile real-money investment if you’re going to spend anything.
Resource Management and Progression Tips
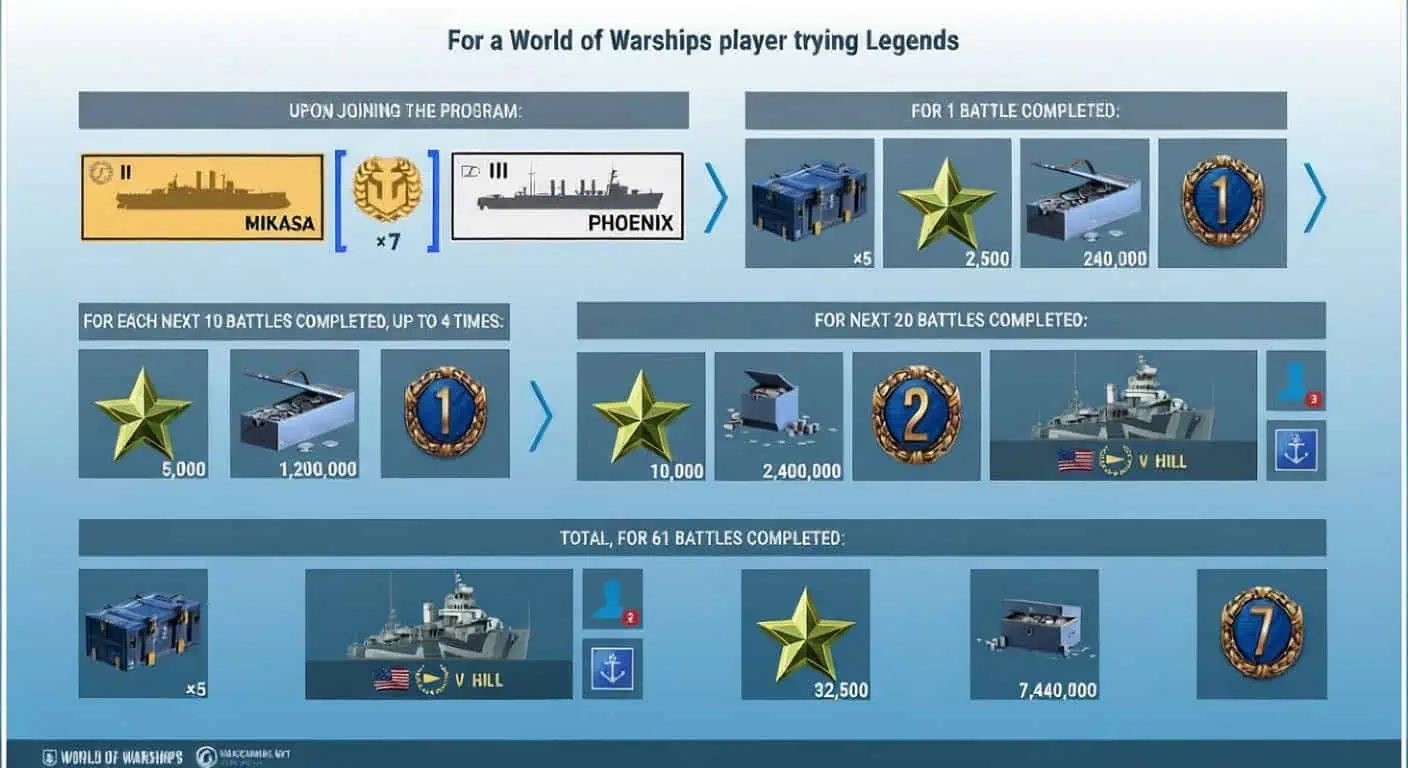
Resources dictate climb speed.
Earning Resources
Coal (Primary Free Resource):
- Dailies ~5k/week steady
- DDs/CAs blitz missions (BBs lag)
- Armory premiums later
Steel (Advanced Resource):
- Ranked solo grind
- Clan scraps
- Random Ranked? Tilt city
- High-tier premiums bank
Free XP:
- Battle drip
- Skip tree trash
- Example: Skip Mahan from Gaede in US destroyer line for best DPM at Tier VI
Spending Tips (Don’t Waste Resources)
NEVER buy premium ships with real money as a beginner – complete waste. You don’t know what playstyle suits you yet; expensive premiums sit in Port unused.
Efficient spending:
- Economic camos (if spending doubloons)
- Free XP to skip terrible ships
- Save coal for mid-tier premiums once you understand what you enjoy
Grinding Smart:
- Daily/weekly missions consistently
- Use economic flags on ships you’re actively grinding
- Play during XP/credit events for bonus rewards
Consistently doing dailies/weeklies while focusing on efficient classes (DDs/cruisers for mission speed) accelerates resource growth exponentially.
Teamwork, Communication, and Mistake Avoidance
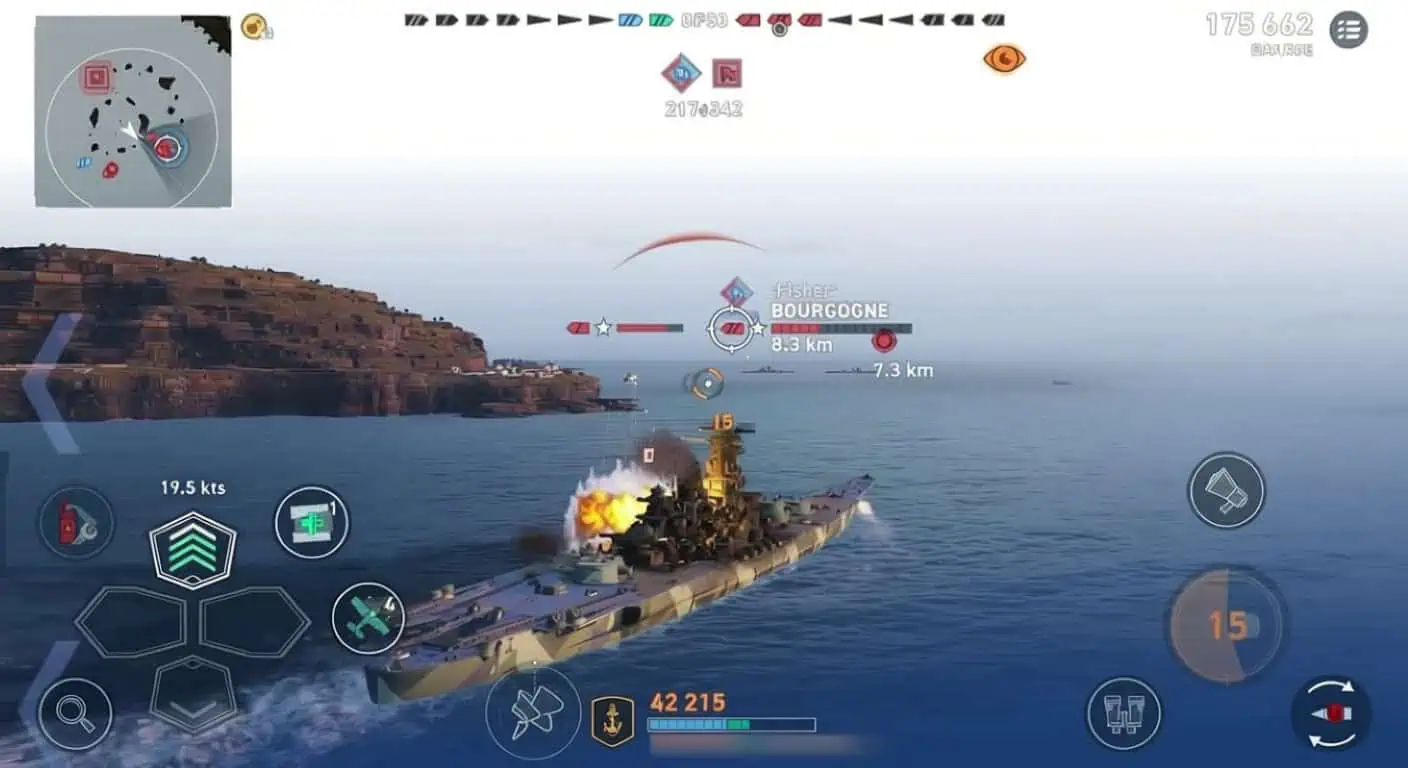
Solo queues flop – team stacks win.
Communication Best Practices
Quick Commands:
- Minimap pings
- “Support!” on caps
- “DD spotted!”
Team Play Essentials:
- Ally glue – wolfs perish
- Pos attacks
- Flank dreams? Isolation delete
Most Frequent Mistakes (Stop Making These)
Based on thousands of matches watching new players throw games:
- Torpedo spamming at long range: Torpedoes take forever to reach; enemies dodge easily; you accomplish nothing
- Rushing objectives solo: You get focused by 5+ enemy ships and deleted before allies can support
- Sitting in smoke without moving: Radar reveals you; predicted shots land even without spotting you
- Not watching minimap: You miss threats, miss opportunities, miss everything
- Over-aggressive at match start: Dying in first 5 minutes means you’re useless for remaining 15
Smart, patient teamwork beats solo glory every time. A dead ship contributes zero – staying alive and supporting teammates wins battles.
In-Game Profiles, Achievements, and Stats Tracking
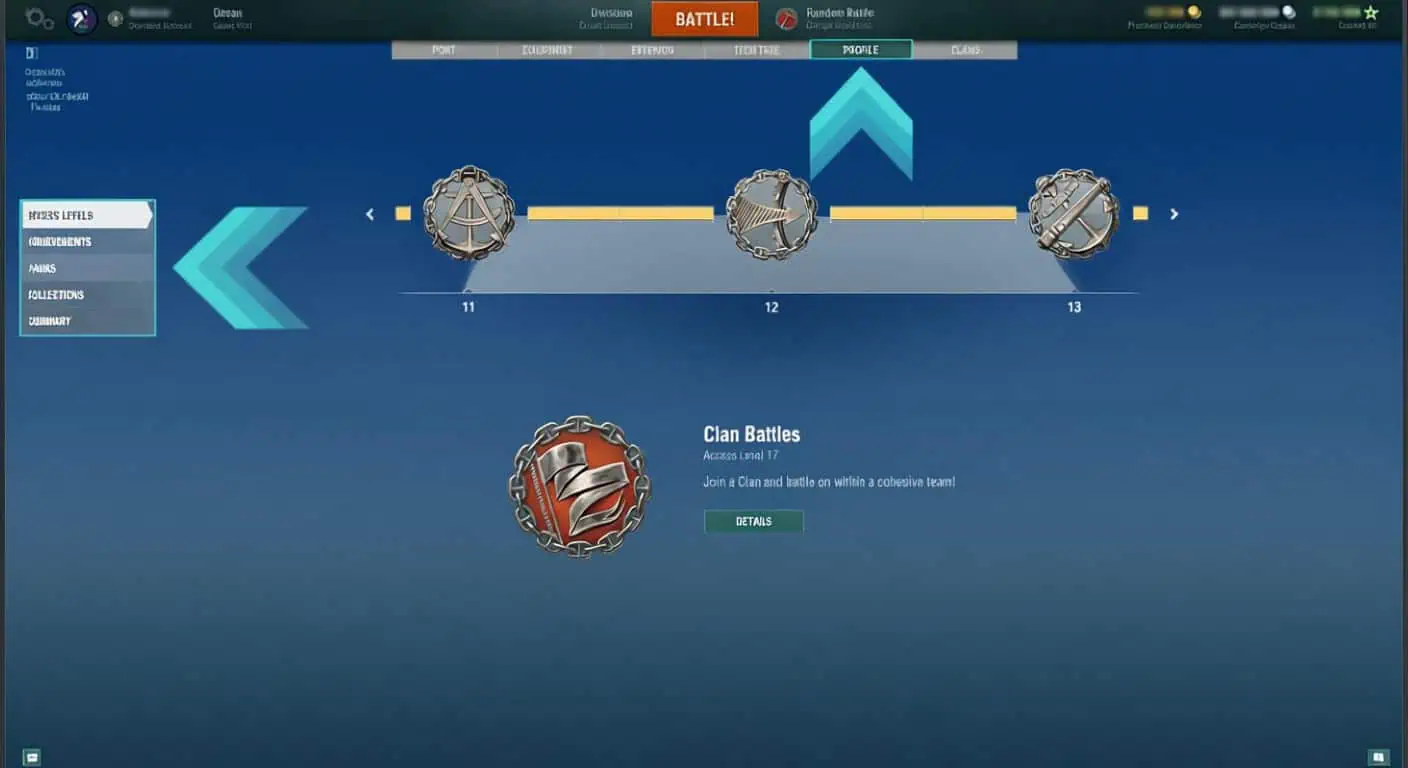
Access Levels
Battle count ups level – unlocks pour:
- Modes (Ops, Ranked)
- Slots
- Cmdr trains
- Extras
Achievements
Types:
- Combat Achievements: Battle feats
- Orders: Campaigns
- Standard: Milestones
- Commemorative: Events
Time/quantity sorts. Play fuel, brag rights.
Ranks (Ranked Battles)
Current season reqs:
- League track Bronze/Silver/Gold
- Rank rewards
- Qual next
Collections
Themed hauls:
- Ship lore
- Prizes (camos, Cmdrs, hulls)
How Collections Work:
- Section splits
- Descs per pic
- Section done = extra
- Full “Complete” tag
Collecting Items:
- Container drops mostly
- Exceptions (anniv feats)
- One sub focus
- Dups trade misses
Summary Page
Full stats dump:
- Battles/sinks
- Averages
- Metrics
Battle filter (Co-op/Random/Ranked). Ship list sorts:
- Win %
- Battles
- Tier
- Nation
- Type
Tooltip hovers.
Advanced Topics and Next Steps
Basics down? Level up.
Unlocking Advanced Modes
Operations (25 battles):
- PvE goals
- Mech practice sans PvP
- Bonuses reward spike
Ranked Battles (130 battles):
- Comp grind
- Mech solid first
Clan Battles (200 battles + Clan membership):
- Coord peak
- Active clan must
Advanced Mechanics Overview
Fire Mechanics:

- HE/bombs/rockets/depths spark
- Four zones max (fore/aft/two mid)
- Fire Prevent three zones
- Per zone DPS/detect up
- DCP kills
- Repair 100% heals
Flooding Mechanics:

- Torps/depths/ram
- Dual fore/aft (subs one)
- 30s CV/sub, 40s else
- Speed -30% fwd
- HP uninter:
- BB 20%/40%
- DD/CA 10% ea
- DCP only
- Repair full
Spotting & Concealment Deep Dive
Detectability Range:

- Foe spot dist/air
- Spotted ping
- Upgrades/skills shrink
Viewing Range:

- Max foe spot
- Minimap gray cam cone
- Tier min
- Dynamic = gun range + max(25%/3km)
- Higher wins
Smoke Mechanics

- LOS blind both (self too)
- Smoke hides from air
- Fire spikes detect big
- In-range = lit anyway
- Hydro/Radar auto
How Smoke Works:
- Equal blind
- Ally/enemy
- 2km ignores
- Quiet >2km ghosts (no Radar/Hydro)
- Fire detect lingers 20+s

Anti-Air Gameplay
Defensive AA Fire Consumable (Tier V+ Cruisers):

- Squad commit pop
- Auto time
- Slot 2
AA Modifications:
- Tier IV+: AA Guns Mod 2 range
- Tier VII+: AA Guns Mod 3 DPS
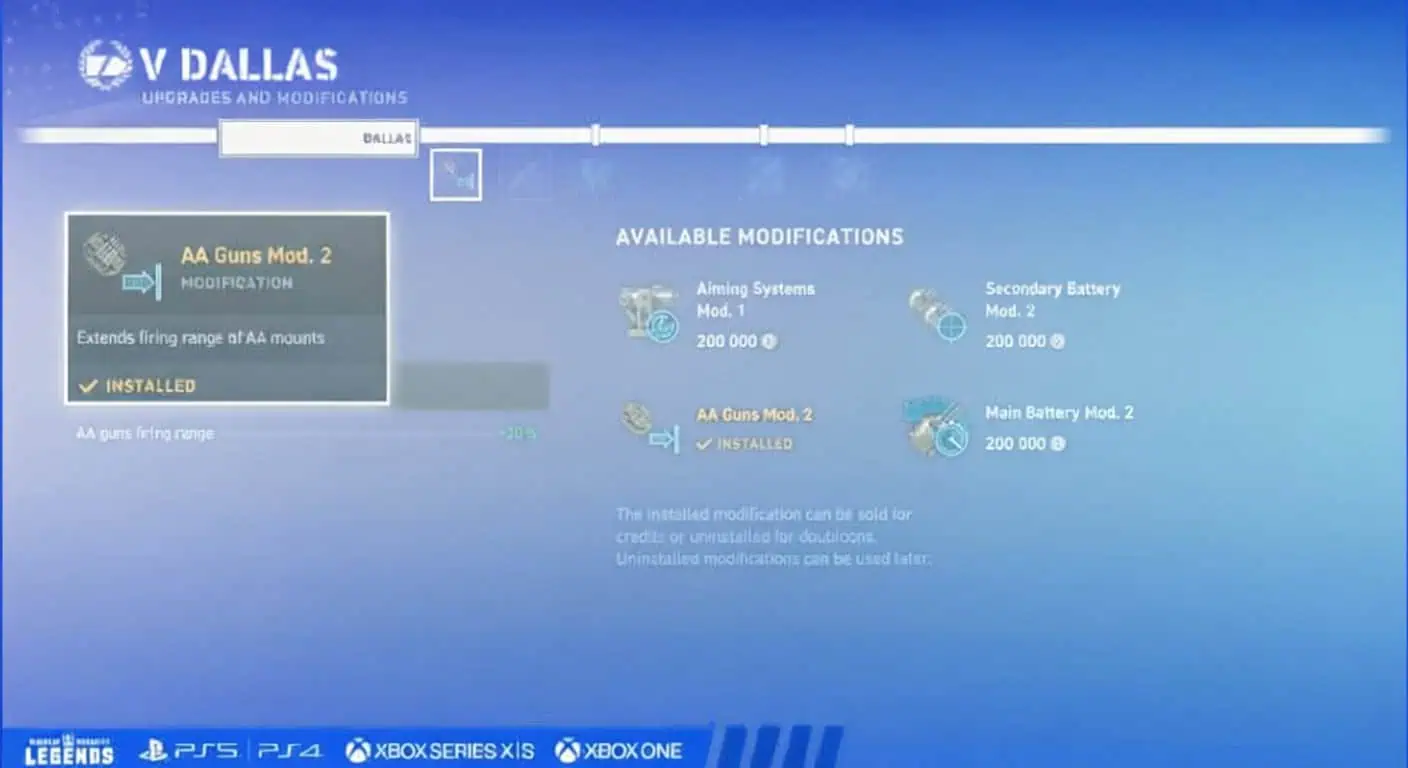
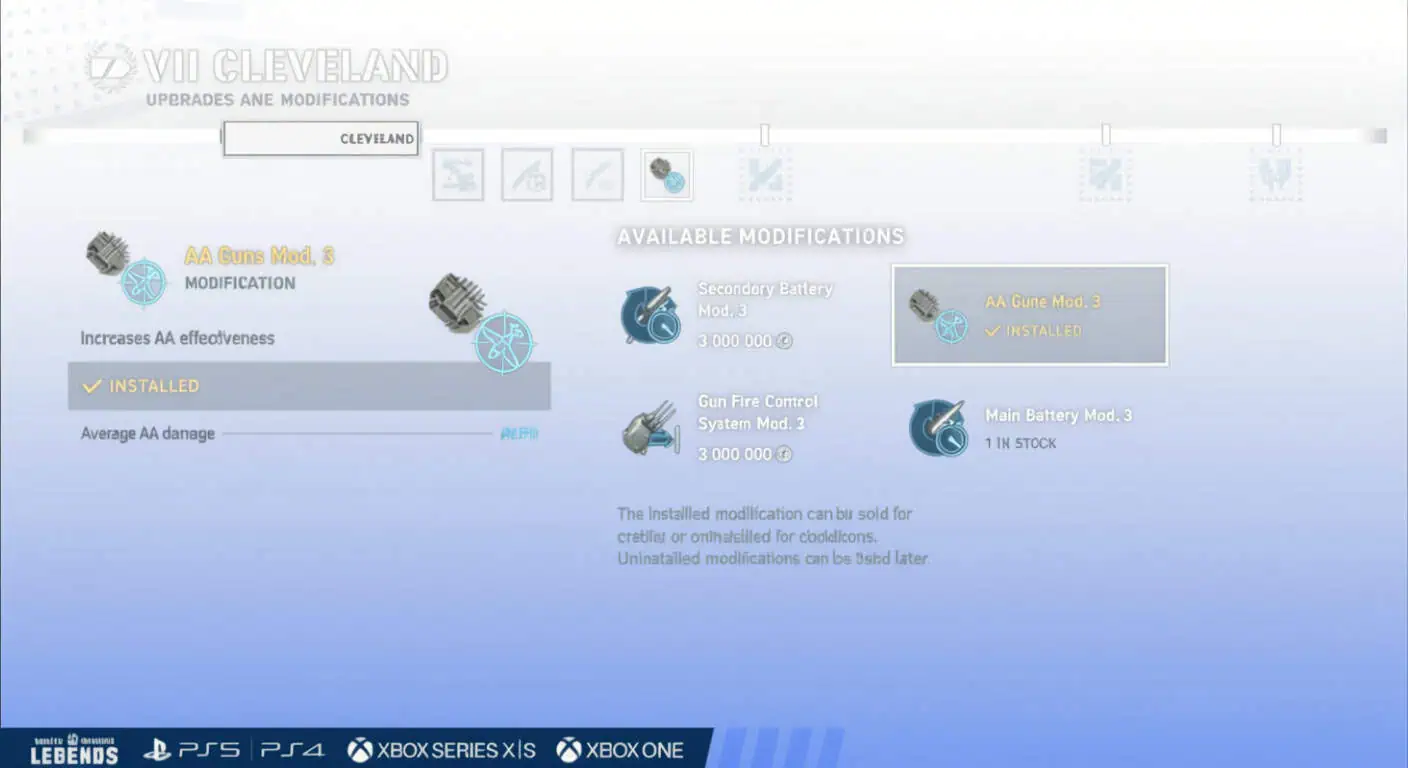
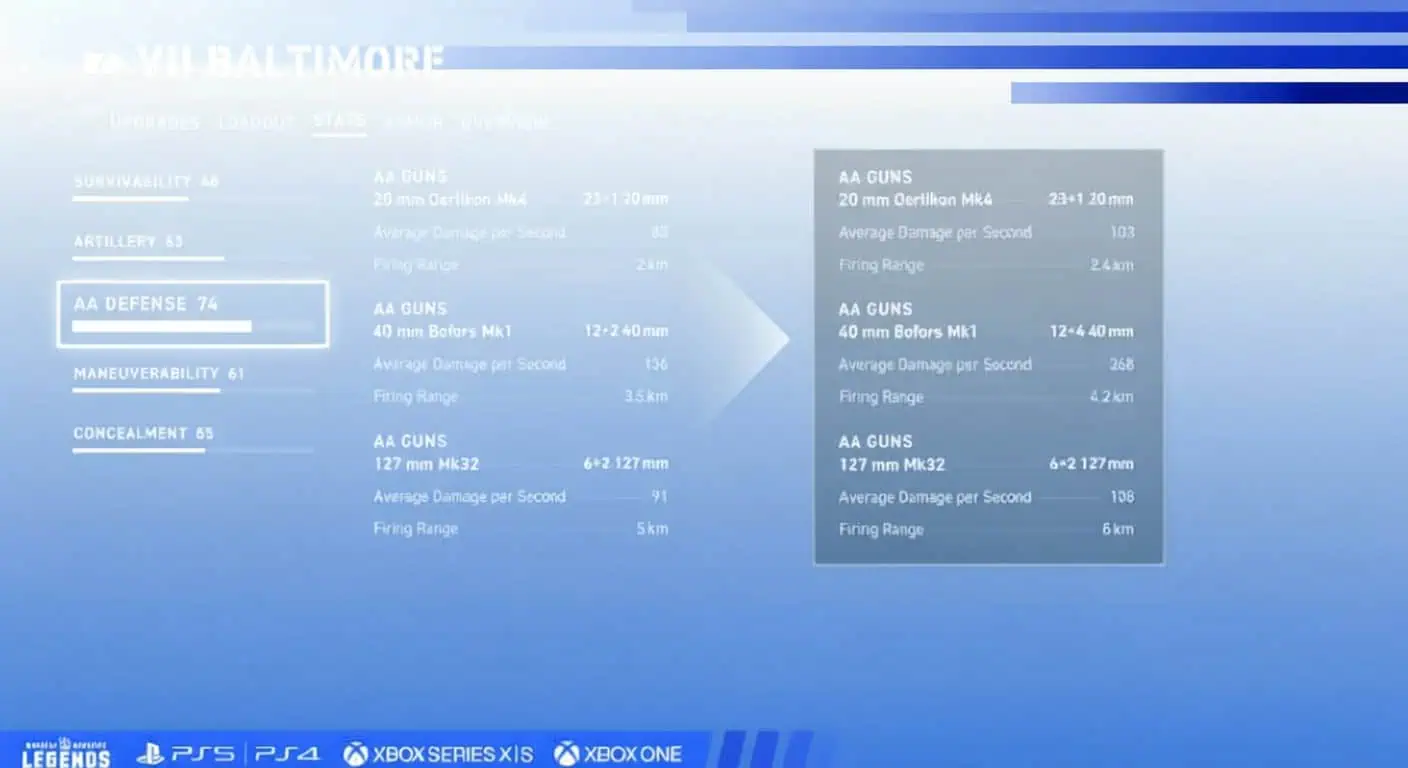
Pre-battle AA check – weak? AA buddy shadow.
Carrier Counterplay

- Buzz alert – squad in, juke.
- Angle ID:
- Bombs bow/stern
- Torp sides cross
- Hard turns cut
- Def AA on run commit.
Analyzing Ship Parameters
Pre-queue tabs:
- Armor Layout:
- Thick spots schematic
- Cit core tank – pen nuke
- Survivability:
- HP
- Torp %
- Artillery:
- Mains (reload/dmg/range)
- Secs
- Torpedoes:
- Mounts/setup
- Stats (spd/range/dmg/reload)
- Maneuverability:
- Knots max
- Turn radius
- Rudder time
- Concealment:
- Spot dist (low stealth)
Points flag strengths/weaks.
Training Battles for Practice
Available after 200 battles – use these to:
- Experiment with modules and upgrades
- Practice maneuvers without consequence
- Test new ships in safe environment
- Learn maps and positioning
Consumables aren’t spent; XP/credits aren’t earned; post-battle service is free – perfect for experimentation.
Exploring Other Nations
Once comfortable with one line, branch out:
- Japanese torpedoes hit harder but reload slower
- German secondaries excel at close range
- British cruisers have unique smoke mechanics
- Russian ships often sacrifice armor for speed/firepower
Each nation offers different playstyles – finding what suits you takes experimentation.
Final Thoughts
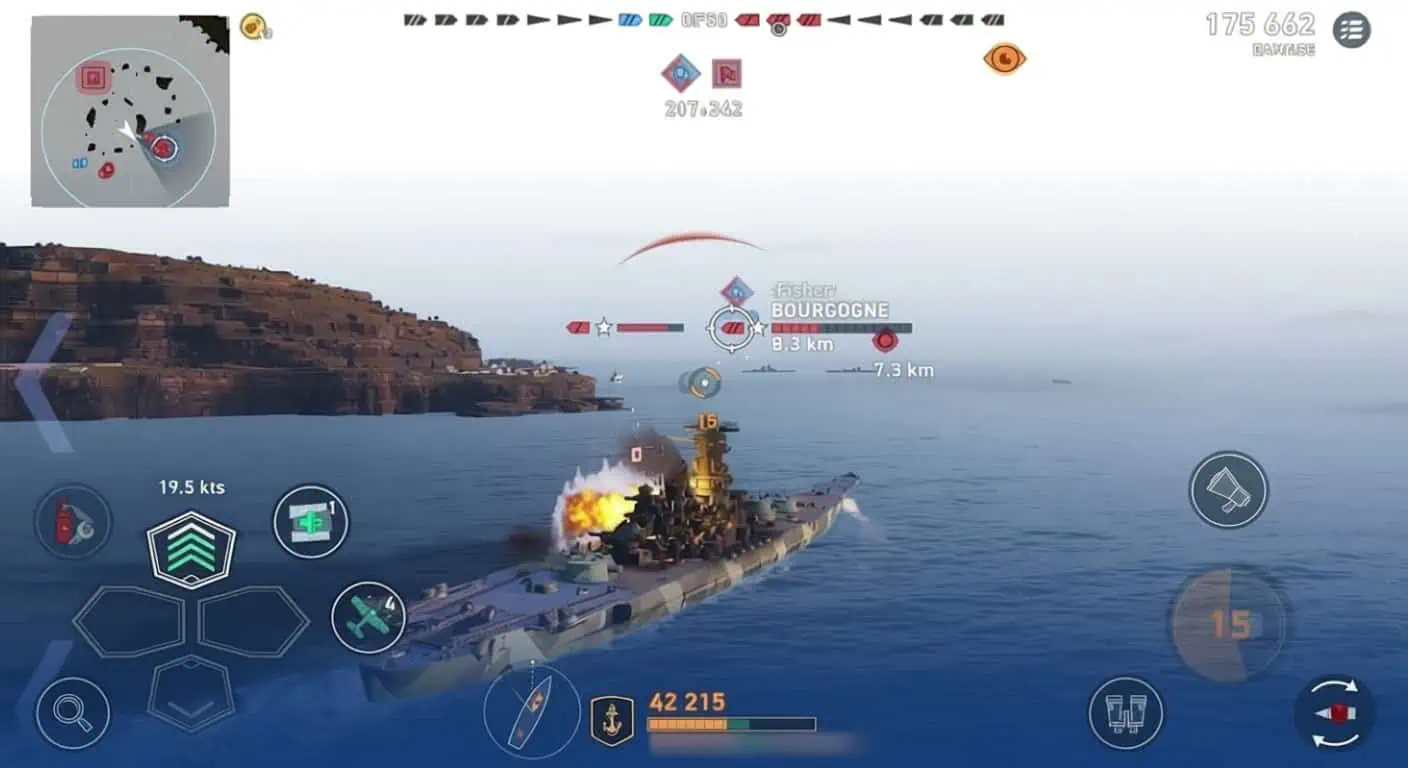
This game rewards patience, positioning, and teamwork above all else. Don’t rush progression; focus on learning mechanics thoroughly at lower tiers before climbing higher. A skilled player in a Tier V ship beats a clueless player in Tier VII every time.
Bookmark this guide – you’ll reference it repeatedly as you progress. Everything you need is already collected here; no need to hunt down scattered forum posts or outdated videos.
Now get out there and start sinking ships.
