
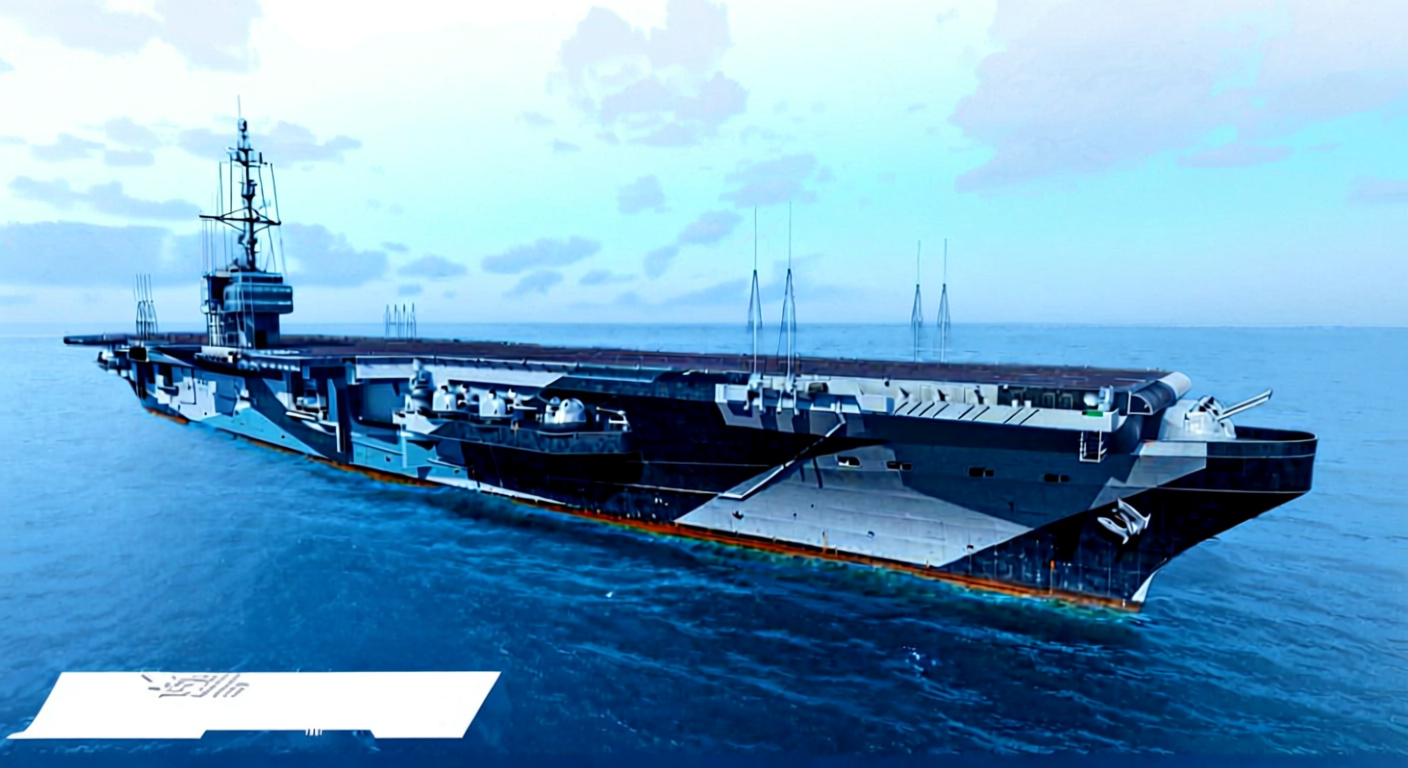
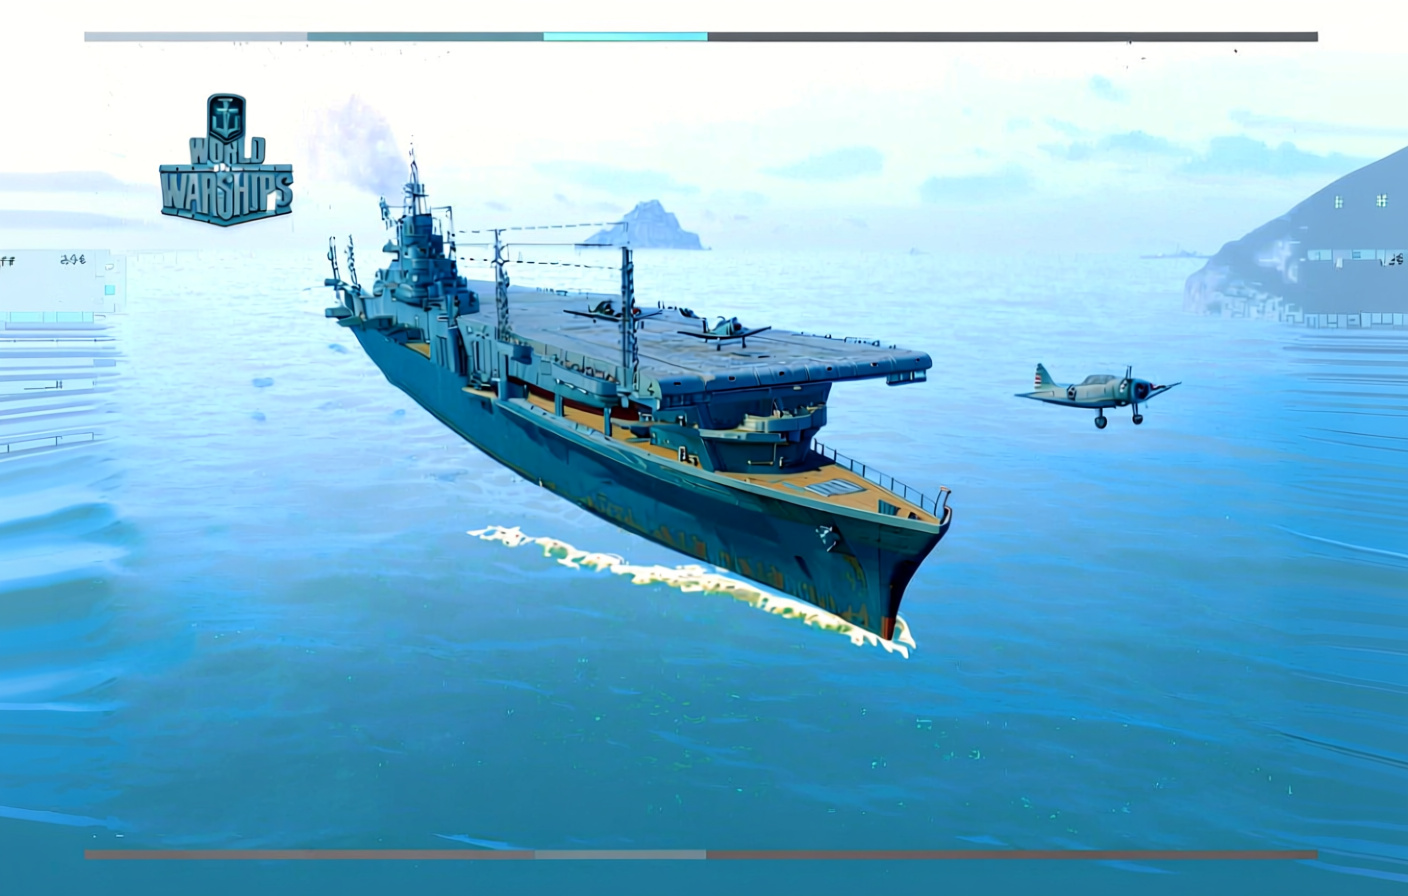
Carriers work like floating airbases lugging squadrons across the map. They service planes, send them out to strike, pull them back for reloads. You hit anywhere without steaming into the fray. Spot for your team, pound open flanks, scatter enemy packs, shift the whole fight from way back.
Key characteristics you need to know:
- Carriers unlock at Tier IV and climb from there
- Tiers IV – V give you limited aircraft types: fighters, rocket attackers with HE, dive bombers, torpedo bombers; depth charges show up at Tier V for hunting submarines
- You don’t have hard limits on plane reserves, but squadrons take forever to replenish and come in large groups – losing an entire squadron hurts badly
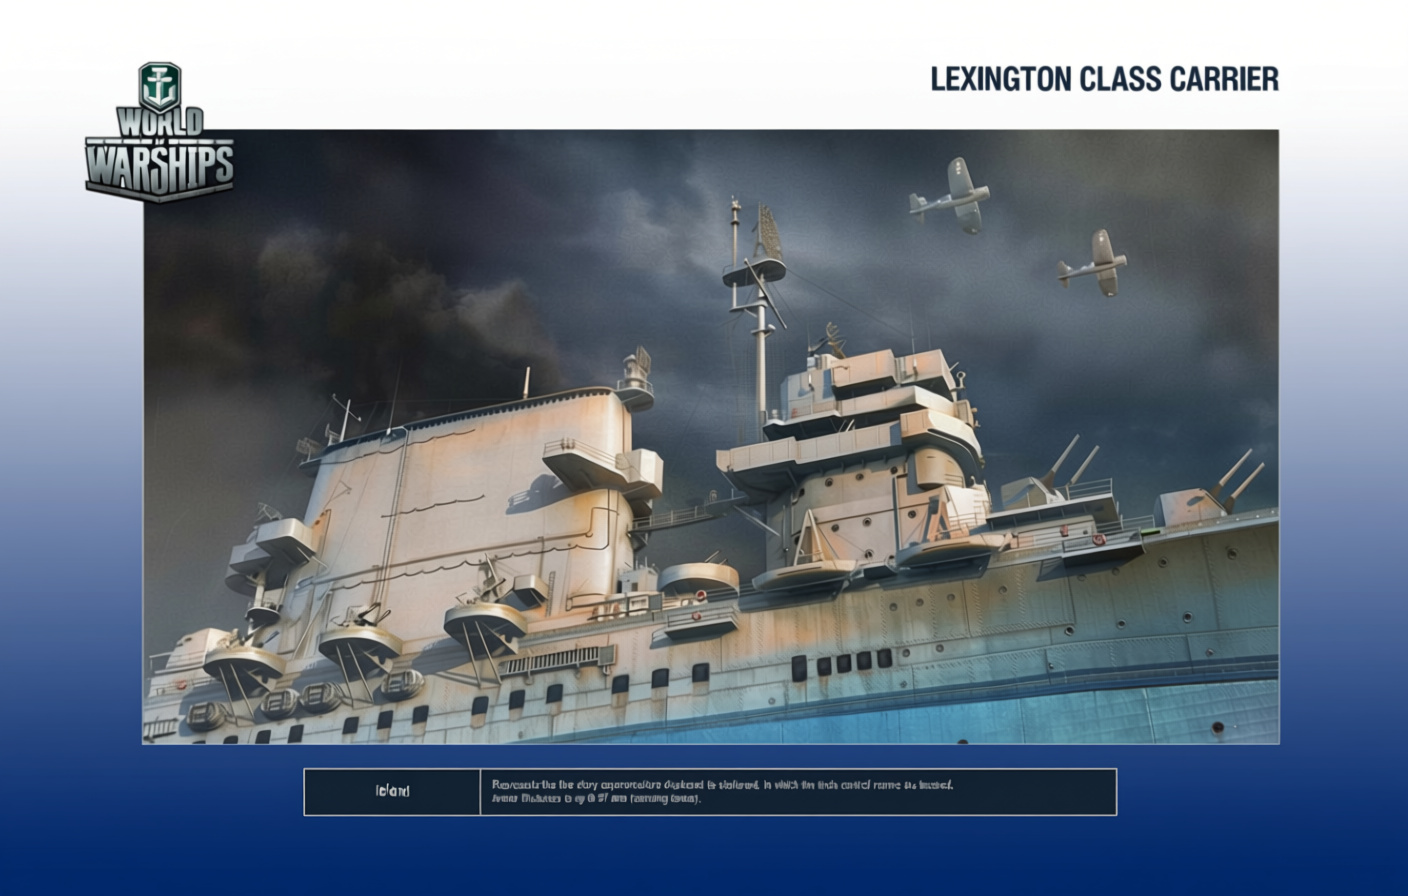
- Tier X US and Japanese carriers get reinforced flight decks; they shrug off long-range AP and HE shells better than lower-tier hulls
- All carriers run automatic “Damage Control Party” – fires and floods trigger it without your input
- Fighters launch both for escort duty and when enemy planes or ships spot you
Types of Aircraft and Their Battlefield Roles

Planes split by job. Pick wrong, and you burn squadrons for peanuts.
Fighters
- Main job: intercept enemy attack runs, shield friendlies, spot areas where AA won’t shred you
- From Tier VI onward, you get patrol fighters as a consumable – drop them over an area to ambush incoming strikes or give vision
- Most players misuse fighters by babysitting their own attack groups constantly; the real value is denying repeated enemy attacks on one target and countering hostile CVs who keep hitting the same ally
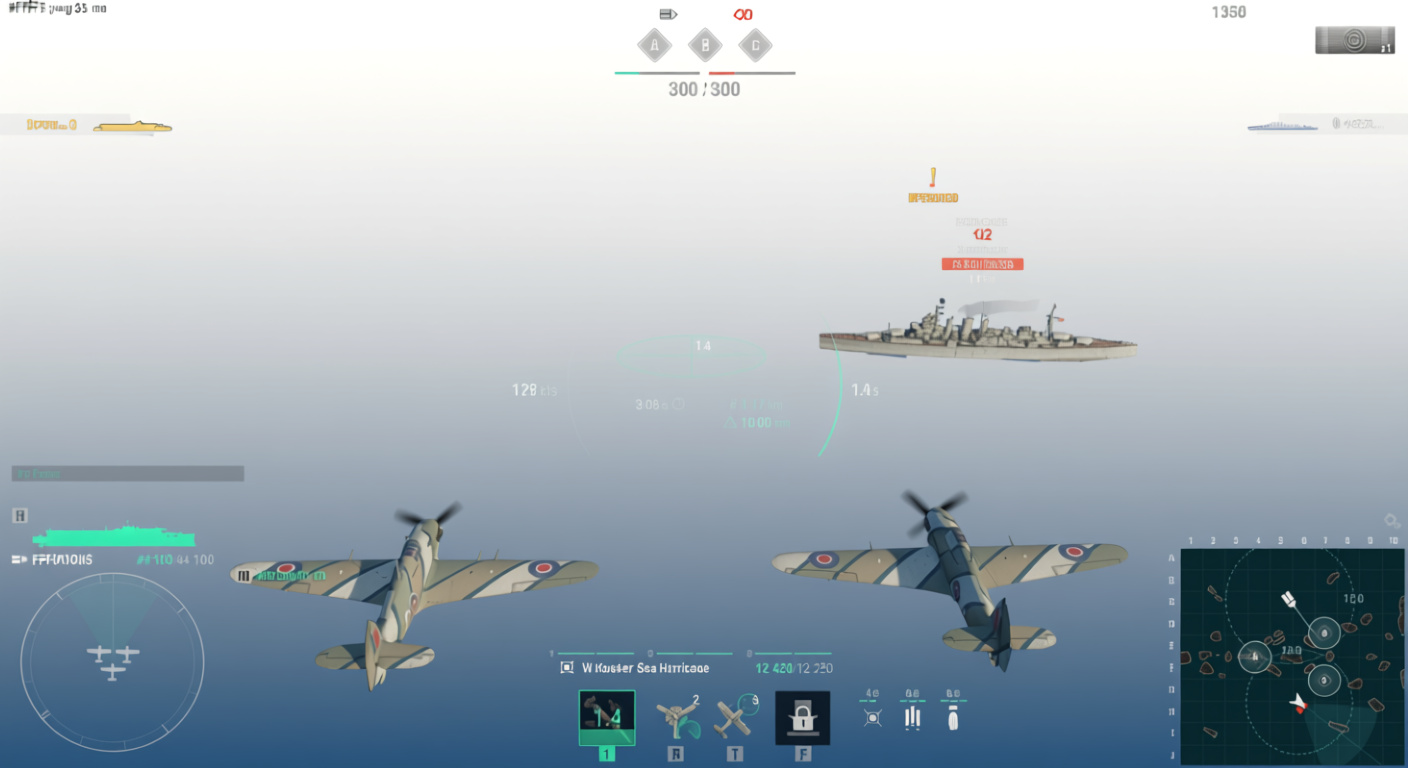
Rocket/HE Attackers (Attack Aircraft)
- Fast planes with HE rockets
- Perfect for harassing destroyers and light cruisers who can’t take many hits
- Quick in, quick out – ideal when you need to slap someone and leave before AA tears you apart
Torpedo Bombers
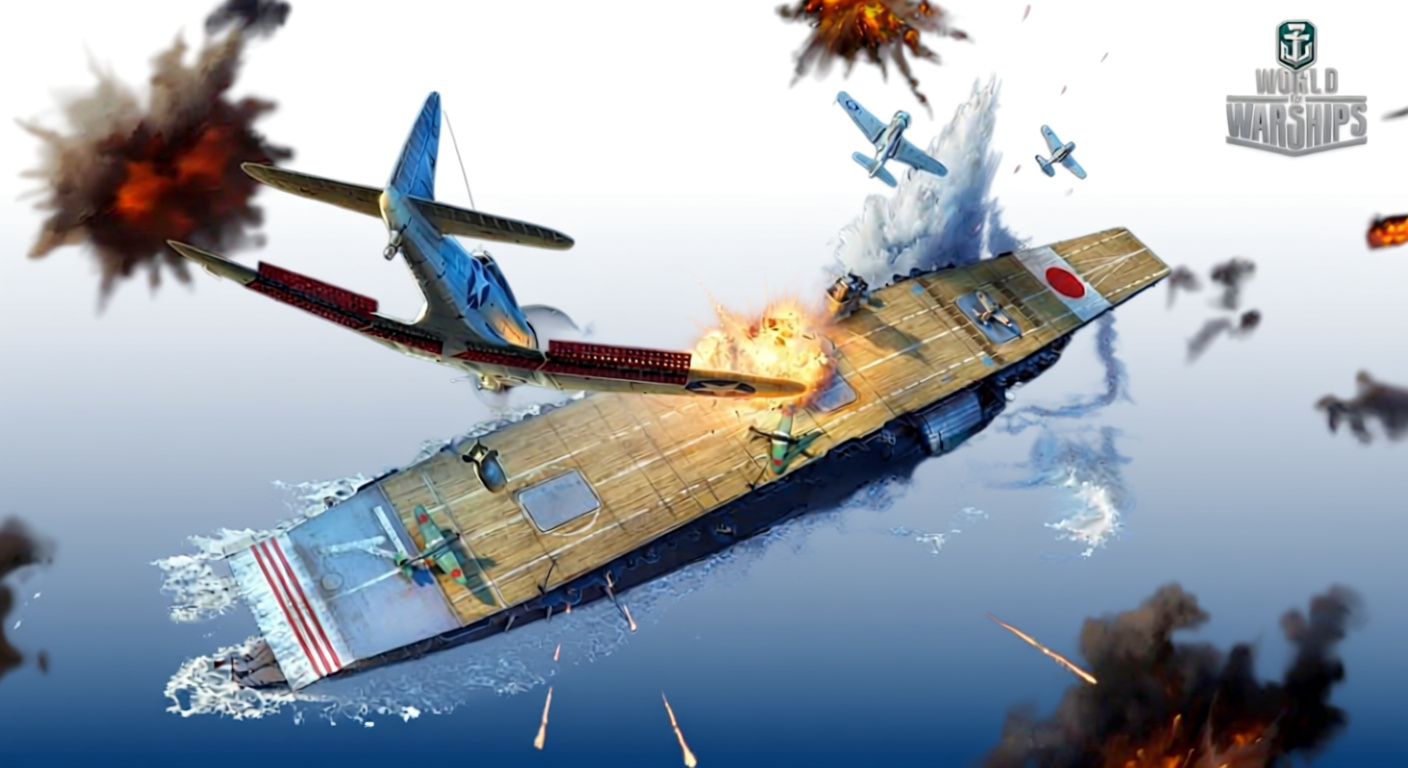
- Slower than rockets, but they punch hard against armored targets: cruisers, battleships, enemy carriers
- Always approach broadside – if the ship is showing you its full side, torpedoes have maximum hit chance
- Terrible against bow-on targets; the angle kills your spread
Dive Bombers
- Built for starting fires
- Best approach is bow-to-stern (nose to tail of the enemy ship) – you get more hits per pass this way
- Great for whittling down battleships who’ve already used their damage control
Depth Charge Planes
- From Tier V, these are AI-controlled
- They automatically engage submarines when detected – you don’t manually fly them, the game handles it
Squadron Mechanics and Controls
You control one squadron at a time (except returning planes and patrol fighters – those operate independently). Each carrier has fixed squadron sizes and attack run compositions. This varies wildly by nation and ship.
Here are two examples so you understand the spread:
- Aquila: rocket attackers drop 2 runs with 5 planes each
- Hakuryū: torpedo squadrons make 6 runs with 2 planes per run
Soviet carriers are different – they dump the entire squadron in one massive alpha strike. All planes attack at once.
Upgrades and patches shuffle squadron behavior sometimes, so don’t assume a setup stays identical forever. The critical part? Route planning and attack synchronization. If you send squadrons on different paths without syncing arrival times, one group circles over the target soaking AA damage while waiting for the others – you hemorrhage planes for no reason.
Ship Positioning and Map Movement
Your carrier’s spot decides everything. Botch it, and you’re sidelined or deleted.
Never hide in map corners – planes crawl to fights, no backup when DDs prowl. Never sit still either. Torps find parked hulls easy. Autopilot your way clear of wrecks and salvos.
Sweet spot sits behind your lines but close for quick drops. Team pushes? Back ’em up fast. Flank cracks? Allies peel off to cover you.
Tactical Principles and Target Prioritization
Carriers feed vision crossfire – reveal what guns can’t touch. Squadrons vanish if you squander them, though.
Don’t attack the first ship you see. Prioritize with precision:

- Hunt isolated or exposed enemies: lone destroyers, ships stuck in narrow channels, cruisers hugging shorelines for cover
- Avoid spreading squadrons across many targets – you’ll chip damage everywhere and secure kills nowhere; instead, focus coordinated strikes (front + flank attacks) to overwhelm AA and guarantee solid damage
- Keep one squadron in reserve – never throw everything at once; if the enemy CV counter-strikes, you need fighters or a backup attack group ready
- Deploy fighters flexibly – use them to delay or disrupt enemy CV attacks, not just to escort your own planes
Anti-Air, Flak, and Plane Survivability

BBs and CVs bubble with AA that reaches far. Straight-line dives melt squadrons mid-run.
Circuitous approaches dodge the worst. Skirt bubbles, cut exposure short. Flak puffs – black death clouds – wipe planes on contact. Jink speeds, twist courses, shake the bursts.
High tiers crank AA to nightmare levels. Save planes, pick smart marks or go dark early.
Tier-by-Tier Gameplay Learning Progression
Build skills tier by tier. Skip ahead, and basics bite you.
Tier IV
- Minimal AA, perfect for practicing ideal attack drops
- Focus on mastering manual hits against maneuvering destroyers
- Build muscle memory for aiming rockets, torps, and bombs
Tier VI
- AA threat jumps significantly – you’ll frequently face Tier VIII ships with heavy defenses
- Learn to pick isolated, vulnerable targets and use islands for cover during approach
- Sloppy flying gets punished here; tighten up your habits
Tier VIII
- Expect Tier X opponents regularly
- Advanced positioning and target selection become crucial
- Only make aggressive moves when you’re confident it’s safe; mistakes cost entire squadrons
Tier X
- Maximum influence on battle outcomes
- Focused DD-hunting offers great map control but doesn’t always yield highest damage – sometimes spotting and area denial matter more
- Your decisions are pivotal; one bad call can swing the match
Recommended learning sequence: Tier IV → VI → VIII → X. Don’t skip tiers or you’ll miss foundational skills.
Differences Between Nations and Carrier Lines
Nations handle different. Some ease you in, others test your edge.
Soviet CVs
- All planes attack at once – easier for beginners to understand damage output
- Simpler to inflict damage immediately
- Downside: teaches less about strike timing and positioning nuances needed for other lines
US (Midway line)
- Consistent HE dive bombers effective against DDs
- Balanced speed and durability across all squadron types
- “Tiny Tims” (small rockets) can mislead new players – less consistent hit rates on DDs than you’d expect
- Sight stabilization is helpful for corkscrew divebomb technique (advanced maneuver for dodging flak while maintaining aim)
German Line
- Smaller strike groups require multiple runs for full damage potential
- AP ordnance excels against cruisers but struggles vs. DDs
- High skill ceiling – not recommended for beginners; demands precise positioning and timing
British (Royal Navy)
- “Carpet bombers” are heavily RNG-dependent
- Unpredictable damage output makes them frustrating for consistent performance
Player preferences vary wildly. Some recommend starting with Soviet line for simplicity; others swear by US Midway for well-rounded learning. Try different lines and see what clicks.
Key Mistakes and How to Avoid Them
Common bad advice floats around – here’s the truth:
- Wrong: Hide in the corner of the map.
Right: Stay close enough to cover allies and be covered; position behind main lines but within support range. - Wrong: Stay stationary.
Right: Always keep moving; pre-plan routes and use autopilot actively. - Wrong: Planes fly high and fast – AA won’t touch them.
Right: AA zones are lethal; use indirect, circling approaches to minimize exposure. - Wrong: Attack the first available target and spread squadrons thin.
Right: Prioritize isolated, vulnerable ships; coordinate concentrated attacks. - Wrong: Always keep fighters escorting your strike groups.
Right: Use fighters flexibly – support allies and counter enemy CV strikes. - Wrong: Set waypoints and ignore ship movement.
Right: Actively monitor both attacks and ship position; CV play demands constant attention. - Wrong: Send all attack groups simultaneously.
Right: Maintain reserve squads; avoid unnecessary losses from overcommitting. - Wrong: Target only battleships.
Right: Focus on controlling enemy CVs, providing battlefield vision, and supporting team objectives.
Advanced Play: Fundamentals and High-Tier Strategy
Basics down? Stack these:
- Use squadrons for constant spotting and map vision – don’t waste them on empty passes or futile attacks
- Target destroyers, radar cruisers, low-HP ships – less focus on farming battleships unless they’re critical threats
- Manage plane resources like ammo – rotate rocket/torpedo/bomb groups to maintain pressure while preserving reserves
- Support the team actively by spotting, pinging targets, and dropping fighters for pushes and flank protection
- Standard spotting distance is 10km; maintain 16 – 22km from the front for safety while using islands for protection
- Your defensive AI secondaries (effective 8 – 10km) can help against sneaky DDs slipping into your backfield
- Use patrol fighters to intercept incoming threats or protect push lanes where allies need air cover
- Adopt “attack – disengage – recall” timing – strike, pull back before AA shreds you, recall squadrons to preserve planes
High-Tier National Styles
| Carrier | Style & Strengths |
|---|---|
| Midway | Balanced all-rounder with rockets, bombs, torps – excellent flexibility across all situations |
| Hakuryū | Massive torpedo hits, powerful AP bombs – excels in alpha strikes on single high-value targets |
| Audacious | Attrition specialist with HE bombs and torps – cumulative fire and flood damage |
| Manfred von Richthofen | Cruiser hunter with strong AP ordnance – dominates mid-armored targets |
Advanced Movement and Counterplay Tactics
- Shift your carrier position to weaker flanks or behind allies for fast squadron return and improved safety. If one flank collapses, reposition before you’re isolated.
- Bait enemy AA: use squadron attacks to trigger their defensive abilities, then capitalize during cooldowns with follow-up strikes.
- Counter enemy CVs aggressively – use fighters offensively to harass their squadrons and spot their hull for allies to punish.
- Avoid “AA fortress” ships like Worcester, Howland, Minotaur; fly varied paths around them, change altitude frequently, and never commit to attacks unless they’re isolated or damaged.
Practical Player Tips and Mini-Checklists

Preparing for Strike Runs
Before launching attacks, run through this checklist:
- Scout enemy AA coverage and approach routes
- Select optimal approach angle (broadside for torps; bow-to-stern for bombs)
- Synchronize squadron attacks where possible – converging strikes from multiple angles
- Reserve a backup squadron or keep fighters ready for enemy air threats
Managing Your Carrier
- Never isolate in a map corner or stay static
- Keep in range to cover and be covered by allies
- Move frequently, plan routes ahead, rely on autopilot but stay active
Practical Maneuvers and Aiming
- For DD hunting, use HE rockets and bombs; strike when they’re vulnerable or unsupported
- On Tier VI+, learn to dodge flak with constant speed and directional changes – watch for black flak bursts as danger zones
- Use map and minimap to hunt isolated ships and plot safe attack corridors
- Don’t hoard fighters – use them actively for vision beyond AA zones
Specific Notable Examples and Cases

- Aquila: 2 × 5-plane rocket attacks per squadron
- Hakuryū: 6 runs with 2 torpedo planes per squadron
- Soviet carriers: entire squadron attacks concurrently (all planes drop simultaneously)
- From Tier VI, all CVs get consumable patrol fighters
- From Tier V, depth charges automatically engage submarines
- Tier X US/Japanese carriers have armored decks for extra survivability against AP/HE shells
One standout match – Kaga on Fault Line (Ranked Battle) – demonstrates carrier impact: 5 kills, 205,319 damage, earning High Caliber and Kraken Unleashed. The player (MrAndrix_ from EU) showcased how proper target priority, plane preservation, and timing convert into dominant scoreboard results. Kaga’s historical background adds context – after the Great Kanto Earthquake destroyed it during construction, the hull was rebuilt under Washington Naval Treaty restrictions, mirroring Akagi’s design except for funnel placement and a shorter flight deck. Kaga participated in Pearl Harbor, Rabaul, Marshall Islands, and Darwin bombing raids after modernization.
Risks, Player Criticisms, and Varied Opinions
CVs split the playerbase hard. Plenty call them game-breakers with no real counters – too much map control, kills stealth and angles dead. Others dig the scouting punch and disruption, say they force smarter plays.
Nation styles fuel the fire. Soviet and US lines draw newbies for easy damage and solid squads. German ones overwhelm with tiny groups and picky AP drops. Brits grind teeth with random carpet bombs.
Opinions differ wildly – what works for one player feels terrible to another. Try different lines, experiment with playstyles, and find what suits you. Don’t let community arguments dictate your experience; carriers reward practice and adaptability regardless of which nation you choose.