


Most players lose because they spawn in, grab a handful of pockets, and sail straight into a fight. That’s a mistake. Good ship prep wins fights before you even fire a cannon. Here’s the routine you need to follow every time you spawn.
Pre-Combat Prep (Don’t Skip This)
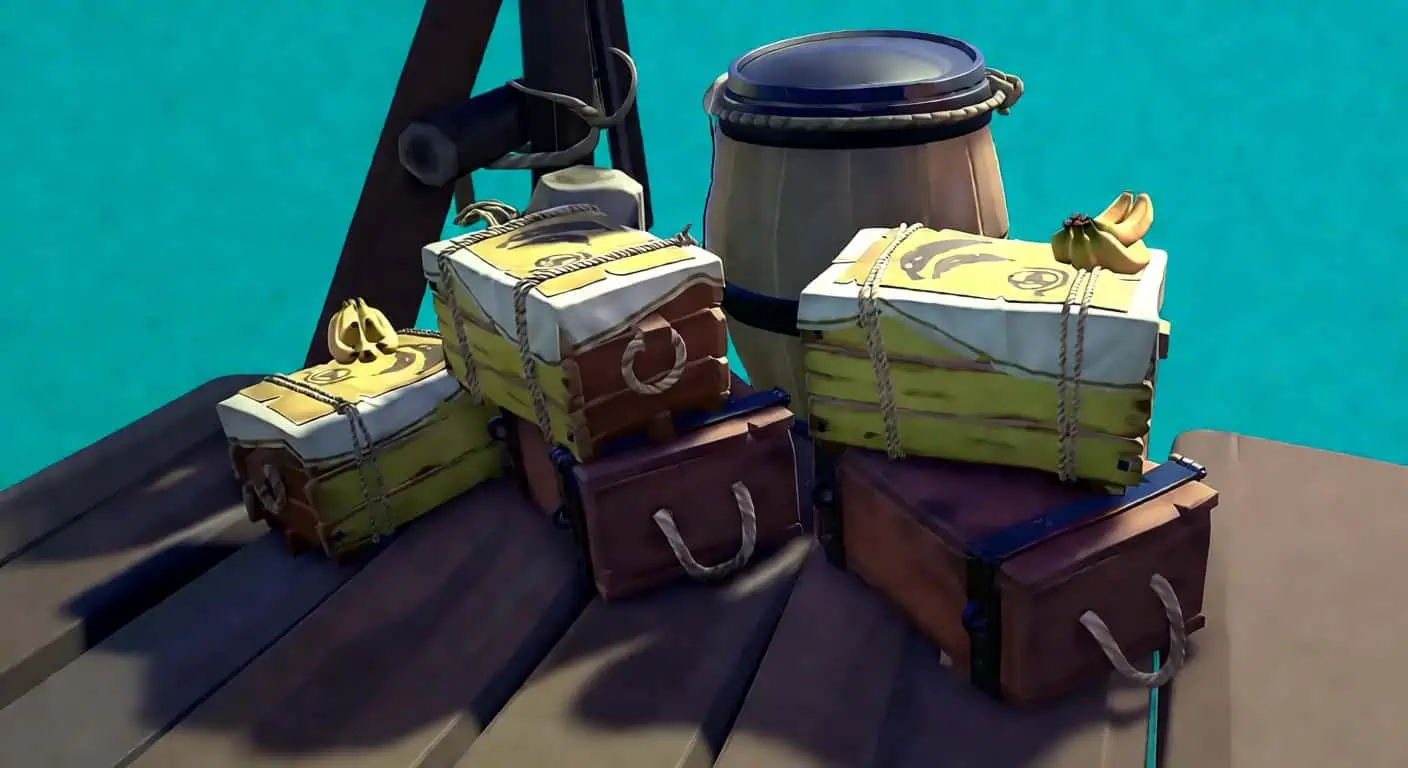
Hit the Merchant Alliance immediately. Buy every crate they have: cannonballs, fruit, wood, and the storage crate. Then, grab Captain supplies for everything – cannonballs, throwables, food, and wood. Once you’re back on the boat, set things up so you aren’t running around like a headless chicken mid-fight:
Crate Placement:
- Wood Crate: Put this right next to the wheel. If you’re taking heavy fire, you don’t have time to run below deck for planks.
- Cannonball Crate: Empty it into your top barrel, then wedge the empty crate against the wall next to your cannon. This actually helps block enemies from harpooning you off your ship.
- Fruit Crate: Dump it into the top barrel and put the empty crate on the opposite side of the cannon.
- Storage Crate: Keep some cannonballs and chains in here and leave it right next to your cannon for fast reloads.
Barrel Sorting:
- Top Barrel: Cannonballs, chain shots, blunderbombs, and high-tier food (pineapples, mangoes, cooked meat).
- Bottom Barrel: Firebombs, fireworks, scatter shots, and lower-tier food like pomegranates.
The logic is simple: when the boat is filling with water, you don’t want to accidentally grab a firework when you meant to grab a chain shot. Everything essential stays in the top barrel.
Pro Tip:
Never sit at an island with your anchor down. Raise your sails instead. If someone jumps you, you just drop sails and go. Being anchored is a death sentence.
Ship Types and Crew Roles

If your crew isn’t coordinated, you’re just four people getting in each other’s way.
| Ship Type | Crew Size | The Vibe |
|---|---|---|
| Sloop | 1 – 2 | Agile, fast against the wind, great for solo players. |
| Brigantine | 2 – 3 | Fast and hits hard, but sinks like a stone if you aren’t careful. |
| Galleon | 4 | A floating fortress. Unstoppable if the crew is actually talking. |
Sloop Roles:
One person on helm/repairs, one on cannons. If you’re solo, well, you’re doing everything. It’s tough, but it makes you a better player.
Brigantine Roles:
You need a dedicated helmsman, one main cannoneer, and a “flex” player who handles repairs and bailing but jumps on cannons when the ship is dry.
Galleon Roles:
One helm, two on cannons, and one dedicated to repairs and watching ladders. A Galleon that keeps its cannons barking is a nightmare to deal with.
For the Sloopers:
You can’t out-gun a Brig or Galleon. You win through positioning and being annoying. Also, turn your lanterns off. It sounds basic, but running dark makes you way harder to track at night or in fog.
Defensive Priorities: Stay on the Boat
Defense wins games. The biggest mistake crews make is “hero boarding” – launching yourself at the enemy ship the second you see them. If your boat is leaking and you leave, you’re just helping the enemy sink you. When a ship approaches:
- Sails up, anchor up.
- Point your nose so your cannons have an angle before they even get close.
- Helmsman: watch the ladders. Listen for the splash sound of someone swimming or look for mermaids (enemy mermaids don’t have blue smoke).
Anti-Boarding 101:
- See someone on the ladder? Toss a blunderbomb. It knocks them right off.
- Swing your sword at common hiding spots to find “tuckers” using emotes to hide.
- Hit boarders before they reach the top. There’s a small window where they can’t fight back while climbing over the rail.
Hole Priority (Sloop):
The Sloop has 18 possible holes, but more are on the right side (4) than the left (3). Keep the enemy on your left.
Repair the “permanent” holes first – back holes and the very front hole – because they aren’t likely to get hit again immediately. If the enemy is spamming your mid-section, don’t just stand there trying to repair while getting hit; go bail instead and wait for a break in their fire.
Offensive Tactics and Cannon Meta

Don’t just fire randomly. Have a plan.
Positioning:
You want to be perpendicular to them (the “Broadside”). Aim where they will be, not where they are.
Cannon Priorities:
- Lower Hull: Get water in the boat.
- Masts: Use chain shots to stop them moving. Aim high and lead your shot more than a regular ball.
- Wheel/Capstan: Break their steering so they can’t turn out of your angle.
- Spread the Love: Don’t just hit the same spot. Open new holes, then hit them again to make them “Tier 3” (huge holes that leak faster).
Special Ammo:
- Blunderbombs: Use these to knock the enemy off their cannons or mess up their steering.
- Firebombs: Great for pressure. Throw them at the map table or the wheel to force the crew to stop what they’re doing.
- Cursed Balls: An Anchorball or Ballast Ball at the right time is basically a win button.
- Kegs: High risk, high reward. If you manage to get a keg on their deck, light it and run. A Stronghold keg is basically an instant sink for a Sloop.
Maneuvering: The Death Spiral
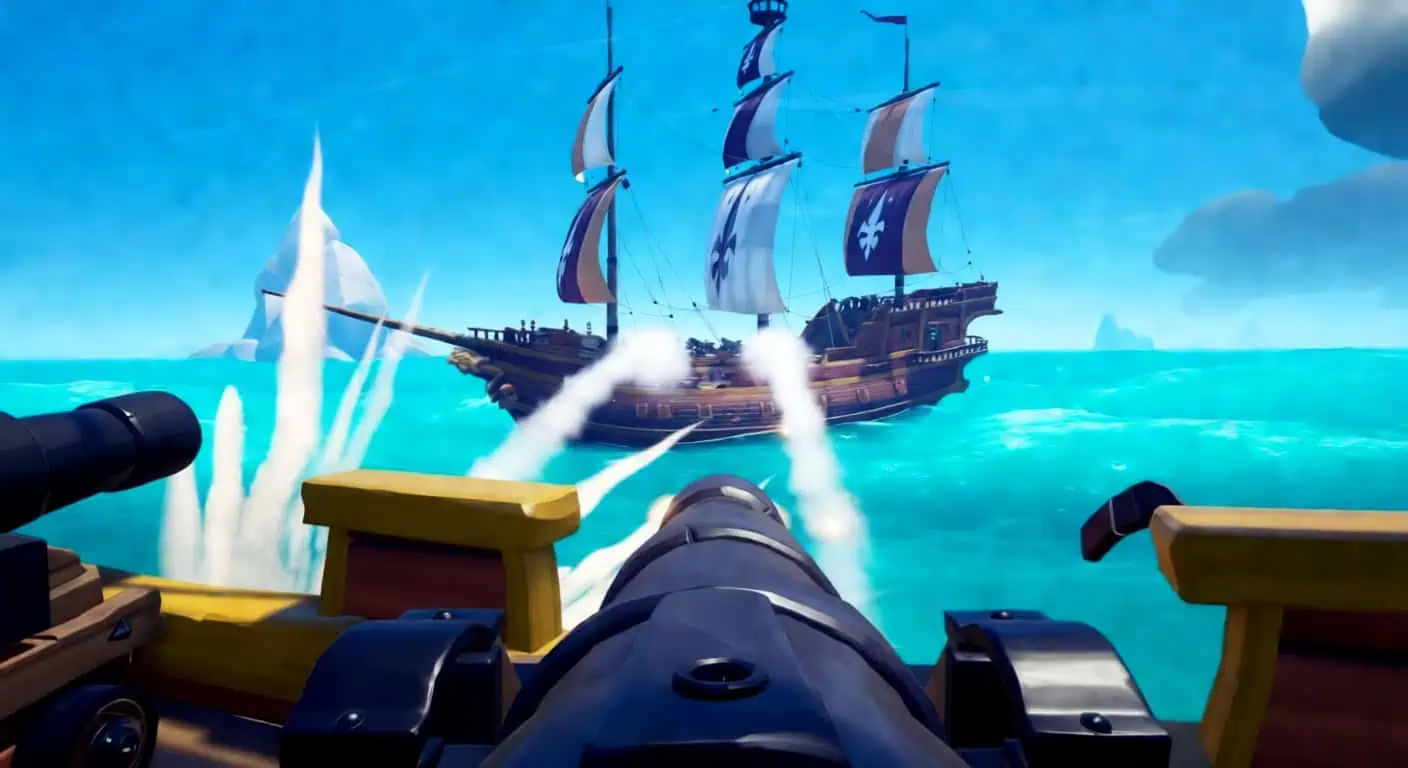
If you can get the enemy demasted (sails down), you’ve basically won. This is where you start the Death Spiral. Raise your sails halfway, turn your wheel slightly, and just circle them. Keep the pressure on, hit every part of their hull, and don’t let them get their masts back up.
Non-Rotational Fights:
If you’re fighting “runners” or people camping near rocks, match their speed and try to get ahead of them. Use chain shots to force them to stop, then transition into that spiral.
Boarding and CQC
Boarding is for closing the deal.
How to get over there:
- The Silent Swim: Jump off your boat as you pass and swim to their ladder.
- The Deck Shot: Cannon yourself directly onto their deck. It’s flashy and effective if you can land it.
Once you’re on their ship:
- Drop their anchor. This is priority number one.
- Kill the crew. Start with the guys on cannons or the guy trying to raise the anchor.
- Guard the holes. You don’t even have to kill everyone; just stop them from repairing until the water takes them.
Advanced Combat Tech
- Quick Reload: After you fire, tap your sprint key for a split second. It resets the animation and lets you reload faster.
- Crouch Reviving: Crouch while reviving a teammate. It makes you a smaller target and, weirdly enough, lets you eat or reload while you’re doing it.
- Sword Lunge: Hold block before you start your lunge. You’ll be able to move around while charging it. Jump right as you lunge forward to fly across the water.
- FOV: Go into settings and crank your FOV to 90 (or 110 if you’re on PC). Seeing more of your surroundings is a literal game-changer.
Final Thought:
Don’t get emotional about loot. If you’re too scared to lose your treasure, you’ll make bad, panicky decisions. The best way to get better at PvP is to go out and pick fights. You’ll sink, you’ll learn, and eventually, you’ll be the one doing the sinking.
