


Your ship keeps you alive out there, or it doesn’t. Get it wrong and you’re chum in minutes. This covers every detail worth knowing, so pin it – you’ll need it.
Understanding Ship Types and What They Actually Mean for You

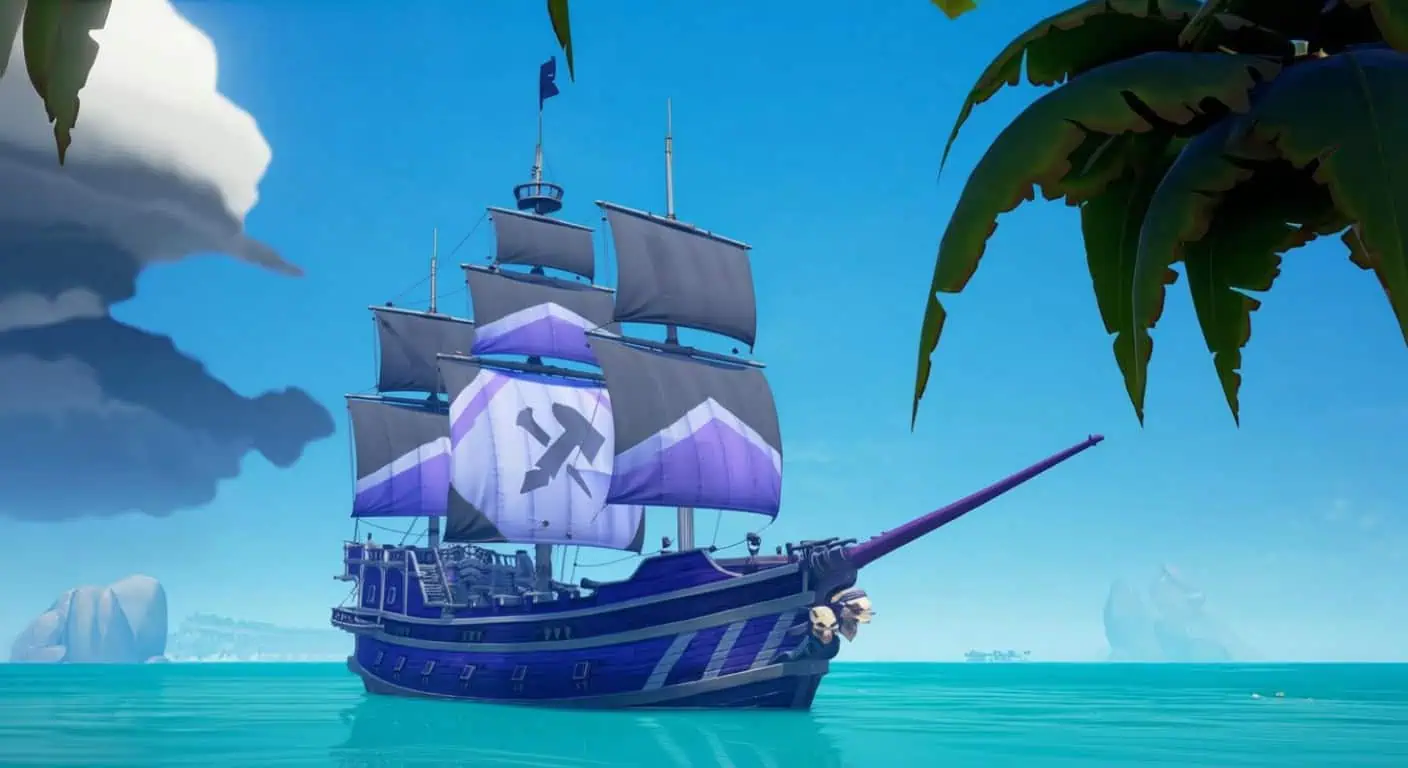
Three ship classes in Sea of Thieves, each tuned for different crew setups and fights.
- Sloop – nimble ride for solo runs or duos. Handles like a dream, picks up speed quick against the wind. Downside hits hard though, just two cannons and paper-thin hull.
- Brigantine (Brig) – sweet spot for three players chasing solid fights. Decent punch across the board, but broadsides flood her fast. Without tight teamwork, you’re bailing nonstop.
- Galleon – beast mode for four synced pirates. Sluggish turns, but soaks hits and unloads eight cannons that shred anything dumb enough to close in.
Complete Ship Specifications Breakdown
| Sloop | Brigantine | Galleon | |
|---|---|---|---|
| Max Crew Size | 2 | 3 | 4 |
| Masts | 1 | 2 | 3 |
| Cannons | 2 | 4 | 8 |
| Cannonball Barrels | 2 | 3 | 3 |
| Cannonball Initial Stock | 80 (40×2) | 90 (30×3) | 90 (30×3) |
| Firebomb/Chainshot/Blunderbomb/Signal Flare Initial Stock | 4 (2×2) | 6 (2×3) | 6 (2×3) |
| Max Cannonball Storage | 9,600 | 14,400 | 14,400 |
| Food Barrels | 2 | 2 | 2 |
| Banana and Coconut Initial Stock | 16 (8×2) | 16 (8×2) | 16 (8×2) |
| Max Food Storage | 9,600 | 9,600 | 9,600 |
| Wooden Plank Barrels | 1 | 1 | 1 |
| Wooden Plank Initial Stock | 35 | 35 | 40 |
| Max Wooden Plank Storage | 4,800 | 4,800 | 4,800 |
Purchase Costs (if you’re going for Captaincy):
- Sloop: 250,000 gold
- Brigantine: 375,000 gold
- Galleon: 500,000 gold
Steep prices, sure. But a named ship with its extras flips your whole game.
Wind Mechanics That’ll Save Your Bacon
Newbies botch wind every time. Nail it and you dodge wrecks that should’ve ended you.
- Against headwind – Sloops dominate. Flatten sails straight into it for top speed.
- With tailwind – Galleons haul ass, leaving the rest behind.
- Crosswind – Brigs pull ahead clean.
Figure this out. Outrun trouble, chase down runners.
Every Component on Your Floating Death Trap
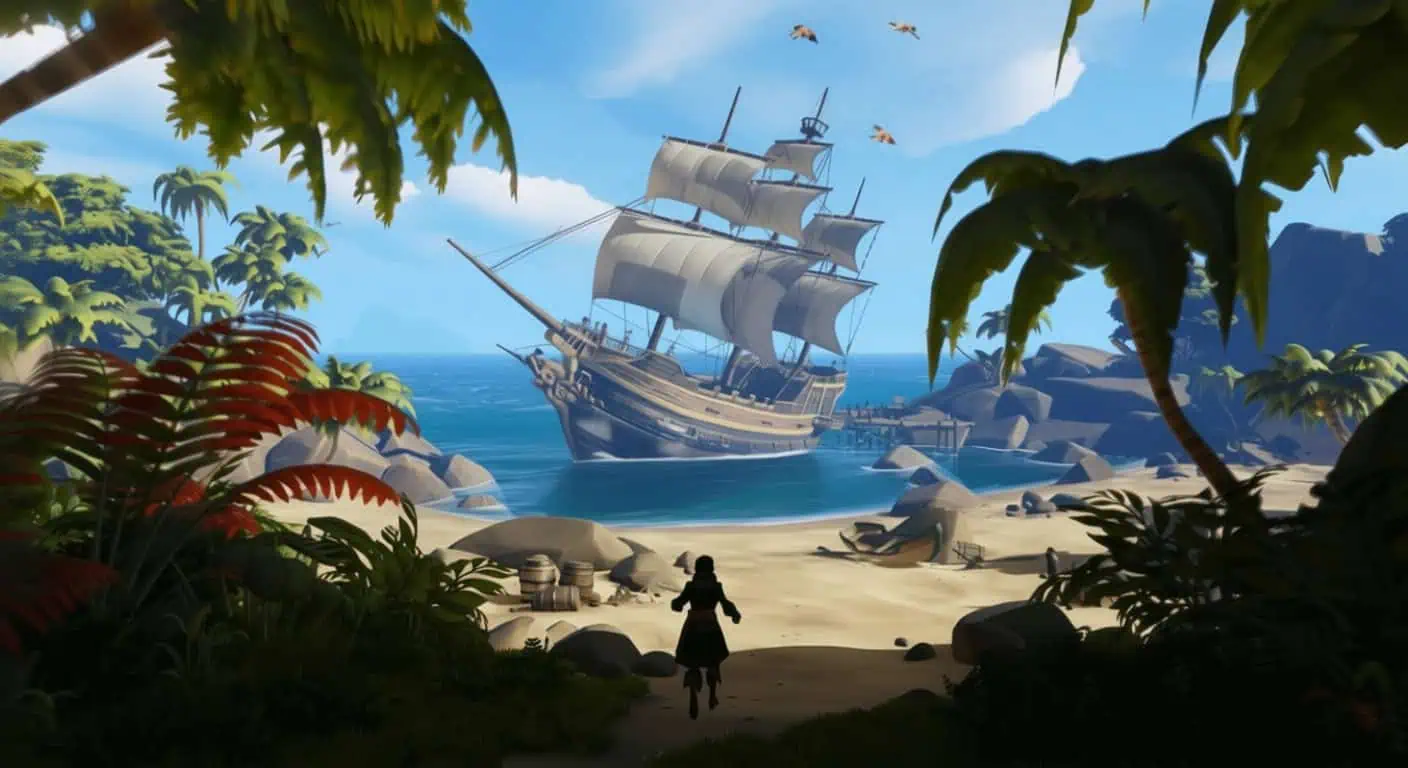
Gear on board does one job each. Locations matter when seconds count.
- Bell – by the Captain’s Quarters door. Ring for crew alerts or to troll nearby boats.
- Brig (jail cell) – vote to lock bad crew in, vote to let out. Trolling gold, sometimes practical.
- Cannons – shoot balls, pirates, pets. Sloop gets two per side, Brig four total, Galleon eight.
- Capstan – anchor up or down. Big ships drag without a full team cranking.
- Compass – fixed by the wheel. Grab your pocket one instead.
- Crow’s Nest – top of main mast. Flag box up there handles emissaries and alliances. Spot enemies early.
- Grog Barrel – free booze that blurs everything. Fun till you wipe out.
- Harpoon – front-mounted grabber for ships, loot, rocks. Reel in chests or whip turns off the bottom.
- Hatches – shut windows against incoming shots.
- Helm (wheel) – steers with a gold neutral mark. Cannon hits strip handles, turning gets sloppy.
- Lanterns – flip on or off deck-wide. Kill ’em at night for ghost runs.
- Sails – cleats for length, pulleys for angle. Get good here or eat wake.
- Map Table – shows position, lags a touch.
- Captain’s Table – vote voyages and Tall Tales. Full crew buy-in or nothing.
- Stove – cooks better heals. Burn stuff and the kitchen lights up.
- Rowboat Dock – stern slot for rowboats off islands. Haul loot without swims.
- Water Barrel – seawater pump for fires. Douse yourself or the deck.
- Pet Cage – latch opens for pets. Looks cool, that’s it.
- Ladders – sides and mast to the nest. Boarders love ’em – watch close.
Resource Containers You’ll Empty Constantly
- Ammo Chest – endless gun ammo. Hit it before you’re dry.
- Armoury – swap your two weapons.
- Barrels – max out food, planks, balls. Stock smart.
- Clothing/Equipment/Vanity/Pet Chests – outfit swaps. Style points only.
Making Your Ship Actually Yours Through Customization

Hit Shipwright on piers for cosmetics, apply at Ship Customization Chest anywhere. Flags stay at the nest box.
Customizable Features:
- Figurehead – bow decor
- Hull Livery – paint job
- Wheel – wheel looks
- Cannon – gun skins
- Cannon Flare – flash effects
- Capstan – anchor style
- Sails – fabric designs
- Flag – your banner
Captaincy – Why You Should Eventually Buy Your Own Vessel
Season Seven’s ownership hits different despite the gold sink. Nameplate display – custom name, splash, your tag via spyglass.
Captain-specific customizations:
- Captain’s Bed
- Captain’s Rugs
- Captain’s Table
- Captain’s Drapes
- Ship’s Crest
- Captain’s Logbook (records milestones automatically)
- Ship’s Banners
- Ship’s Title
- Trinkets
Galleons additionally get Captain’s Chair, Curtains, and Chandeliers.
Loadout saving – set it once, spawns ready every time.
Sovereigns access – outpost NPCs dump most loot fast. Skip Emissary Flags, Reaper’s Chests, Rags and Bones Crates, Ship Journals. Hunter’s Call charges a cut; no Reaper’s Bounty.
Milestones tracking – journal logs distance, visits, gold. Pick what shows.
Actually Sailing Without Looking Like a Complete Landlubber
Raise anchor with help, drop sails full, tweak for wind.
Island Approach Techniques That Won’t Get You Killed
- Method One – Early Sail Raise: Island banner up? Sails full. Drift controlled, no anchor lag.
- Method Two – Handbrake Turn: Hard wheel before bottom, spin sails up, straighten, lift. Slick when it lands.
Don’t anchor and bail. Free kills.
Harpoon Mastery Beyond Basic Loot Grabbing
Grab barrels, chests, players. Floor shots reel hard turns.
When Everything Goes Wrong – Scuttling
Crew vote in settings. Unfixable holes, random respawn. Ditch harassers or hunt lost loot.
Damage, Destruction, and Desperate Repairs
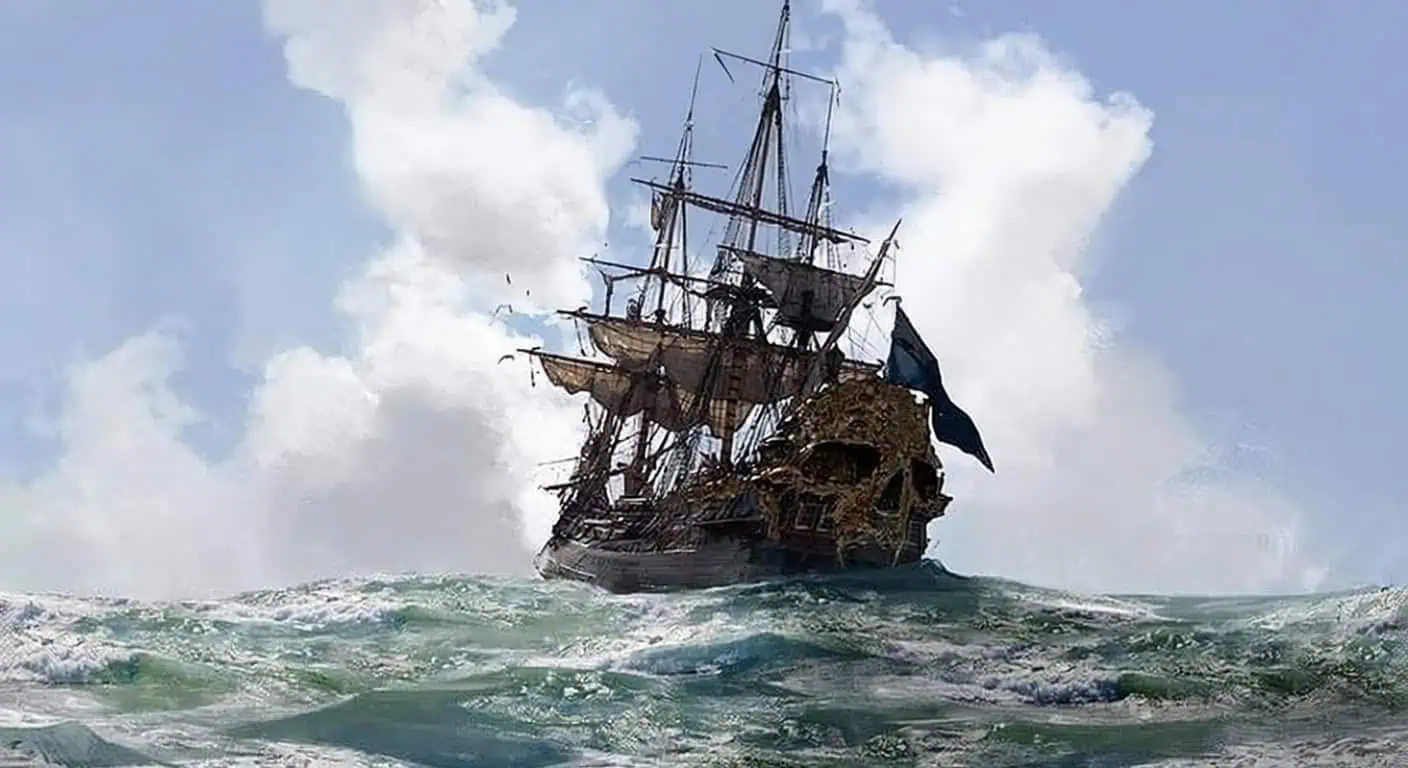
Cannons, crashes, storms, kegs, fire, volcanoes chew hulls.
Hull damage – floods start. Top deck under? Done. Sloops count 18 holes; others more.
Component damage:
- Masts, wheel, capstan take three balls each
- One plank per fix
- Chainshot snaps ’em instant, halves on hulls
Fire mechanics – crawls everywhere. One spot chews a point in 1-2 minutes. Rages till soaked.
Fire sources: lightning, bombs, Rage chests, kegs.
Blunderbombs – shove back, no holes.
Damage Control Priority – Sloop Focus
Patch smart.
- Front left hole – first
- Vanity hole – next
- Back left holes – keep pressure
- Right side holes (front/back) – quick, they stay shut
Stalemate? Rep and peek cannon. Clear lowers, hole ’em, board.
Solo Sloop Survival Workflow
Solo sinks happen. Learn from ’em.
Sell treasure often – no hoards. Voyage, cash, repeat.
Priority order:
- Bucket water
- Cannon hits
- Wheel fix
- Flood holes
- Mast last
Mermaids after water and wheel.
Supplies, Sustenance, and Combat Consumables
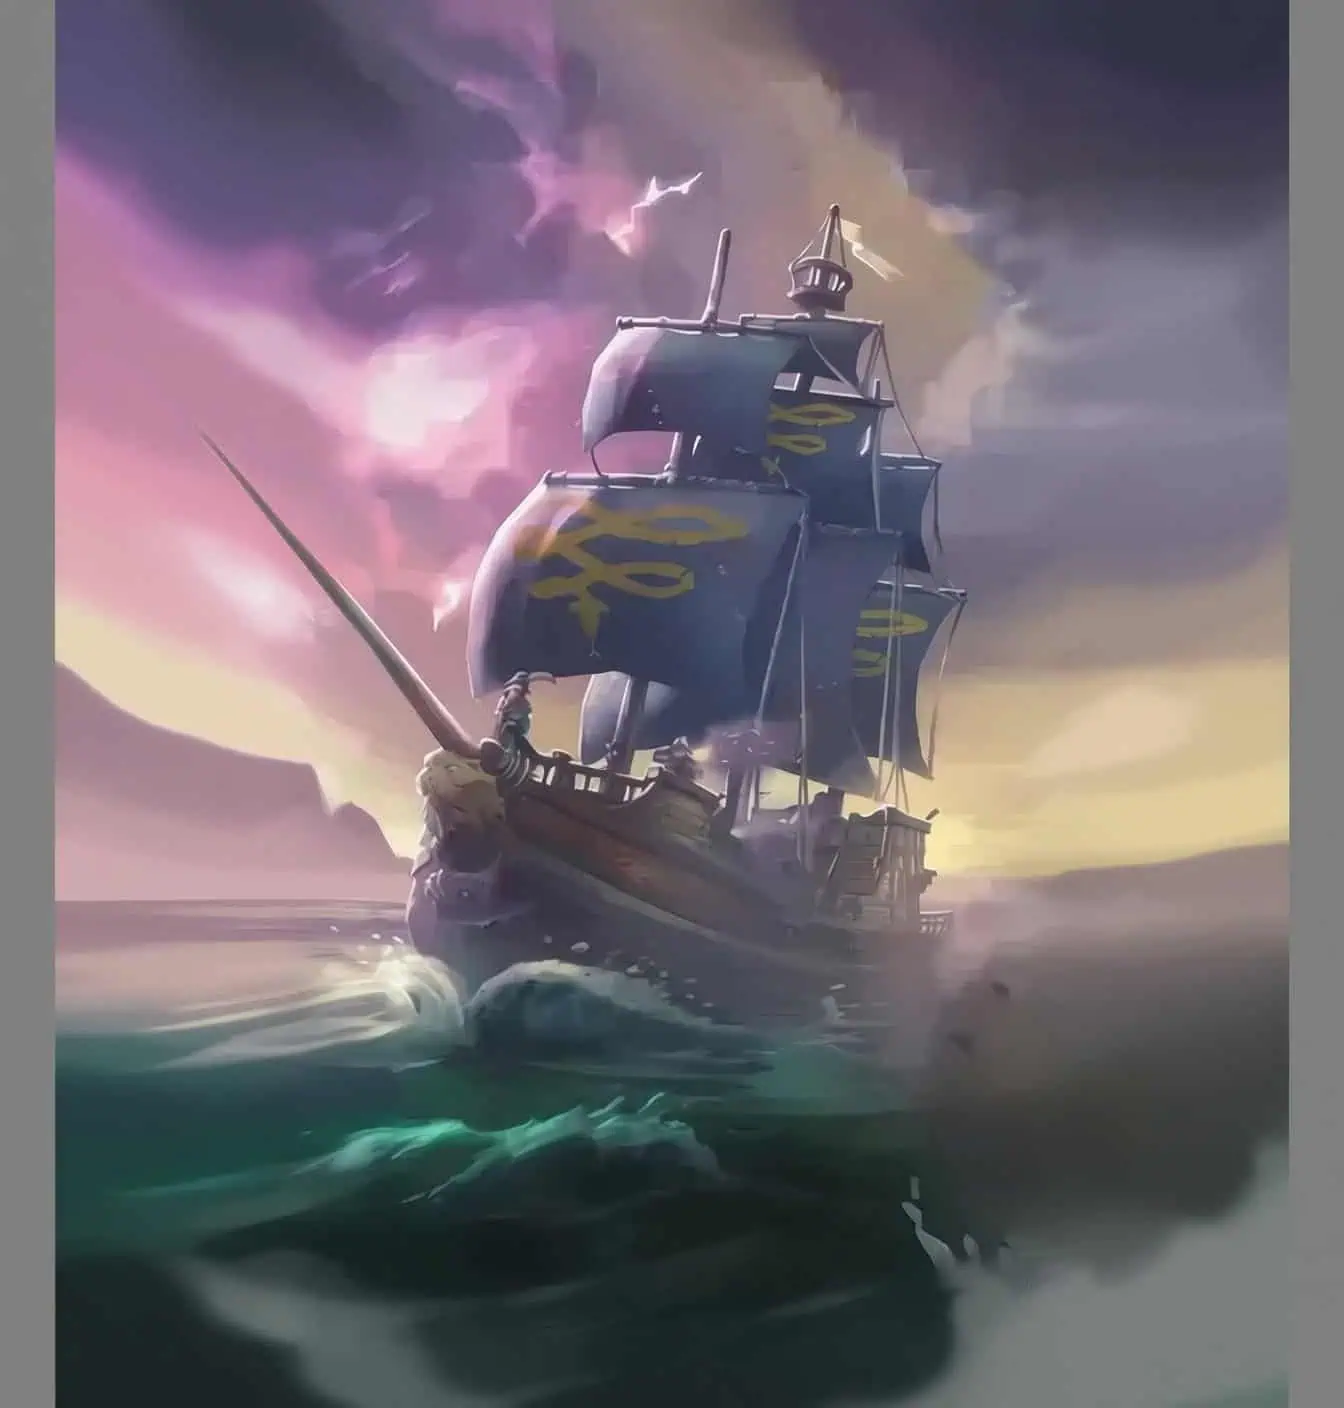
Load heavy at outposts.
Cannonball types:
- Normal – hull punch
- Chainshot – rig killer
- Firebombs – flames
- Blunderbombs – push
- Cursed cannonballs – tricks (purple ships, green players)
[h3]Food Healing Reference[/h3]
| Food | Health Restored | Additional Notes |
|---|---|---|
| Banana | 20% | Basic healing |
| Coconut | 30% | Slight upgrade |
| Pomegranate | 40% | Mid-tier |
| Mango | 50% | Solid choice |
| Pineapple | 100% | Full heal |
| Cooked Fish | 30% x2 | 10% regeneration |
| Cooked Trophy Fish | 75% x2 | 33% regeneration |
| Cooked Chicken/Pig/Snake/Shark | 50% x2 | 25% regeneration |
| Cooked Kraken/Megalodon | 100% x2 | 50% regeneration |
Regen kicks in 10 seconds damage-free.
PvP food strategy: Chomp on damage. Best stuff first. Below 75%? Eat over shoot.
Cooking Times – Don’t Burn Your Dinner
| Food | Cooked | Burnt |
|---|---|---|
| Fish | 40s | 80s |
| Meat | 60s | 120s |
| Trophy Fish | 90s | 180s |
| Kraken/Megalodon | 120s | 240s |
Golden-brown, white eyes done.
Pro tricks:
- Wrecks have cooked grub sometimes
- Firebomb animals for auto-cooks (spotty)
Storage Crate Management for Maximum Efficiency
Grab crates from merchants: balls, fruit, storage, wood.
Placement strategy:
- Wood by wheel
- Balls top barrel, chains too
- Bottom: bombs, fireworks
- Storage by cannon, balls/chains ready
50 slots each; island runs easier.
Naval Warfare – Sinking Ships That Absolutely Deserve It
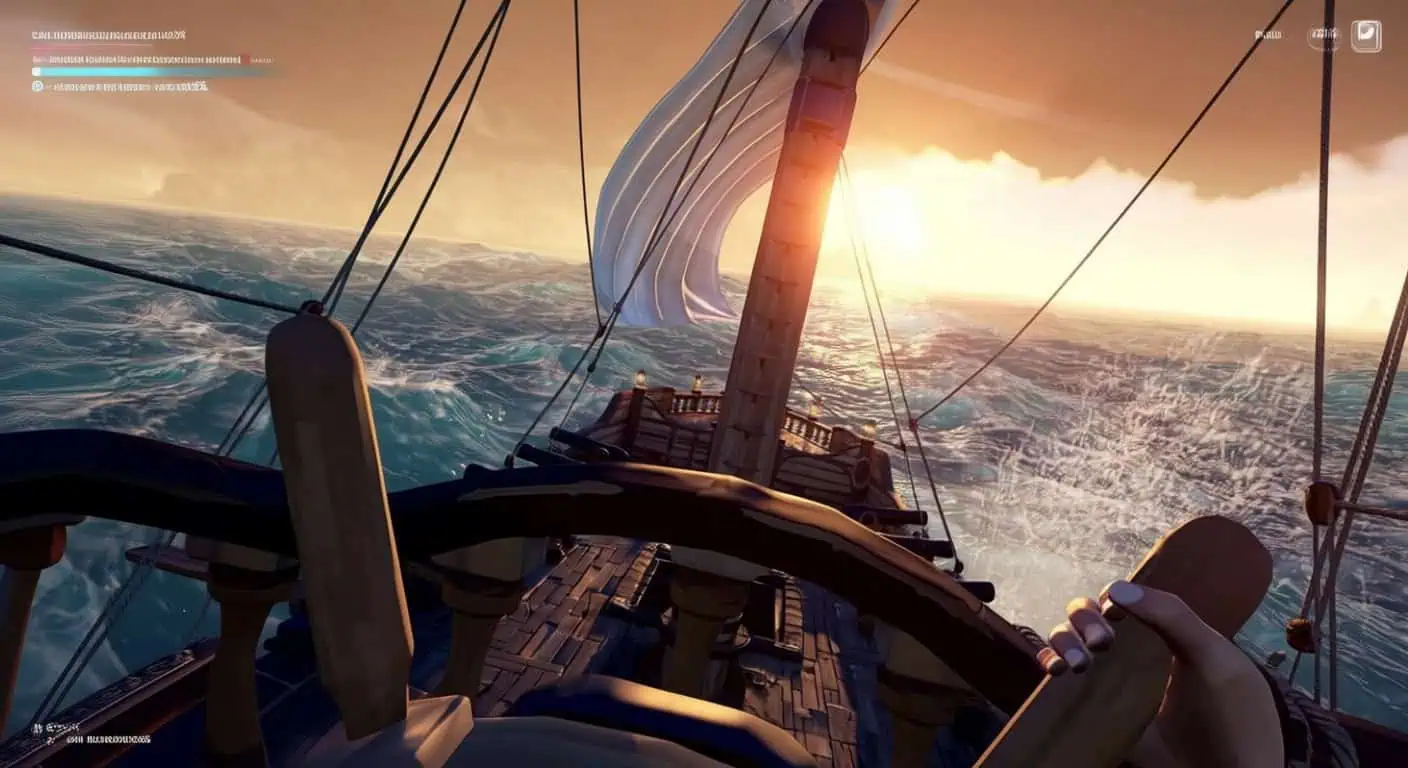
Aim low – waterline holes flood. Same spot grows ’em bigger, faster sink.
Component targeting:
- Wheel: strips handles
- Capstan: anchor slows
- Masts: three shots or chain
Chainshot tactics – trade holes for dead speed. Sails flop, target practice.
Boarding – The Art of Aggressive Ship Invasion
Turn off, cannon boarder to bow ladder. Fake climbs waste their bucky.
Goal: anchor down. Then pound.
Defensive Maneuvers When You’re the Prey
Break line-of-sight – rocks, islands, flip 180.
Stern jumper – leap back, ladder grab, anchor drop.
Cursed cannonball usage – Anchor or Rigging snags ’em.
Preventing boarders:
- Face away
- Ear on splashes, gasps, mermaids
- Ladder watch, bucky hot
- Interrupt drops early
Death Spiral – Advanced Sinking Technique
Anchor ’em, circle slow, unload. Teamwork sink.
Weapon Damage Values – Know Your Killing Power
| Weapon | Damage |
|---|---|
| Flintlock | 50% per shot |
| Eye of Reach | 70% per shot |
| Blunderbuss | 10% per pellet (100% maximum) |
| Trident | 30%, 60%, or 90% per shot (charge dependent) |
| Sword | 25% per slash, 60% lunge |
Flintlock – quick cycles.
Eye of Reach – one-tap lows.
Blunderbuss – close shred.
Trident – 30 shots; 2.5x critters.
Sword – endless; lunge swim, block combos.
Ashen Winds Skull – 33% spits, 45s drain. Up to 25k sell.
Advanced Combat Mechanics Separating Good from Great
- X Cancel – stow redraw for faster shots.
- Delay Swap – shoot, swap, sprint ready, fire. Time it or slower.
- Third-Person Cannon Loading – half load, throwable stow – snipes while it fills.
- Crossbow Sniping – lead both boats; test adjust.
Crew Organization – Who Does What When Everything’s On Fire

Roles shift fast.
- Cannonmen – pressure
- Repair Hands – afloat
- Boarders – invade
- Scavengers – loot
Large Crew Division (12-Player Galleon Example)
- 4 cannons
- 3 repairs
- 1 wheel
- 2 sails
- 2 boarders
Watch stocks in long trades.
Emissary Flags, Reputation Grinding, and Smart Selling
Flags multiply sells. Grade V: 2.5x.
Requirements: 15 rep per company.
Selling strategies:
- Stash high-value spots
- Sovereigns for captains
- Solos cash quick
Emissary Doubloon Rewards (Reaper’s Chests)
| Emissary Grade | Doubloon Reward |
|---|---|
| No Emissary | 25 |
| I | 25 |
| II | 33 |
| III | 41 |
| IV | 50 |
| V | 62 |
Larinna’s Letter of Recommendation – 30 doubloons bumps rep one level (Gold Hoarders, etc., no Athena/Reapers).
Efficient Loot Delivery Methods
- Rowboats – shore runs.
- Sprint-Swim Trick – “Reduce Held Interactions” for speed carries.
- Parking optimization – closest vendor dock.
- Reaper’s Hideout wedge – south approach, jam for sells.
Environmental Hazards and World Events That’ll Wreck You
Hazards Requiring Constant Awareness
- Storms – spins compass, zaps, floods.
- Volcanoes (Devil’s Roar) – fire rain. Bucket below.
- Floating barrels – keg traps.
World Events – One Active Simultaneously
- Skeleton Forts – green-eye skull. Skeletons to lord; vault pays big. Molten adds Rage.
- Skeleton Fleet – green bolts. Waves end on captain ship.
- Ghost Fleet (Captain Flameheart) – sky Flameheart, island circles. Grunts to Burning Blade; damned drops.
- Ashen Winds – red twister, Ashen Lord. Skull and Roar loot.
- Kraken – ink water. Tentacles by ship size; meat and chests.
- Fort of Fortune – harder fort, Ashen bosses.
Raids – Player-Activated Challenges
Fort of the Damned – fate flames, ritual skull. Shadows to Graymarrow. All-company vault.
Flames of Fate colors obtained by specific deaths:
- White: lightning
- Red: burning/volcano
- Green: skeleton
- Blue: shark
- Purple: snake poison
- Pink: killed by player
Emergent Encounters – Random Threats
- Skeleton Ships (Galleon/Sloop) – ragged sails, lanterns. Fight or flee; cursed balls, no bucket.
- Megalodons – colors, Ghost rare. Charges hole; cannon bail.
- Ancient Skeletons – coin rattle, 10s kill. 100-800 coins.
Non-Playable Ships You’ll Fight or Flee
Skeleton Ships – worn sails, blue/green lanterns. Hostile when attacked/approached. Carry treasure and single cursed cannonball type. Participate in Skeleton Fleet events. Spyglass viewing triggers spooky music.
Ghost Ships – Galleon-only appearing in groups. Grunt variant resembles Skeleton Ships; Ghost Captain Ships feature colored sails and pennant flags. Follow circular trajectories around islands, attacking when enemies enter cannon range. Use ghostly cannonballs. Encountered during Ghost Ship Voyages, Ghost Fleet events, certain Tall Tales and Adventures.
Miscellaneous Advanced Knowledge
- Wave direction – southeast push. Route smart.
- Harpoon tricks – loot pulls, Hideout wedges.
- Murf fruit – cook/eat stalls mermaid 2 minutes.
- FOV settings – crank to 110.
- Fishing for profit:
- Hunter’s Call hits: Battlegills (skellies/forts), Wreckers (wrecks), Stormfish (storms)
- Stormfish tops 17k
- Bait crates stock fast
Ship mastery means wins in Sea of Thieves. Drill it, sink a lot, own the water.
