


Naval combat in War Thunder is a different beast entirely compared to ground or air battles. Ships don’t just have a health bar – they burn, they flood, they lose crew compartment by compartment, and every so often, they vanish in a massive magazine explosion. Honestly, knowing how these systems work is the only thing standing between you surviving a broadside or sinking in thirty seconds flat. Everything you need is right here. I’ve pulled together the mechanical details, tactics, and crew skills into one spot so you don’t have to learn the hard way through trial and error.
How Damage Actually Works
The system is split into two categories: coastal vessels and bluewater ships. They play by very different rules.
Coastal vessels are all about compartments. You kill them in two ways: wipe out the crew across the whole ship, or “blacken” (destroy) every single compartment. Ammo racks on these boats are tiny, so don’t count on magazine detonations to save you. You’ll usually be fighting at short range – under two kilometers – using a mix of machine guns, autocannons, and torpedoes.
Bluewater warships use a module system. Every part of the ship has its own hitbox: turrets, engines, ammo racks, pumps, you name it. Since these ships carry massive amounts of ammo, precise hits actually matter. Plus, things like torpedo bulges and bulkheads change how much a hit actually hurts.
The Spearhead update fundamentally changed how Damage Control works for everyone – we’ll get into that below.
Damage Types: The Breakdown
- Fire: Drains your crew over time. Ventilation helps, and upgrading your extinguishers cuts down the duration. Just remember: a fire near your ammo is a death sentence.
- Flooding: Tanks your buoyancy and makes you list. Pumps are your best friend here, but “irreparable breaches” make pumping a top priority.
- Hull Break: Big explosives can just shatter a hull. A 250kg payload usually deletes small patrol craft, but you’ll need 1,000kg for the bigger stuff.
- Crew Knockout: Your crew is spread out. If a compartment is “blacked out,” you can’t repair it anymore, and it can trigger random breaches that sink you even faster.
- Torpedoes: These are engine-killers. If they hit near your guns, expect an ammo explosion. They detonate on contact, so stay sharp.
- Ammo Detonation: Hit a rack, a torpedo room, or a depth charge magazine, and it’s usually game over in one spectacular boom.
- Ramming: Mostly just a thing for small boats, and usually an accident.
A note on Irreparable Breaches: Large torpedo or bomb hits can create permanent holes. Your crew can seal the bulkheads to stop the spread, but that section stays flooded for the rest of the match. This is why the new DC system puts so much weight on pump priority.
Essential Controls: Set These Up Now
Don’t even head into a match until you’ve tweaked these settings.
Disable Automatic Target Lock
- Options → Main Parameters → Naval Battle Settings
- Turn off “Automatic Target Lock”
The auto-system is annoying – it’ll switch your target mid-fight and mess with your ranging. Do it manually.
Range Adjustment (Realistic Battles)
- Controls → Naval → Camera Control
- Set Mouse wheel (naval) to “Distance correction”
- Use Z for zoom and range tweaks.
Targeting
- X marks your target and starts the rangefinding.
- If your targeting breaks, find Target Tracking (Naval) in the controls and bind it. Pressing it once usually resets the glitch.
Manual Repair Keys
- 7: Module repair
- 8: Firefighting
- 9: Pumping
Tap to start, hold to cancel. Just a heads-up: bridge repairs can’t always be stopped once they start.
Propulsion repair is now fully automatic. If your engine gets hit, the crew handles it without you needing to press a button, provided they aren’t all dead.
The New Damage Control System (Spearhead Update)
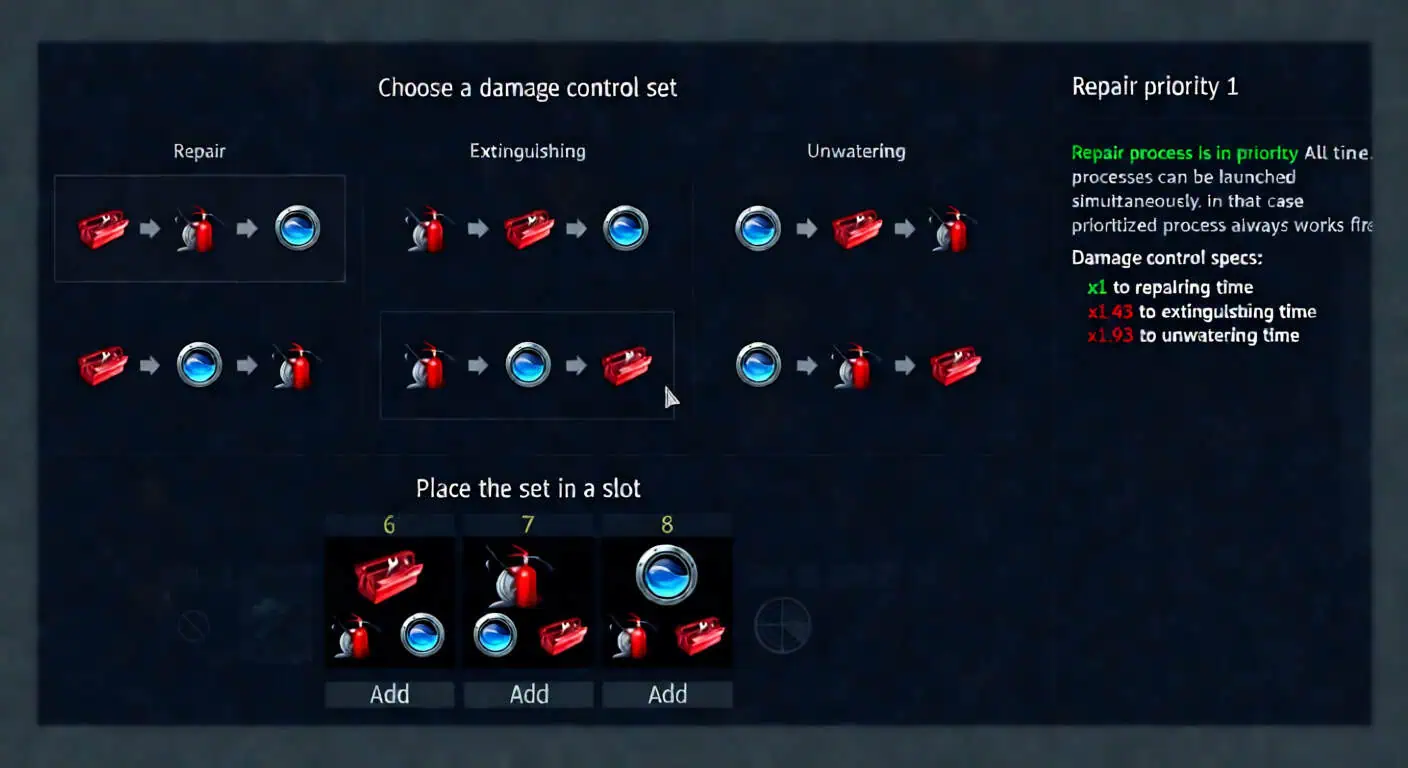
This is the biggest change to naval in a long time. It basically automates the headache of juggling repairs.
How the Priority System Works
You now pick three presets: Firefighting, Repair, and Pumping. When you get hit, all three start at once, but there’s a catch – a time penalty for multitasking.
- 1st Priority: Standard speed.
- 2nd Priority: ~1.45x slower.
- 3rd Priority: ~1.95x slower.
The “Meta” Priority Order:
- Firefighting: Fires kill you the fastest. Period.
- Unwatering: You need to stop the sinking before you worry about a broken gun.
- Module Repair: A broken turret won’t sink the ship; a hole in the hull will.
The best part? Using damage control no longer slows down your reload. This is a massive buff to survivability.
Don’t like it? You can turn it off. Go to Options → Naval Battle Settings and toggle the Damage Control system back to manual if you prefer the old-school way.
Crew Skills: Where to Spend Points
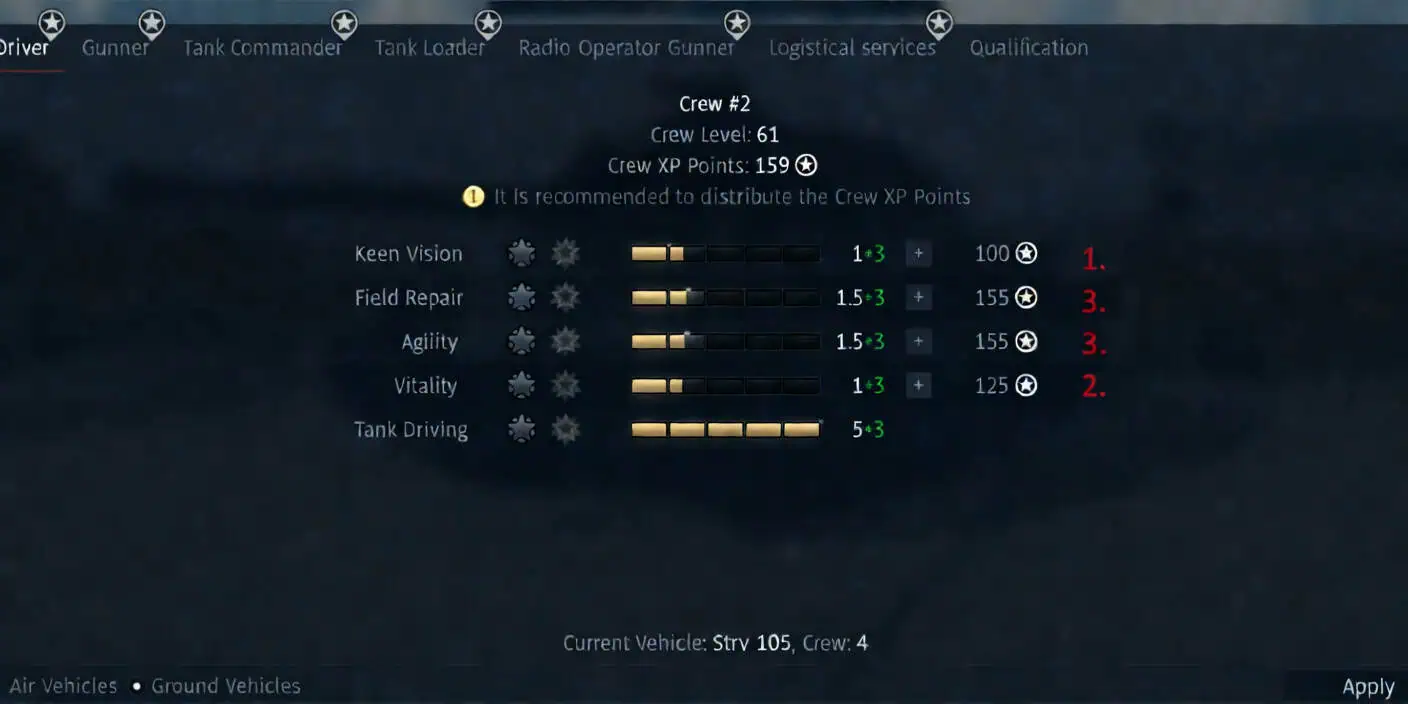
- Leadership: The GOAT. It boosts everything else by 5%. Max it first.
- Main Caliber Reload: More shots = more kills. Simple.
- Fire Extinguishing: Essential. It cuts down the time you spend burning.
- Crew Interchangeability: Lets you stay in the fight longer before the “not enough crew” message pops up.
- Breach Repair & Unwatering: If you play Bluewater, you need these to survive torpedo hits.
Skip these: Radio Communication and Distance Fuze Accuracy. They’re basically point sinks with no real payoff.
Ammunition: What to Load
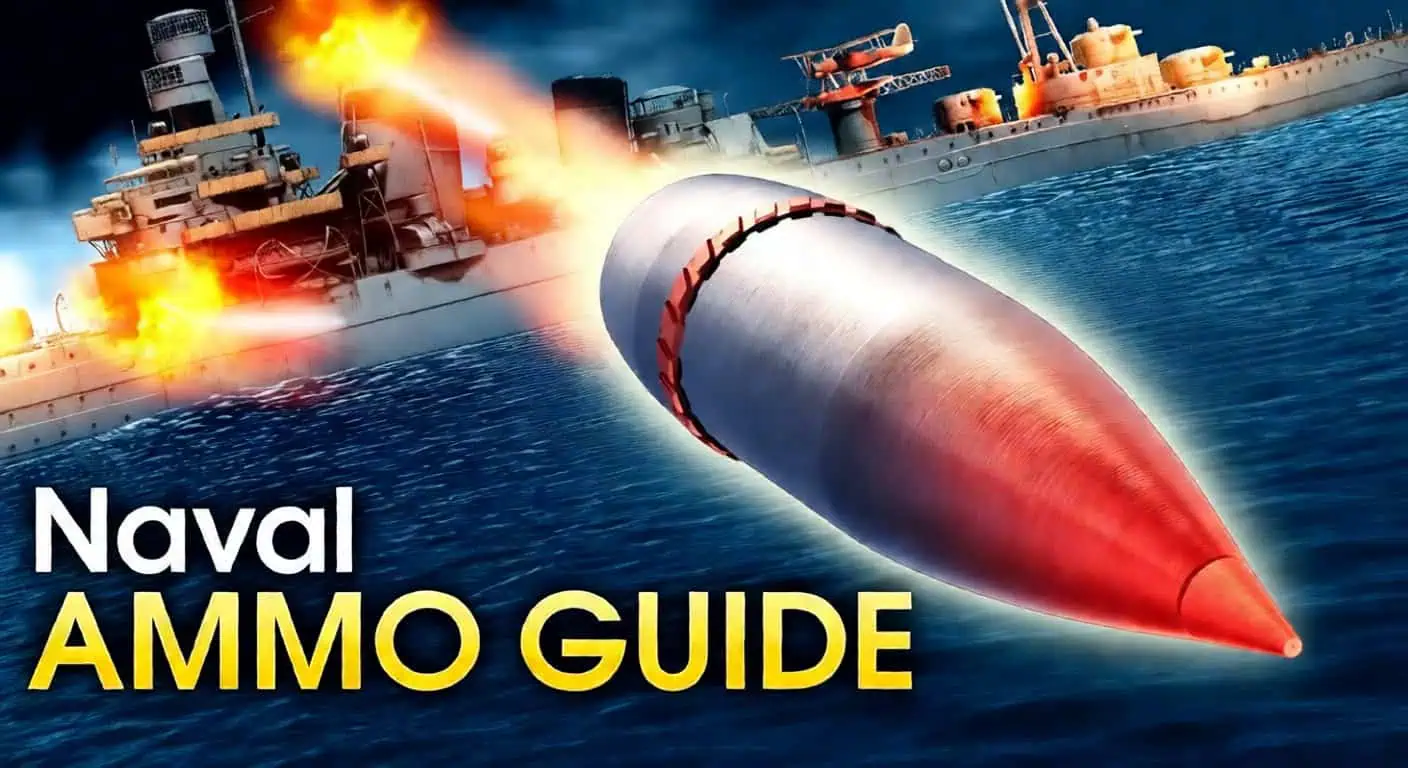
- HE: Great for coastal boats and setting fires on big ships.
- SAP: The sweet spot for US ships. Better pen than HE, more boom than AP.
- AP: Use this for punching through heavy armor plating on cruisers and battleships.
- HE-VT: Proximity fuses. If you see a plane, switch to this.
Pro Tip: If you’re struggling to kill a ship, aim right under the turrets. Hitting the ammo rack is the fastest way to get a “Target Destroyed” notification.
Quick Combat Tactics
- Evasion is King: Don’t just sit there. Change your speed and weave. A predictable ship is a sunken ship.
- Target the Bridge: Taking out the bridge kills the enemy’s ability to aim and steer. It’s a great way to neuter a dangerous opponent.
- Angling: Use the armor viewer in the hangar. Know your strong spots and try to “bowtank” (point your nose at the enemy) to minimize the target they have to hit.
- Torpedoes: Don’t just fire and pray. Use them on ships heading straight for you, or drop them in narrow chokepoints between islands.
- Aircraft: Bombs are way more reliable than torpedoes for planes. If you’re in a dive bomber, aim for the deck; if you’re at high altitude, guided munitions are your best bet.
National Strengths at a Glance
- USA: Amazing guns and even better AA. The Cleveland and Sumner are beasts.
- Germany: Coastal is a struggle early on, but their late-tier stuff like the Köln and Albatros is wild.
- USSR: The G-5 is a meme-speed boat, and their late-tier frigates hit like trucks.
- UK: Formidable once you get past the early grind. The HMS Vega is a solid starter.
- Japan: It’s all about the Long Lance torpedoes. If you can aim them, you can delete anything from miles away.
Final word: Before you take a new ship out, check the X-ray in the hangar. Know where your ammo is, because the enemy definitely does.
