


Controls make or break your experience in War Thunder Mobile. New players often spend hours grinding matches without realizing that a few tweaked settings could double their effectiveness overnight. This guide covers everything – touch layouts, sensitivity numbers, controller pairing, tank-specific configs, aircraft setups, and the mistakes that quietly ruin most players’ sessions. Everything you need is already collected here.
War Thunder Mobile Controls Overview
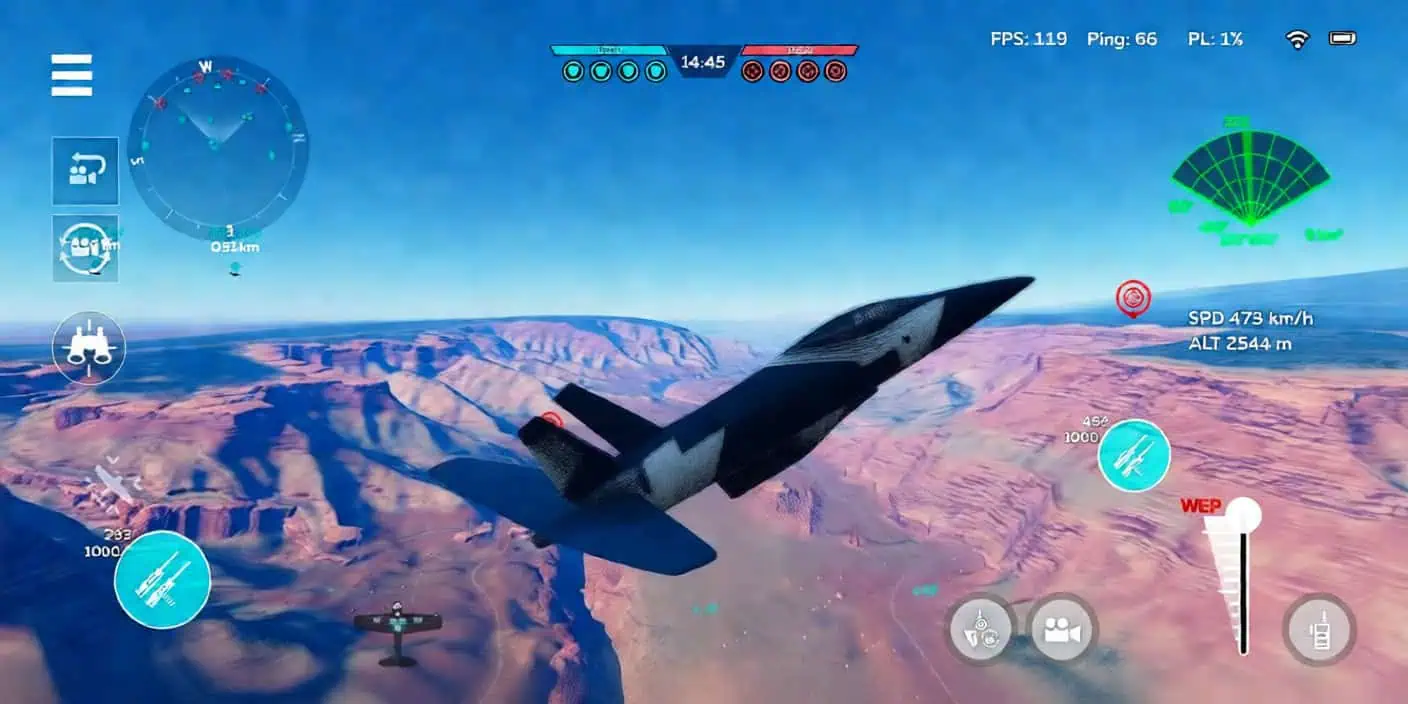
The game runs on three core combat systems: ground vehicles, aircraft, and naval units. Each demands a completely different mental model – what works brilliantly in a tank will feel completely wrong in a fighter plane.
Touch controls are the default. The game provides a full on-screen editor where buttons can be repositioned, resized, and reassigned to match your grip style. Beyond that, physical controllers connect via Bluetooth or USB OTG if you prefer a traditional console feel.
Here’s the reality: good players spend time in the settings before they spend time in battle. The default configuration is built to work for everyone, which means it’s optimized for nobody. Tailoring controls to your hands and your device changes everything.
Touch Controls Setup and Customization
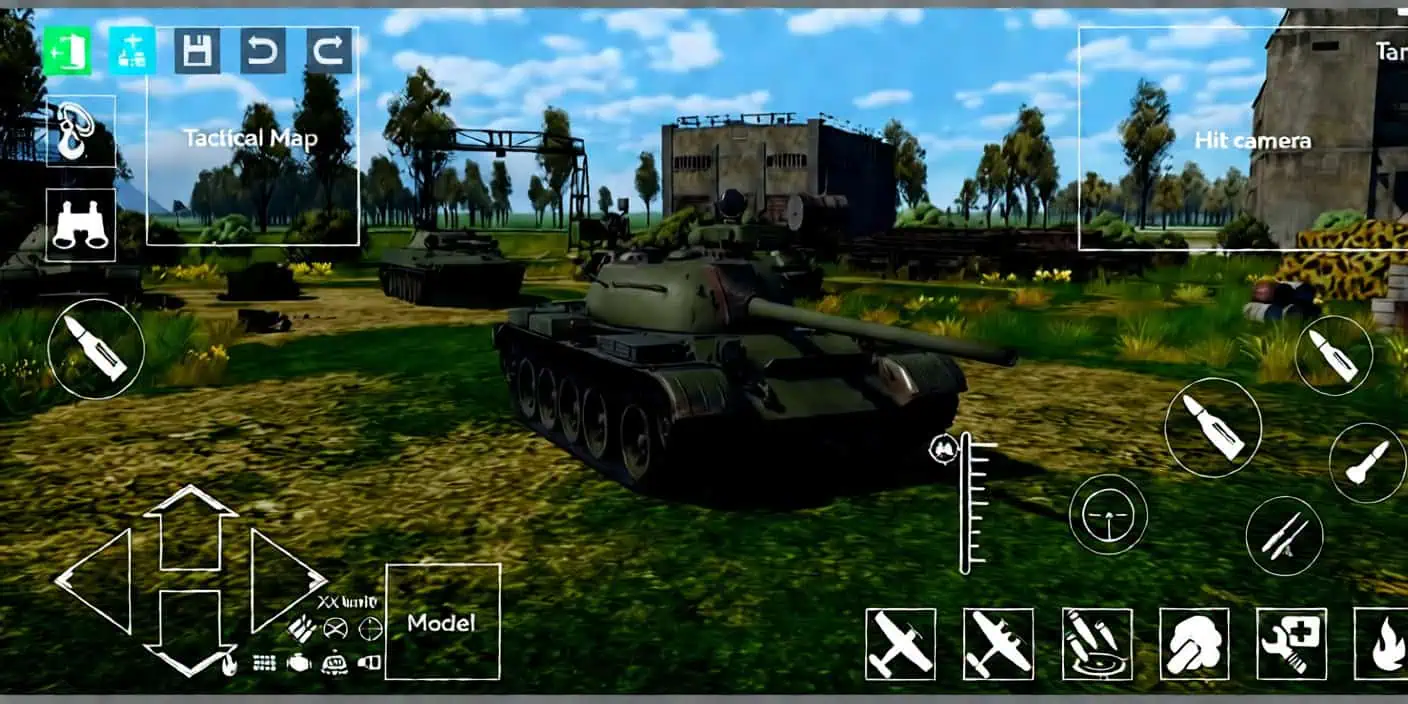
Getting into the button editor is the first thing worth doing. Navigate to Settings → Controls, then find the on-screen button editor. Every element on your HUD is movable.
A few things that genuinely improve the experience:
- Group related controls – For aircraft, cluster speed, altitude, and ammo indicators near your fire button so your thumb doesn’t have to travel across the screen during a dogfight.
- Resize buttons – The fire button needs to be large; buttons you rarely touch can be shrunk down to save screen real estate.
- Move flight control arrows – Put the additional flight controls for aircraft on the left side. This frees your right thumb to handle the primary aim cursor without interference.
- Keep critical readouts visible – Ammo counters and reload indicators should never be hidden behind other elements.
Some players use a four-finger grip for advanced play. It lets you move, aim, and fire simultaneously without the thumb gymnastics. It takes longer to get used to, and on smaller phones, it can feel cramped, but it’s worth it. For most people, two-thumb play is fine until you hit a skill ceiling.
One thing that often gets overlooked: the repair button. By default, repair and crew replenishment share a single button. Split them. You don’t want to trigger a 40-second crew timer when you just need a quick track fix.
Best Control Settings for Tanks
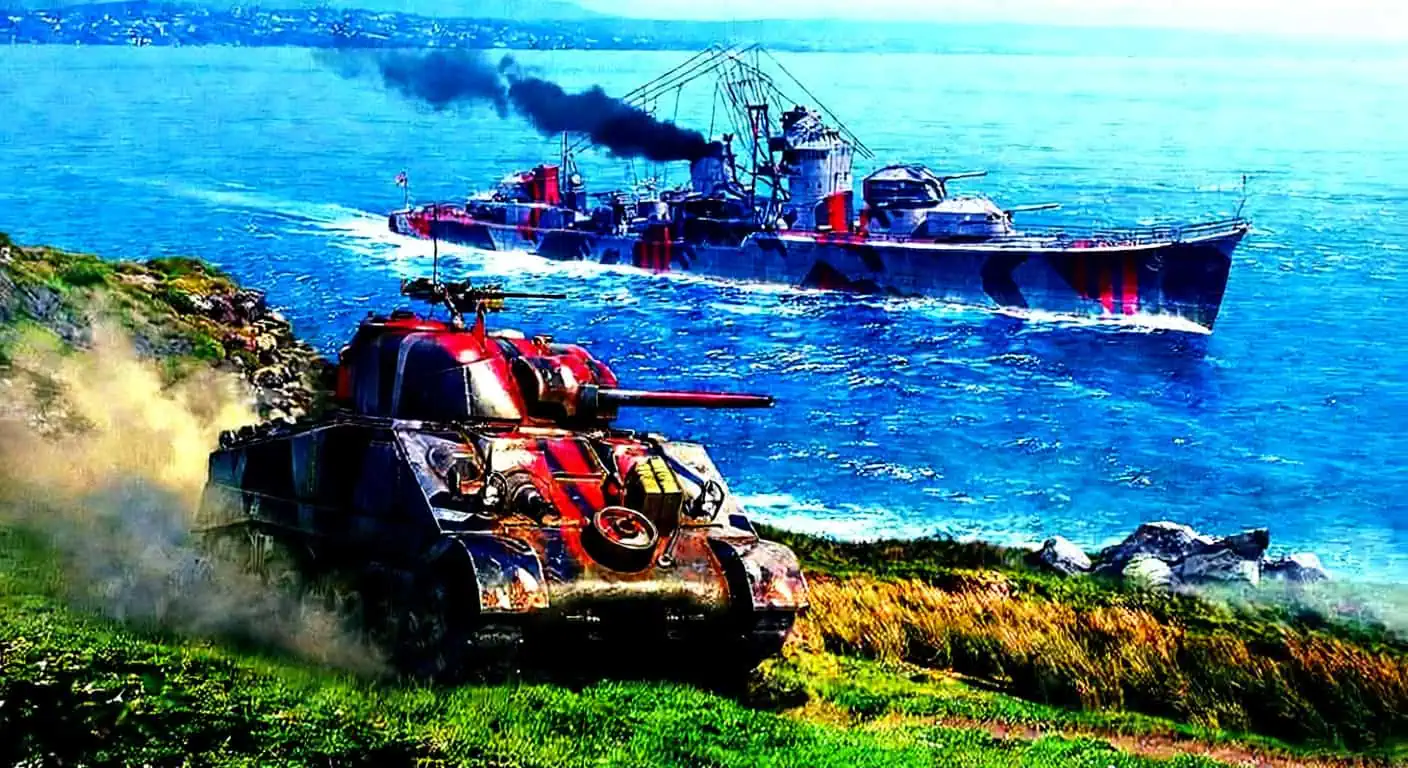
Tank battles reward a deliberate setup. Here’s the recommended configuration:
- Movement joystick: static stick – Unlike the dynamic stick that snaps to your thumb, a fixed joystick gives you a predictable anchor point. It makes micro-adjustments much more consistent.
- Control type: test both – Alternative control mode usually produces smoother turns. If you’ve already built muscle memory on default, don’t force a switch, but give both a fair shake in practice.
- “Automatically turn hull while aiming”: enable this – This is mandatory for tank destroyers. When your aim drifts outside your gun’s reach, the hull rotates to follow.
- Reload style: classic HUD – The newer indicator looks fancy, but the original layout is much easier to read at a glance.
- Camera rotation assist: disabled – This setting accelerates the camera based on thumb speed. It sounds helpful, but it actually fights your muscle memory. Fixed response is way more reliable.
- Separate repair and crew replenishment buttons – As mentioned, this prevents a lot of frustrating deaths.
- Show move directions: enabled – Gives you a clear indicator of where your tank is heading, which is great for navigating tight corners.
- Grass in tank sight: disabled – On maps like Vietnam, grass in the scope blocks your view. Disabling it removes a massive tactical disadvantage.
- Fixed armor-piercing indicator: disabled for most tanks – This merges the barrel aim and penetration markers. Keep it separate unless you’re using multi-barrel vehicles like the M50.
- Auto zoom: enabled – This handles zoom automatically when locking onto targets. It makes the aim feel “heavier,” but the precision gain is worth the slower target acquisition.
- Crew autohealing: disabled – If your crew gets hit, you want to drive to safety before the 40-second healing timer locks you in place.
- Ammo load: ~20% of maximum – A full ammo rack is just an invitation to get one-shot. Carrying less ammo dramatically reduces the chance of your tank exploding instantly.
Tank Sensitivity Reference
| Setting | Recommendation |
|---|---|
| Camera rotation | ~3.5 swipes for a full 180° turn |
| Aim sensitivity | Low enough for precise shots |
| Vibration | 33% for tactile feedback |
Best Control Settings for Aircraft
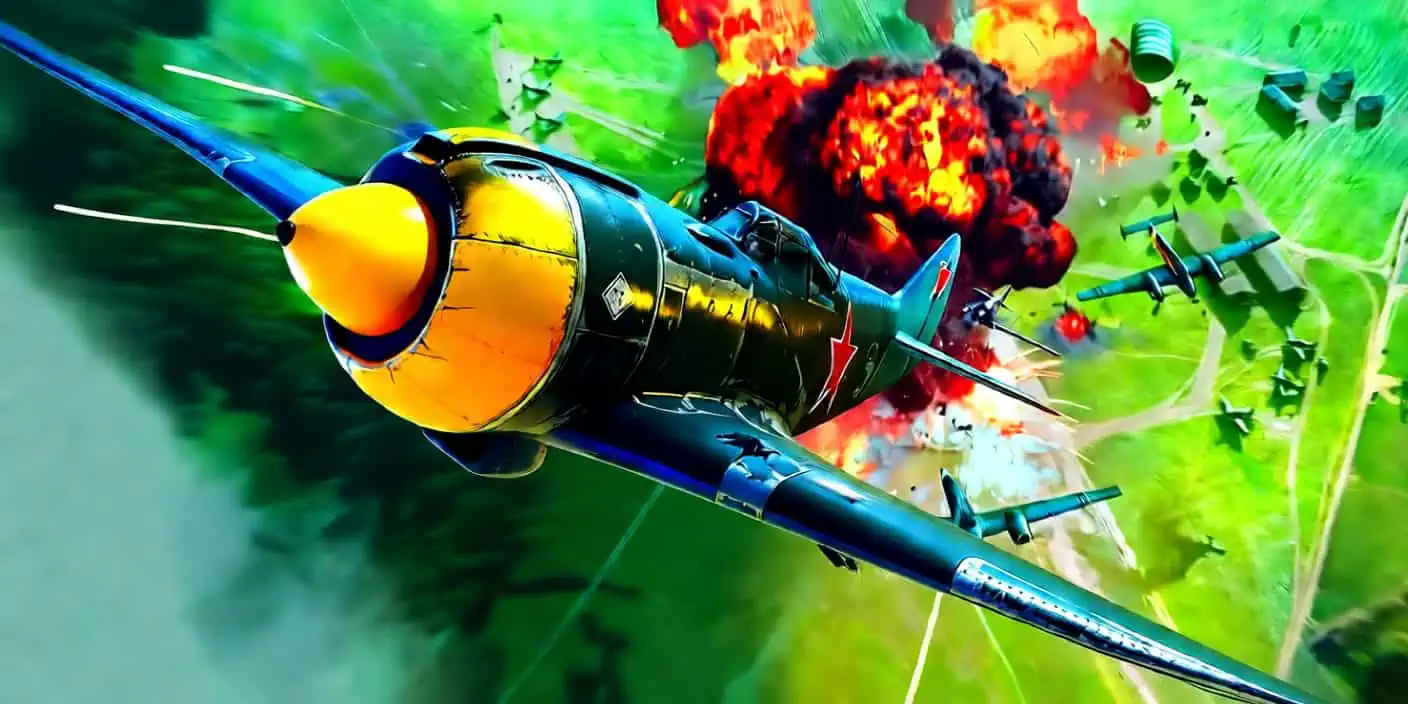
Air battles are a different beast. The biggest tip: cursor controls outperform sticks for aircraft. In cursor mode, you drag the plane’s nose directly – it’s more intuitive and way more precise for dogfights.
Full aircraft configuration:
- Show vehicle names: enabled – This is huge. It tells you exactly what’s coming. A bomber is an easy target; a Spitfire means you should probably avoid a turn-fight.
- Aircraft movement control: cursor – Avoid the sticks. Cursor mode gives you direct control over where the nose points.
- Additional flight controls: enabled – These are the directional arrows. They aren’t just for show; they allow for much tighter turns and better maneuvers. Don’t disable them.
- Fixed aim cursor: disabled
- Sensitivity settings – Try 42% for cursor sensitivity and 91% for camera following speed. For zoom mode, drop sensitivity to 25% but keep camera sensitivity high at 90%.
- Gyro controls: disabled – The gyro isn’t precise enough to be competitive. Tilting your phone is fun for five minutes, but it’ll get you killed in a real fight.
- Following selected target: enabled – Your plane will track a locked target even if you aren’t touching the screen. It’s a massive help.
- Crosshair type: “x” style – The third option is the cleanest for fast engagements.
- Assist: disabled – The assist tries to finish your turns for you, which usually just means it fights your inputs. Turn it off.
Before you fly, split your fire buttons. Have one for guns and one for cannons. Having independent triggers lets you be much more reactive without fumbling through menus.
Sensitivity Settings and Fine-Tuning

Sensitivity is personal. What works on a tablet won’t work on a phone.
For tanks: Aim for a feel where one deliberate sweep covers about 180° in three or four swipes. Start low and increase it slowly. It’s easier to build precision on low sensitivity than to fix your aim after overshooting a target.
For aircraft: Try these starting values: 49, 86, 26, 86, 45 (from top to bottom in settings). These cover cursor speed, camera follow, and zoom. Test them in practice mode before jumping into a match.
Controller Support and Setup
War Thunder Mobile plays great with physical controllers. The best options are:
- Serafim S3 – Hall effect sticks and a direct USB-C connection (no lag).
- Backbone One – The standard for mobile gaming.
- Xbox/PS5 Controllers – Both work perfectly via Bluetooth.
Note: Mouse and keyboard are not supported.
Quick Setup:
- Bluetooth: Pair your controller in your phone’s settings, then launch the game. It should register automatically.
- USB OTG: Plug and play. Most modern Androids recognize controllers instantly.
- Layout: Map your most-used functions to the triggers and face buttons. Keep things like the map or consumables on the shoulder buttons.
Pro Tips for Better Gameplay
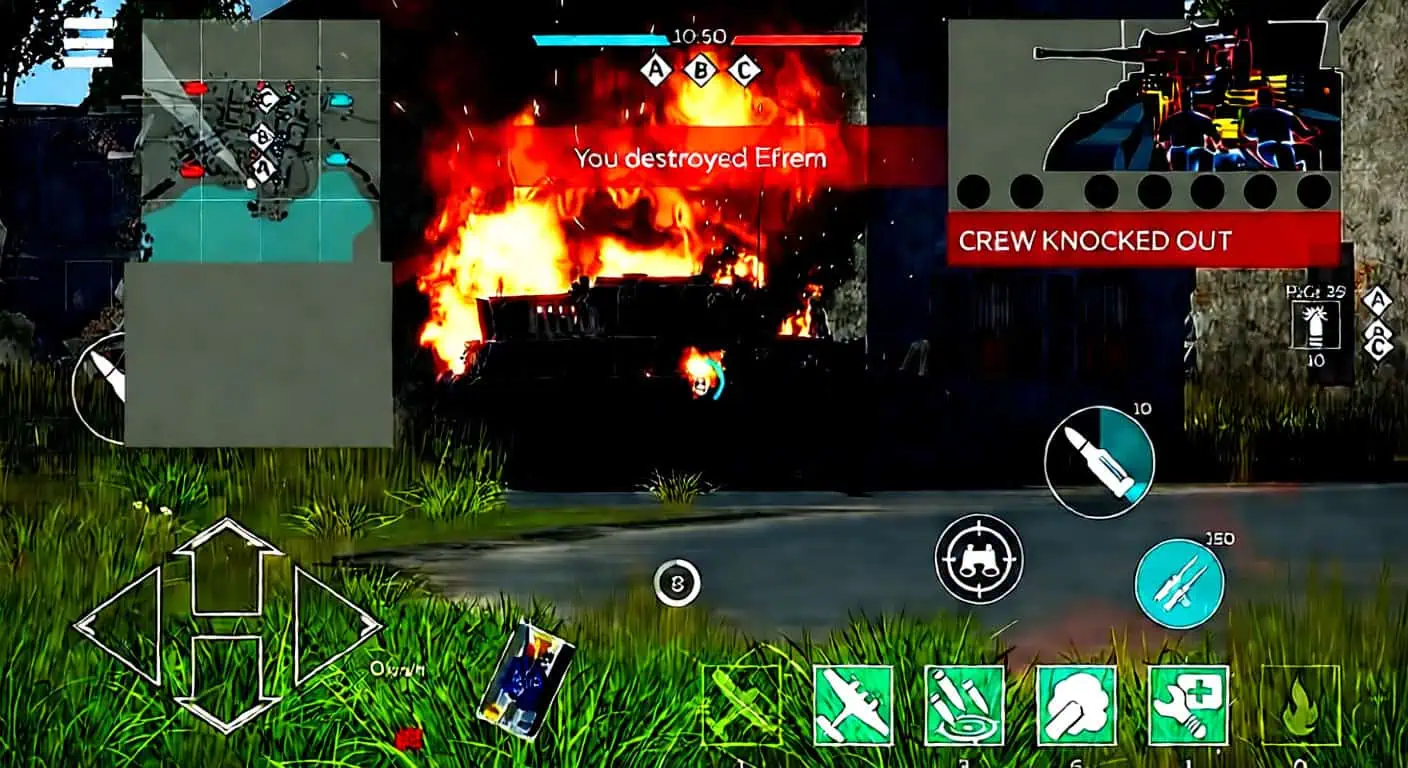
- Offline Practice – Use offline matches to get your zoom timing and directional control down until they’re muscle memory.
- Armor Analysis – Use this tool in the hangar. It shows you exactly where to shoot specific tanks.
- Aim for Weak Spots – Lower front plates, side armor, and turret rings are your best friends. Sometimes disabling a barrel is better than going for the kill.
- Shell Selection – APCBC is your workhorse for most tanks. HE is only for light, open-top vehicles.
- Audio is a Cheat Code – Turn down the music and ambient noise. Hearing an enemy engine before you see them is a massive advantage.
- Performance over Graphics – 60fps is better than high graphics. If your device gets hot, it will throttle, and your frame rate will tank. Stay smooth.
Common Mistakes
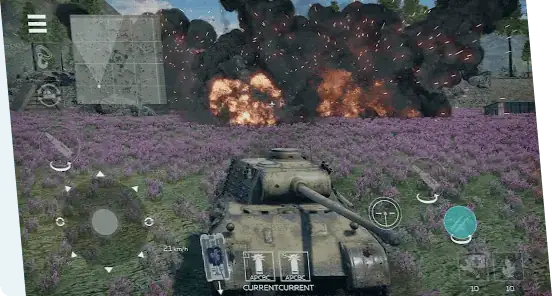
- Overcorrecting – If your tank drifts, don’t yank the stick. Small, deliberate movements will save you from spinning out.
- Full Ammo Racks – Stop doing this. You’re just carrying a giant “explode here” sign.
- Leaving Aim Assist On – It fights your manual corrections and makes you a worse player in the long run.
- Single Repair Button – You need the flexibility of two buttons. Don’t get stuck in a 40-second crew heal when you just need to fix a track and move.
Consumables and Arsenal
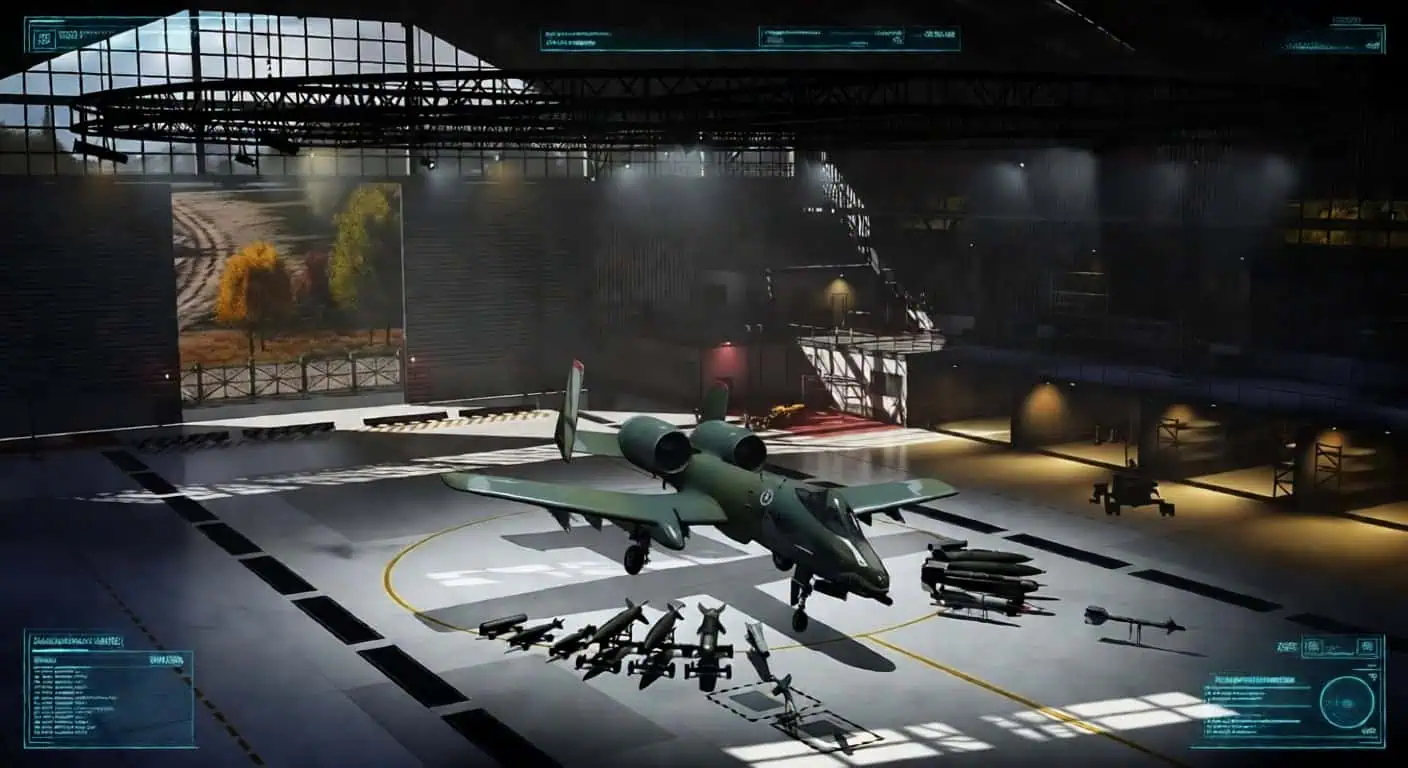
Don’t ignore your consumables. In a close match, they are the difference between a win and a trip back to the hangar.
- Extinguisher – Use it the second you catch fire. Fire kills you fast.
- First Aid – Use it to get your crew back to full strength after a hit.
Stock up on these using Silver Lions before you start a session. Also, remember that you have to play a specific tank to unlock its better ammo. Don’t jump between vehicles too much – stick with one until you’ve unlocked its best shells.
The best control setup is the one you don’t have to think about. Once your buttons are in the right spot and your sensitivity feels natural, you can actually start playing the game instead of fighting the interface.
