


Battlefleet Gothic Armada 2 throws you into massive void warfare with dozens of interlocking systems – and let’s be real, most players lose their first ten battles simply because the game doesn’t explain the fundamentals. Positioning, subsystem targeting, stance management, flagship abilities – every layer feeds into the next. I’ve pulled together everything worth knowing into one place, so bookmark this and come back whenever you need a reference.
Subfactions and What They Actually Change
Most players agonize over subfaction selection expecting mechanical differences. For the majority of factions, that choice is purely cosmetic. Pick whatever fleet aesthetic you like – the stats are identical.
- Two major exceptions break that rule entirely:
- Chaos is the standout case. Each of the four Chaos subfactions – Death Guard, Emperor’s Children, Thousand Sons, and World Eaters – gets an additional skill slot AND an additional upgrade slot. That extra skill and passive can completely reshape your fleet. Building a World Eaters close-assault list versus a Thousand Sons ranged sorcery build creates genuinely different playstyles, not just different paint jobs.
- Orks get one extra upgrade per subfaction. It’s less dramatic than Chaos, but a free passive is still real value – especially when certain Ork upgrades synergize hard with specific playstyles.
- For everyone else: stop overthinking the subfaction screen and just focus on your ships.
Flagship Skills and Their Tactical Uses
Your flagship is the nerve center of the fleet. These unique cooldowns disappear the moment your flagship gets popped or incapacitated – which is why you need to keep that ship alive at all costs. Skills are split into offensive, defensive, scouting, and movement. Choosing the right combo defines your entire battle plan.
Here’s the breakdown of what actually works:
| Skill | Faction | Range / AoE / Duration | Effect | Best Use / Synergies |
|---|---|---|---|---|
| Augur / Wraithbone / Canoptek Probe | Imperial / Asuryani / Necron | 4,500 detection while moving; 9,000 radius / 120s deployed | Fires a probe in a straight line; sticks to ships it hits | Aim into gas clouds or capture zones; forces enemies to move; great for pre-engagement scouting |
| Disruption Bomb | Imperial / Asuryani | 10,000 range; 4,500 radius; 20s regen interruption | Teleports a bomb that kills all shields/holofields (15s delay) | Use before or after the main brawl – never in the middle of your own fleet; shuts down Necron Hull Cauterisation |
| Stasis Bomb | Imperial / Asuryani / Necron | 13,500 range; 2,500 radius; 90% slow for 20s | Massive speed debuff for ships, squadrons, and projectiles | The ultimate “nope” bubble – pair with Nova Cannons to trap enemies; don’t fire your own torpedoes into it |
| Plasma Bomb | Imperial | 10,000 range; 1,500 radius; 10s delay | 200 – 400 damage ignoring armor | Only hits immobile targets (engines destroyed, movement spent); target engines first to guarantee the hit |
| Supercharged Void Shield | Imperial | Flagship only; 10s duration | Invulnerable shields (mostly) + ×10 regeneration rate | Use when your flagship is being focused; pairs perfectly with Auxiliary Shield Capacitors |
| Augur Disruption Bomb | Imperial / Asuryani | Fleet-wide; 45s duration | Blinds every affected enemy ship | Pairs with stealth fleets and advanced-detection escorts for full ambush setups |
| Emperor’s Tarot | Imperial | Single target; 90s duration | Reveals and marks a detected enemy ship | Mark heavy line ships for focused fire; useless against Tyranids since you can’t click their radar blips |
| Micro Warp Jump | Imperial / Asuryani | Within ally scanning range; 2.5s charge delay | Flagship teleports; can’t move or use skills during charge | Essential on battleships; use it to close for torpedo volleys or to blink out of danger |
| Holofield Overload | Asuryani | Flagship only; 10s duration | Instantly restores holofield to max | Honestly a bit weak since Aeldari should be moving to recharge anyway; can’t activate under Disruption Bomb |
| Wraithbone Reinforcements | Asuryani | 9,000 radius; 15s duration | Allied Aeldari ships get 75 front armor | Short duration and doesn’t work for collisions; situational at best |
| Maelstrom | Asuryani | 13,500 range; 2,500 radius; 45s duration | 20 DPS ignoring armor to shieldless ships | The best Aeldari skill; absolutely shreds Necrons. Freeze them with a Stasis Bomb first |
| Pyramidal Reconstruction | Necron | 9,000 radius; instant | Wipes all light and heavy critical effects on allied ships | Mandatory. Keeps your engines online so you can actually use your teleports |
| Transdimensional Thunderbolt | Necron | 4,500 units from flagship | 200 damage ignoring shields and armor | Good for hitting clustered enemies; line up shots along their formation |
| Resurrection Orb | Necron | 9,000 radius | Heals 3 troops on allied ships; recovers drifting hulks | Use when crew hits the red; recovering a drifting hulk can save a match |
| Scarab Swarm | Necron | 4,500 radius; 45s duration | Enemies: 10 DPS; Allies: +2 hull/sec | Massive tempo swing – they bleed while you heal. Only one Swarm per ship at a time |
| Lightning Link | Necron | 9,000 units; 20s | 60 DPS ignoring armor to enemies in the link | Devastating against capital ships; hard to land against fast, kiting opponents |
| Mass Recal | Necron | Fleet-wide | Teleports the whole fleet to the flagship | Great for repositioning or mind games when the enemy commits to a flank |
Bottom line: Skills are useless if your flagship is space dust. Every decision should factor in flagship survival.
Upgrades: Passive Fleet and Ship Enhancements
Upgrades are passive bonuses that never expire. They can buff the flagship, the whole fleet, or specific ship types like escorts.
New players should stick to fleet-wide upgrades. Flagship-only passives have to be incredible to justify skipping a buff that helps every ship you own.
| Upgrade | Faction | Effect | Notes |
|---|---|---|---|
| Navigational / Phase Shifter | All | Nullifies environmental damage (asteroid/mine fields) | Good for kiting fleets; for Necrons, regen makes this a waste – skip it |
| Improved Augur Array | Imperial | +9,000 identification range for escorts/light cruisers | Great if you’re massing small ships; useless for battleship-heavy fleets |
| Power Ram | Imperial | +50% ramming damage | Only worth it if you’re actively trying to smash into things |
| Auxiliary Shield Capacitors | Imperial | +25% shield regeneration speed | Highly recommended. Consistently valuable in every single fight |
| Aurent-Pattern Weaponries | Imperial | +4,500 range (Flagship only) | Questionable. Accuracy at max range is terrible; Lock On stance is usually better |
| Short-Burn Torpedoes | Imperial | +50% torpedo speed | Simple and strong. Faster torps are way harder to dodge |
| Emission Dissipater | Imperial | Maneuver while Running Silent without being revealed | Core piece of stealth ambush builds for light fleets |
| Culexus Assassin | Imperial | Lightning Strikes deal +500 morale loss | Useless against Space Marines; absolutely ruins Orks |
| Armor Piercing Ammo | Imperial | Target armor -50 at close range (≤4,500) | Brutal in a broadside slugfest; worthless if you’re being kited |
| Agripinaa Void Shield | Imperial | +25 armor value to shields | Makes shields much tankier, but doesn’t help against Disruption Bombs |
| Spirit Stone Targeting | Asuryani | Lascannon range +4,500 in Runic stance (Flagship only) | Used to be OP, now it’s just okay for the flagship |
| Spirit Crystal Lenses | Asuryani | +10% shield damage; delays Necron regen | Always useful. A genuine counter-play tool against Necrons |
| Blessing of Vaul | Asuryani | Target armor set to 50 at close range | It’s a trap. Pushes fragile Aeldari into close range where they get shredded |
| Tesseract Crypt | Necron | Stances work even if the deck is destroyed | Brilliant. Keeps your hull regen and fire rate buffs active no matter what |
| Unstable Pulse Core | Necron | Star Pulse damage +50% | Powerful if you have 3+ heavy ships; otherwise, skip it |
| Arc Propagator | Necron | Particle whip hits spread to a second target | Strong automatic damage. Flagship-only, but very reliable |
Ship Classes and Battlefield Roles
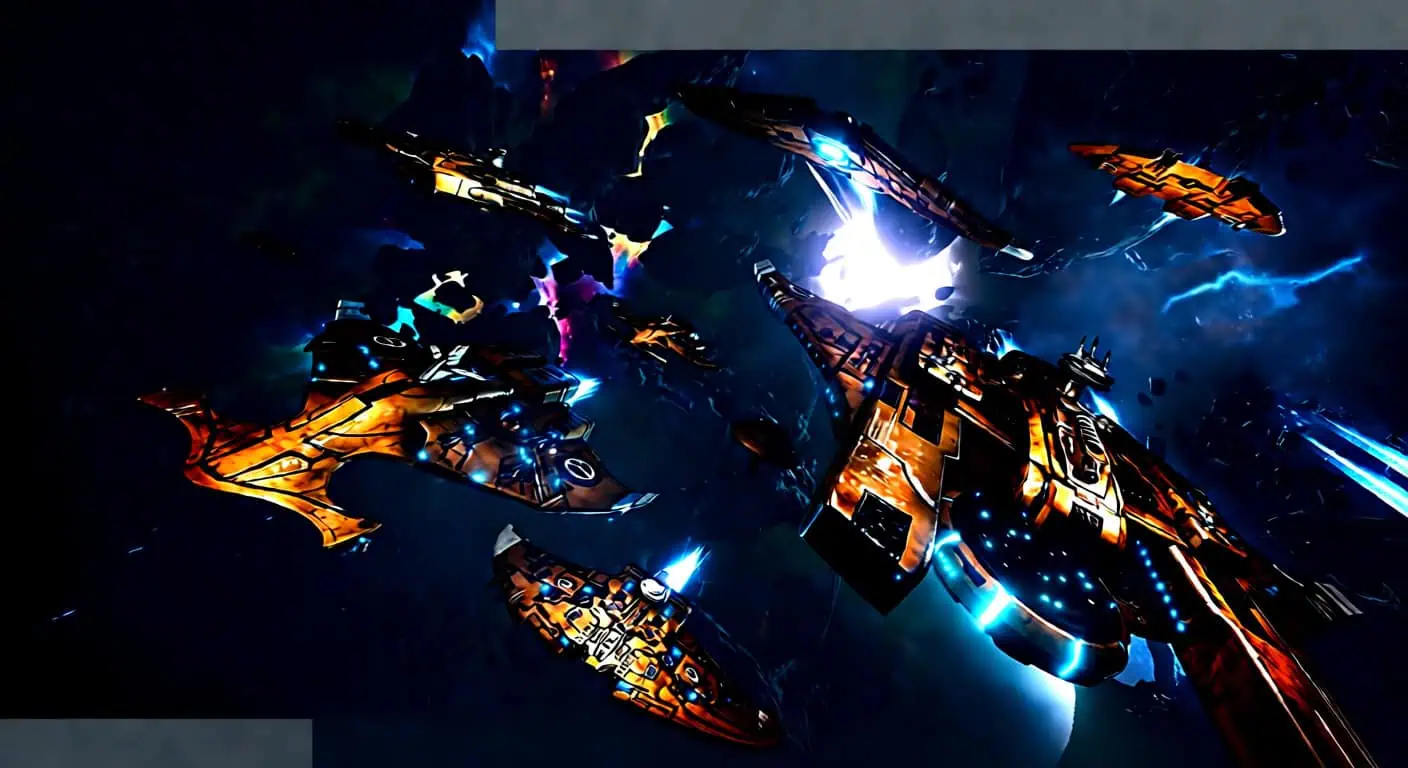
- Escorts (34 – 85 pts) are fast and cheap. They capture points, scout, and die so your big ships don’t have to. Don’t try to win a 1v1 with them – their job is utility. Cobras and Dirges are expendable assets, period.
- Light Cruisers (105 – 210 pts) are the middle ground. They can fight or carry squadrons, but they’re fragile. The Imperial Endurance is a solid mobile lance platform; the Necron Shroud is a great stealth-scout-carrier hybrid.
- Cruisers (155 – 295 pts) are the backbone. They’re efficient and losing one isn’t the end of the world. The Imperial Dominator provides great area pressure with its Nova Cannon; the Necron Scythe Harvester is a solid heavy with a Star Pulse Wave.
- Battlecruisers and Grand Cruisers (199 – 420 pts) are specialized heavies. The Imperial Overlord is a beast with plasma macros and lances. The Asuryani Phoenix Ship has massive hangar capacity but moves like a brick – it basically needs a Micro Warp Jump flagship to survive.
- Battleships (284 – 492 pts) are your centerpieces. The Imperial Retribution is a nightmare at close range but gets bullied by kiting fleets. The Necron Cairn is a 492-point monster – but if it goes down, you probably just lost the match.
Weapons, Arcs, and Damage Types
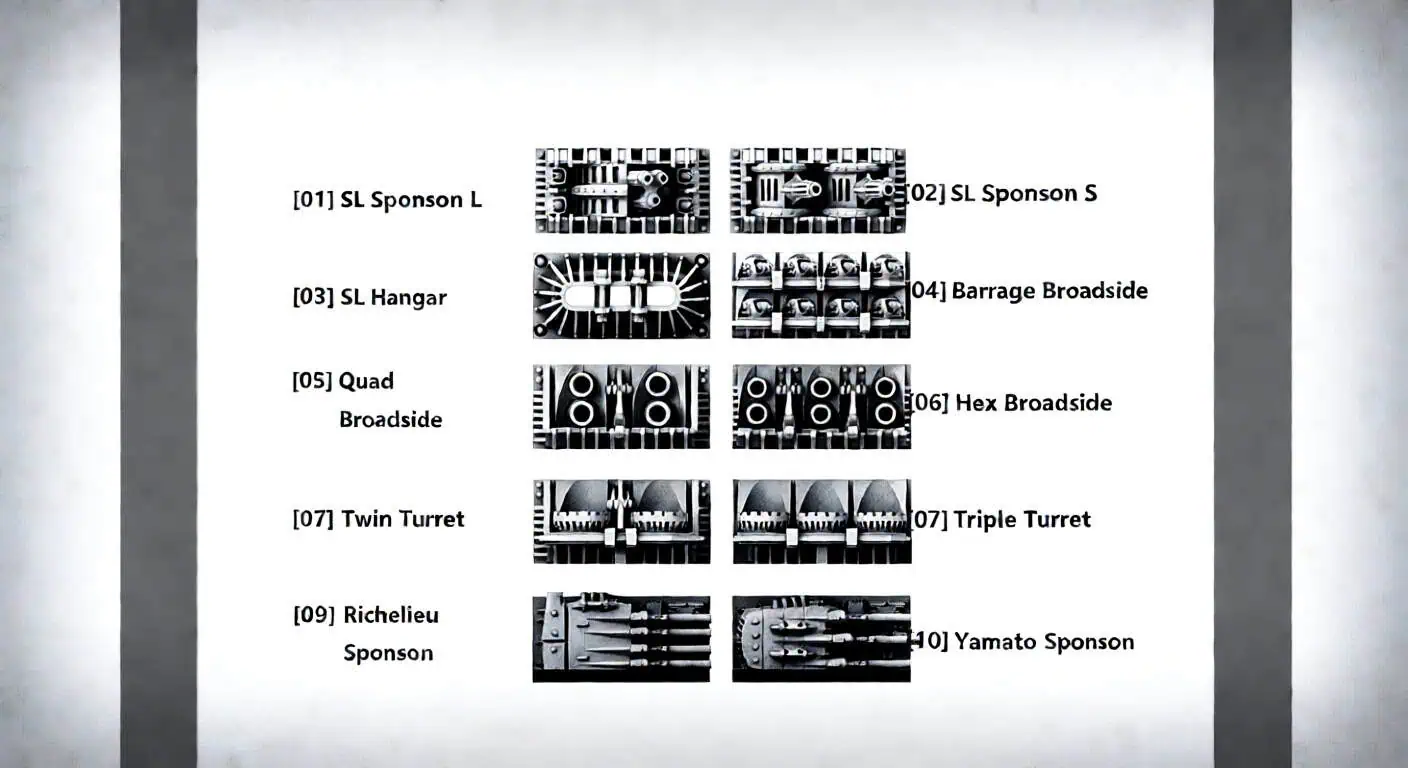
- Macro-batteries are your close-range brawlers. High damage, but they miss a lot at a distance. Get in close before you start leaning on them.
- Lances, Pulsars, and Lascannons always hit and ignore a chunk of armor. If you’re fighting something tanky, these are your best friends.
- Torpedoes ignore armor entirely. Turrets can shoot them down and they’re slow, but a good salvo can delete a ship. Pro tip: Close range, turn 180 degrees, then fire. Use the aim lines to double-check before you commit.
- Nova Cannons are void artillery. Huge area damage, but they have a charge time. Pair them with a Stasis Bomb to make sure the enemy can’t run away.
- Weapon arcs are everything. Most ships fire from the sides. If you get surrounded, you can’t fire back effectively. Flank the enemy to hit their weak rear arcs while keeping your broadsides active.
Stances and Combat Orders
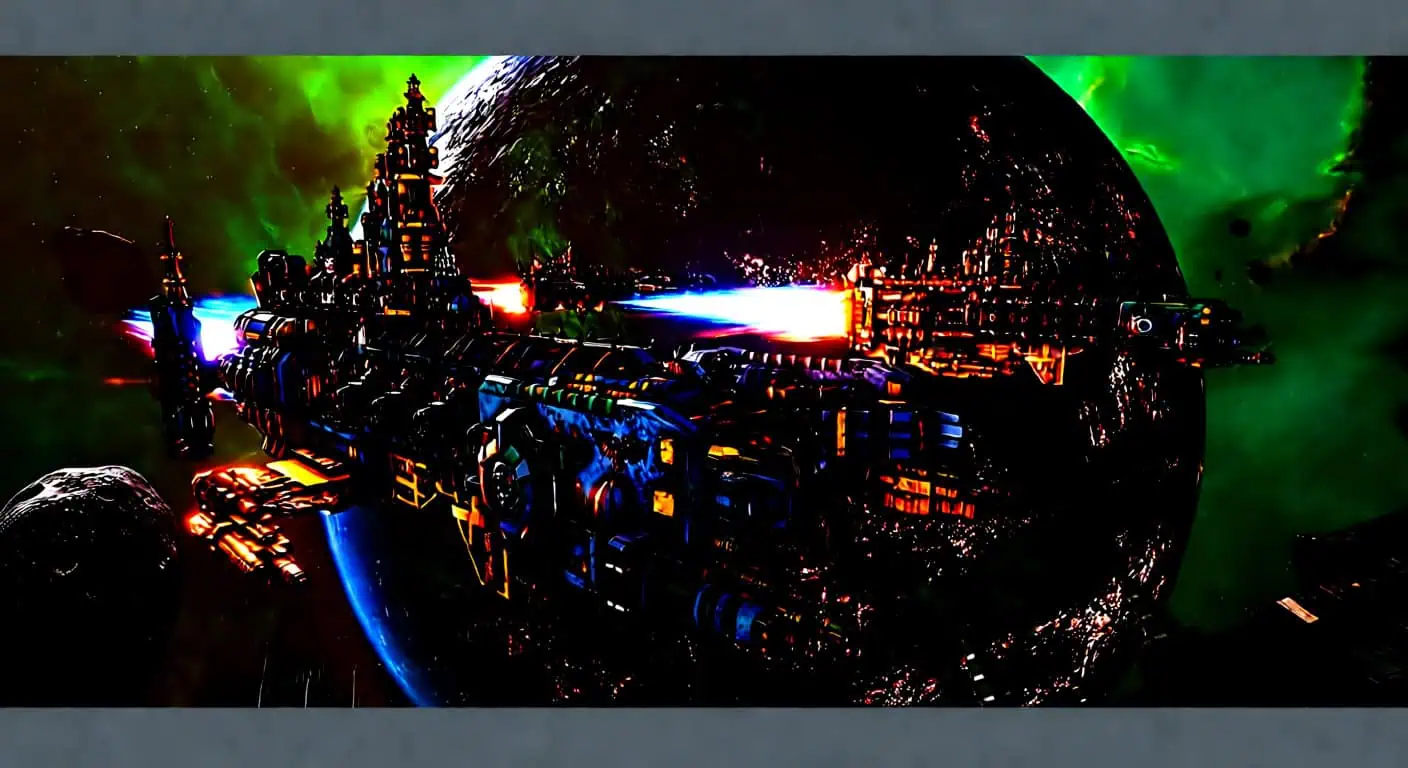
Stances are free and they change everything. If you aren’t using them, you’re fighting with one hand tied behind your back.
- Lock On gives you better range and accuracy. Use this for sniping subsystems or fighting at a distance.
- Brace for Impact is your “oh crap” button. It makes you way tankier. If you’re about to take a massive broadside, hit this immediately.
- Running Silent is for stealth. Keep your escorts in this while they’re grabbing points or setting up an ambush.
- Reload is for fire rate. Great for carriers or Necrons using the Nightmare Shroud upgrade.
Subsystem Targeting and Critical Damage
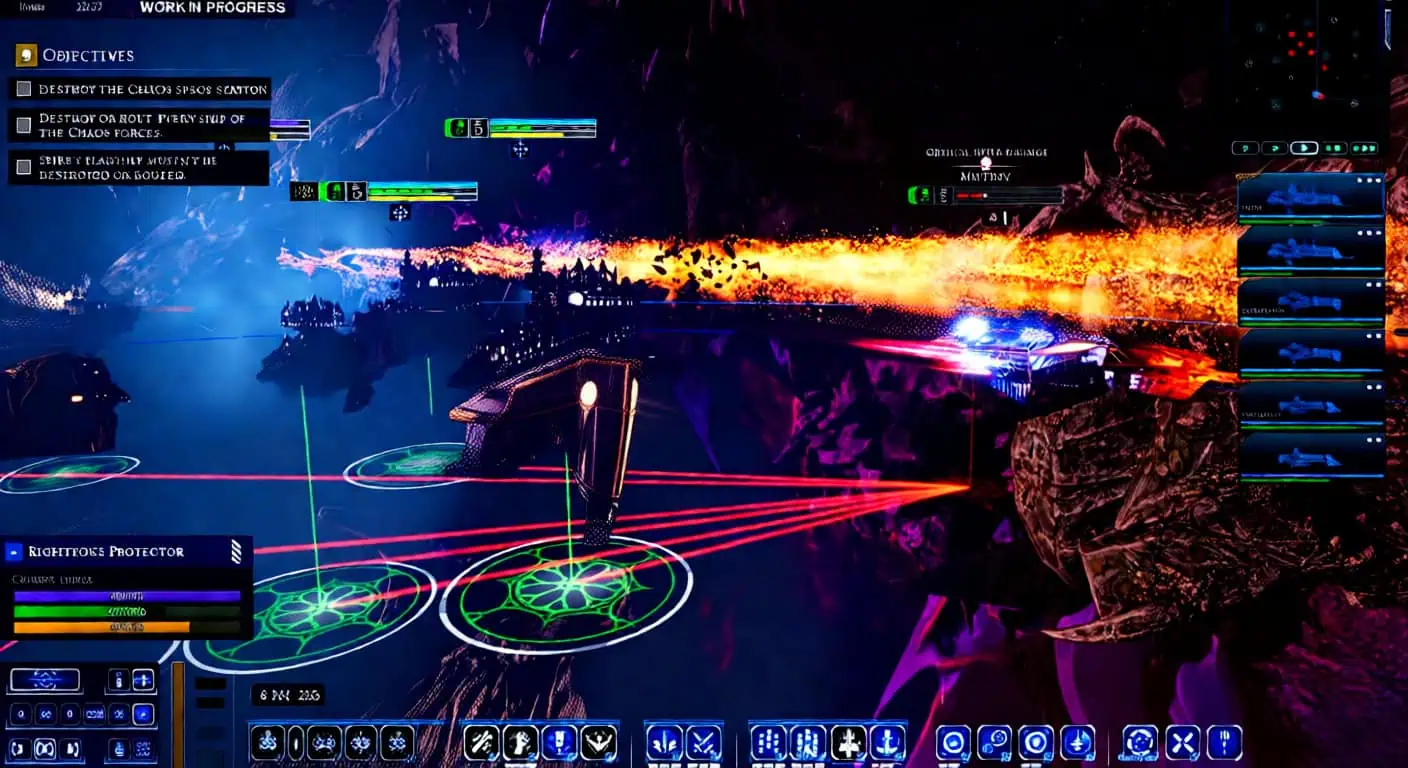
Stop just shooting the hull. Click an enemy ship and select a subsystem.
- Engines – Priority #1. A ship that can’t move is a dead ship. It can’t run, it can’t dodge, and it can’t teleport.
- Generators – Kills their shields. Do this before boarding or firing torpedoes.
- Deck – Shuts down their hangars. Use this against carrier-heavy fleets.
Criticals: Yellow damage can be fixed with Emergency Repairs. Red damage is permanent. If your engines go red, that ship is a paperweight for the rest of the game.
Boarding and Morale
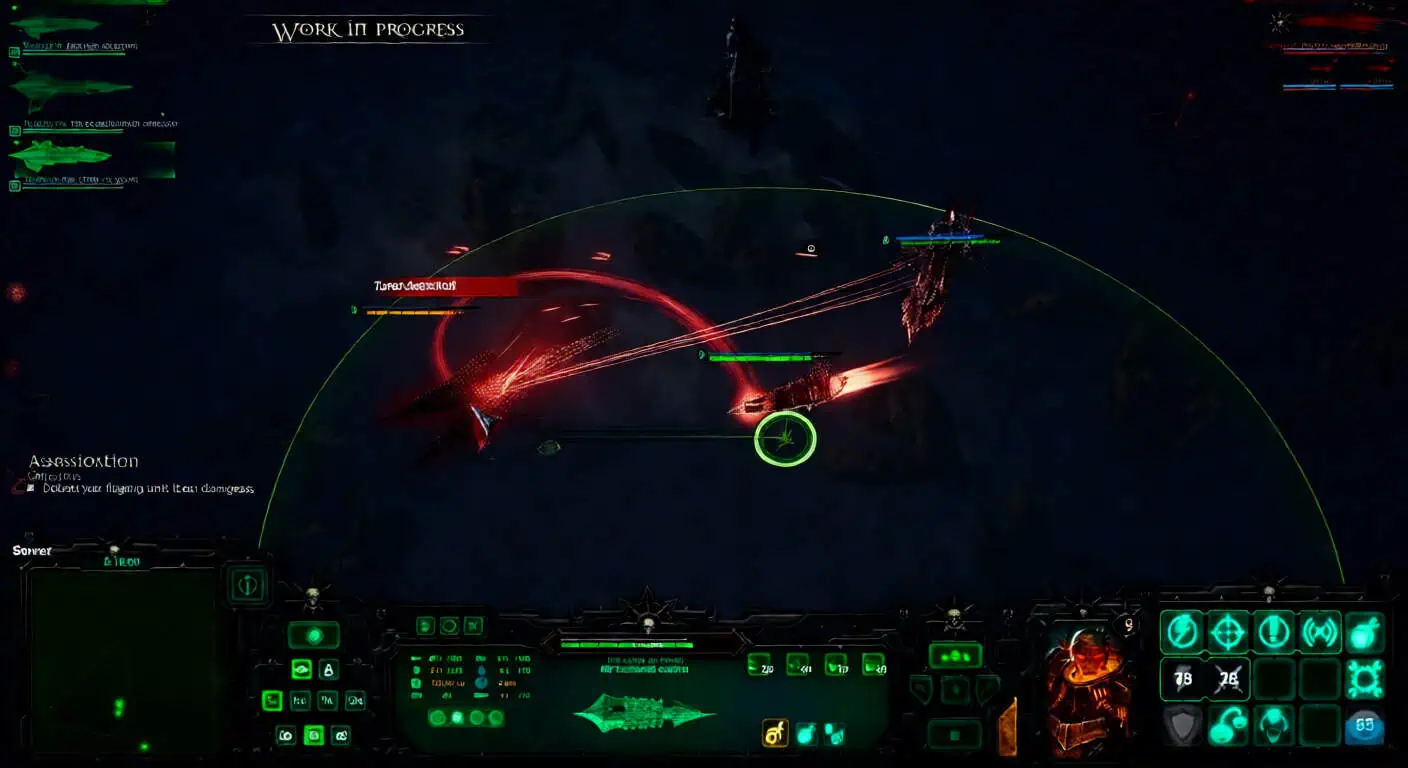
Boarding is a death sentence if you’re not prepared. Factions like Space Marines, Orks, and Tyranids will strip your crew in seconds. The counter? Don’t let them get close. Kite them, snipe their engines, and stay away.
Morale matters too. If a ship’s morale hits zero, it might mutiny or flee. The Culexus Assassin upgrade is a nightmare for Orks because it forces them to waste Rally actions just to stay in the fight.
Fleet Building 101
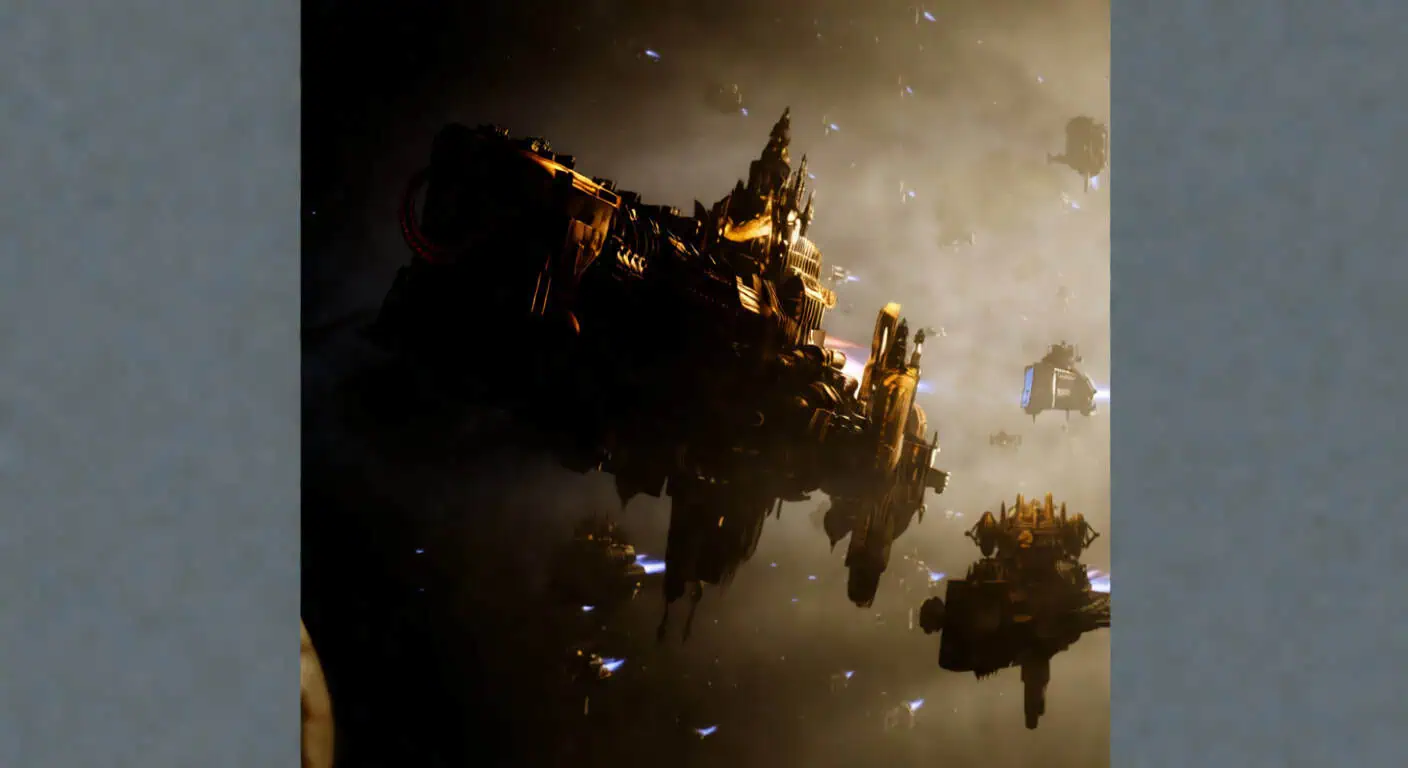
The standard template:
The standard template: 4 – 6 line ships, at least one carrier for fighter defense, and 2 – 3 escorts for points.
- Imperial Navy: You need launch bays. If you don’t have fighters, you’ll get eaten by torpedoes.
- Asuryani: Hit and run. Never, ever sit steady and brawl.
- Necrons: Every ship is precious. Take Pyramidal Reconstruction or don’t bother playing.
Pro Tips and Micro
- Manual Pathing: Don’t just right-click to attack. Manually move your ships to keep your broadsides facing the enemy.
- Shift-Queue: Hold shift to queue up movement and firing orders. It makes torpedo runs much smoother.
- Spacebar: In single-player, use it to slow down time. It gives you the breathing room to aim Nova Cannons and target subsystems.
- Focus Fire: Don’t spread your damage. Pick one ship, mark it, and have the whole fleet delete it before moving to the next.
Common Mistakes
- Chasing kills instead of points. You can win the war and lose the battle because an enemy escort capped all the victory points while you were busy chasing a battleship.
- Ignoring stances. Brace for Impact saves lives. Use it.
- Clumping up. If your ships are touching, a single Nova Cannon or Stasis Bomb will ruin your whole day. Spread out.
- No fighters. If you don’t bring screening fighters, enemy bombers will dismantle your fleet and there’s nothing you can do about it.
