


Before we get into ship builds and tactical maps, let’s get one thing straight: this game rewards patience. If you try to rush the campaign, you’re going to get overwhelmed and frustrated. Take your time, learn the systems, and the game actually becomes fun instead of a headache. I’ve pulled together every critical stat and strategy you’ll need right here. Bookmark this – it’s all the info you need in one spot.
Key Mechanics and Terms
The campaign runs on two main resource pools that dictate what you can actually put on the field. Don’t mix these up or your planning will be a mess. Fleet Capacity is how many points you can pack into a single fleet. Leadership is how many points you can actually bring into a specific battle.
| Term | Meaning / Value |
|---|---|
| Fleet Capacity | Points per fleet; starts at 400 (Lvl 1), maxes at 1000 (Lvl 13). Gains +50 per level. |
| Leadership | Battle points; starts at 600 (Lvl 1), maxes at 1650 (Lvl 15). Gains +75 per level. |
| IMP | Imperium |
| Admech | Adeptus Mechanicus |
| SM | Space Marines |
| LC / C / BC | Light Cruiser / Cruiser / Battlecruiser |
| GC / BS | Grand Cruiser / Battleship |
Quick tip: Save every single turn. Seriously. If things go sideways, you’ll want to roll back a few turns rather than restarting the whole run. Higher difficulties will punish you for mistakes, and a manual save habit is a lifesaver.
The Urgency Meter: Your Secret Weapon
The Urgency Meter goes up by 1 every turn. If it hits the max tier, you lose. But as long as you keep it below that threshold, it’s actually your best friend.
Finishing primary missions, secondary goals, or spending Battleplans resets the meter to zero. That reset window is where you get all your real work done.
Here’s the smart way to play it:
- Let the meter climb close to the auto-lose tier.
- Use that extra time to farm invasion battles for XP and resources.
- Build up your fleets and upgrade your systems while the AI sends manageable raids your way.
- Only trigger a mission completion once you’ve squeezed every possible advantage out of the current turn.
Pro Tip: Never finish a main objective until your systems are upgraded and your fleets are topped off. Use Battleplans to buy extra build time when you need it.
Imperium Sector Unlock Order
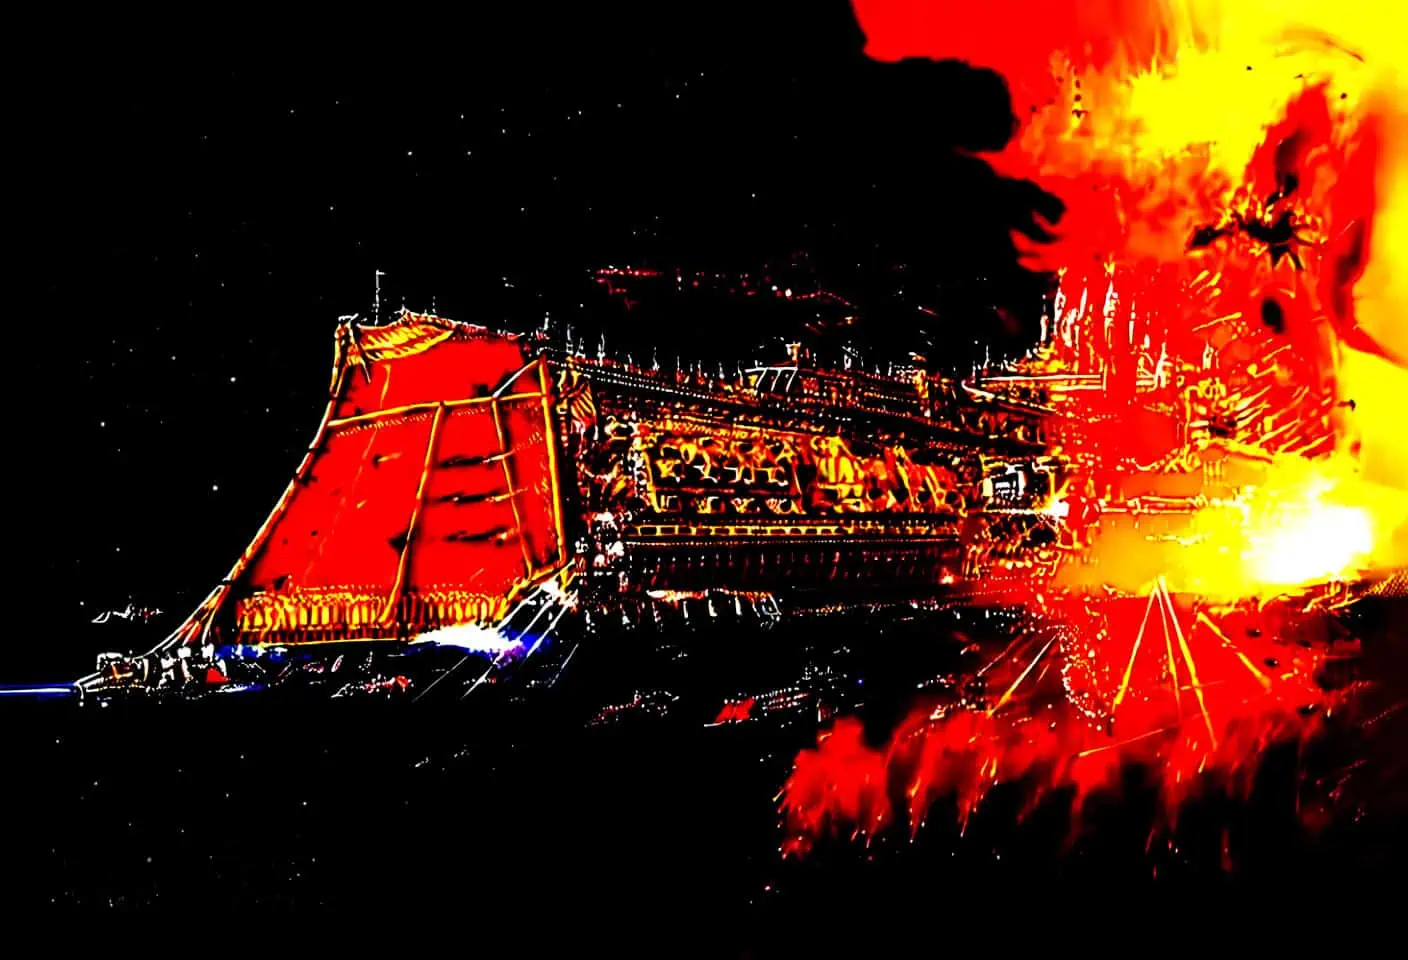
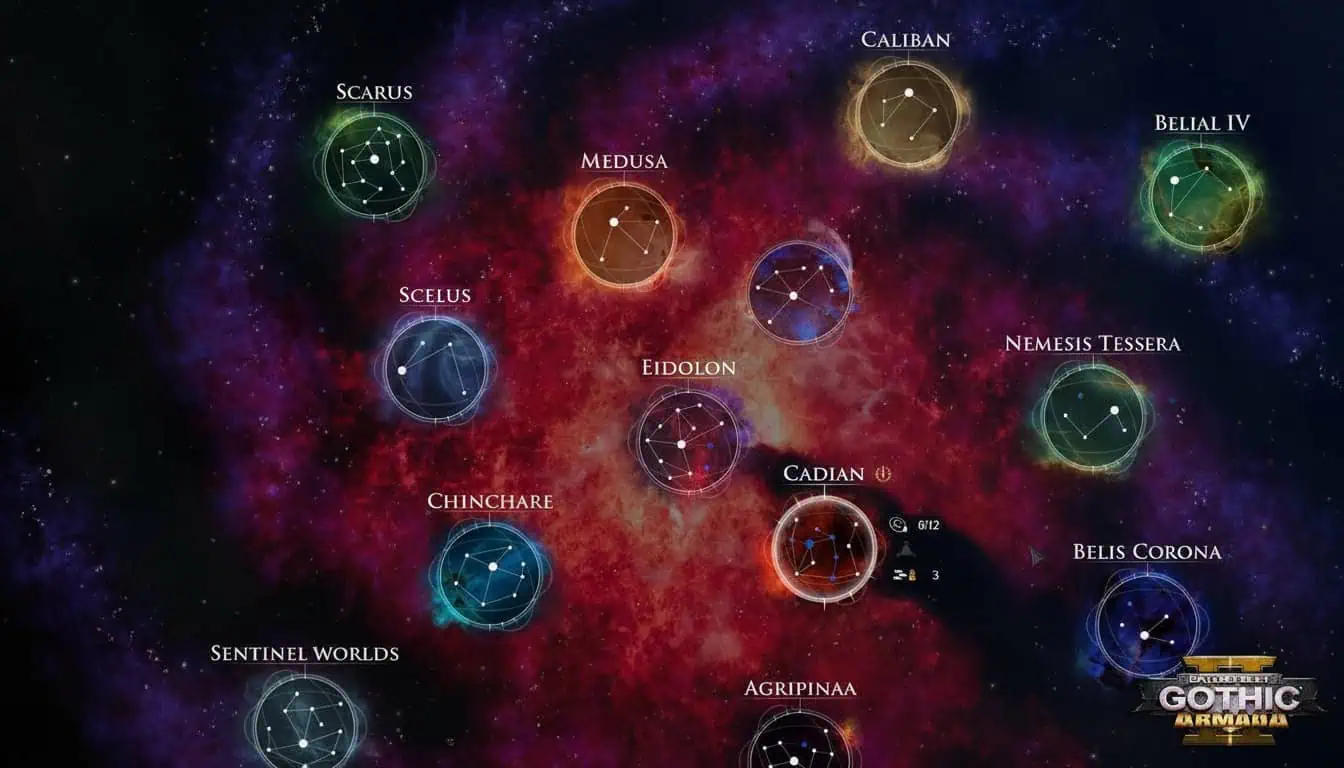
The campaign opens up in this specific sequence. For every sector, the strategy is the same: secure everything, upgrade your income, and only then move the story forward.
- Cadia
- Nemesis Tessera
- Agripinaa
- Chin-Chare
- Belis Corona
- Medusa
- Scarus
- Belial IV
- Caliban & Scelus
- Sentinel Worlds
- Eidolon
Cadia: Setting the Stage
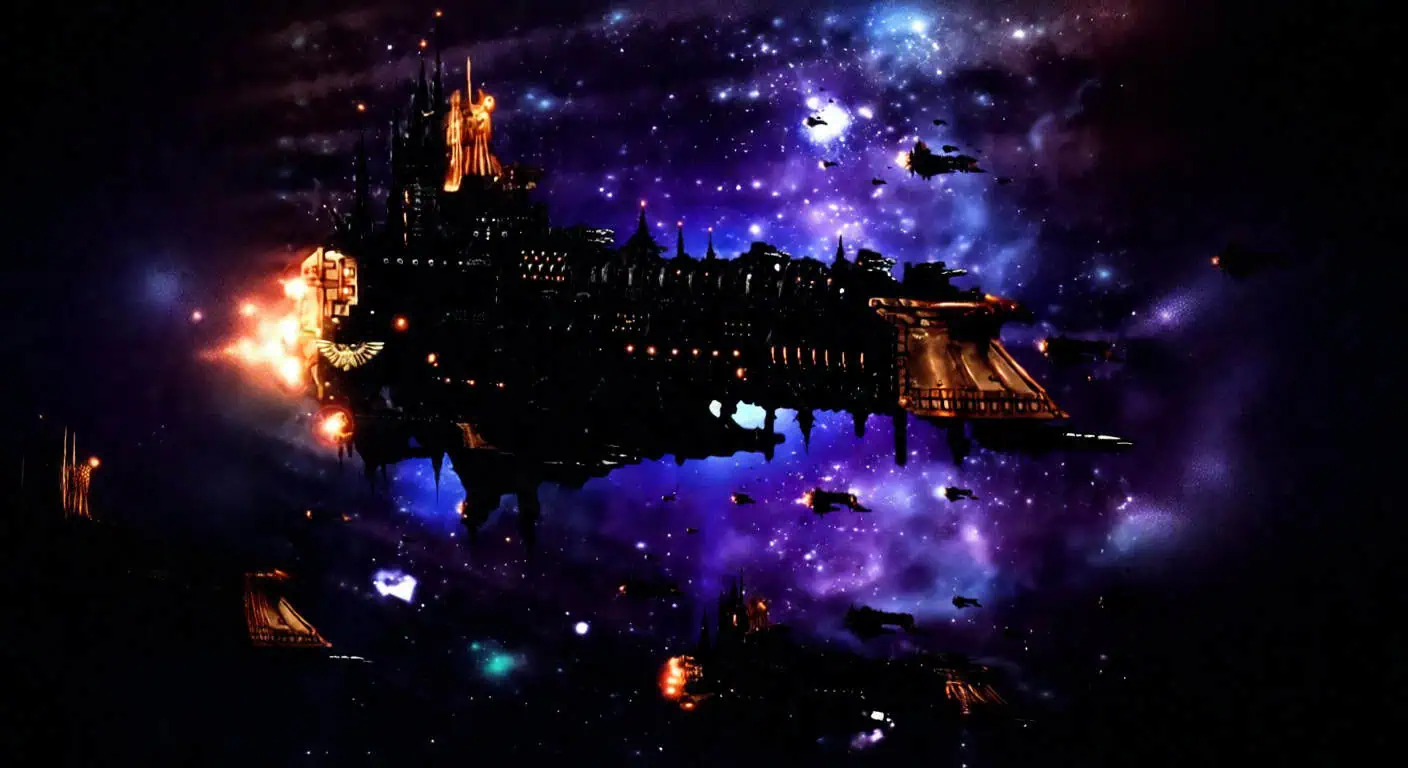
Your first goal is capturing four systems: Cadia, the ones to the west and northwest, and one to the south.
The Play: Push south first, then swing back up to lock down Cadia and the northwest system. Clear the entire sector before you even touch the “Rise of Cadia” mission.
Don’t rush “Rise of Cadia.” Completing it gives you a free IMP fleet. If you recruit the extra fleet you unlock by leveling up *before* finishing the mission, you’ll end up with more fleets than your Renown cap usually allows. It’s a great way to cheat the system early on.
Upgrade Priority
- Forge Worlds: These are your bread and butter. Upgrade them immediately for the income.
- Hive Worlds: Second-best for cash.
- Shipyards: Gets you better toys.
- Listening Posts: These generate Battleplans, which are basically “Get Out of Jail Free” cards for the Urgency Meter.
- Agri/Penal Worlds: Don’t waste money here early on. Save those resources for your fleet.
Fleet Compositions: What Actually Wins
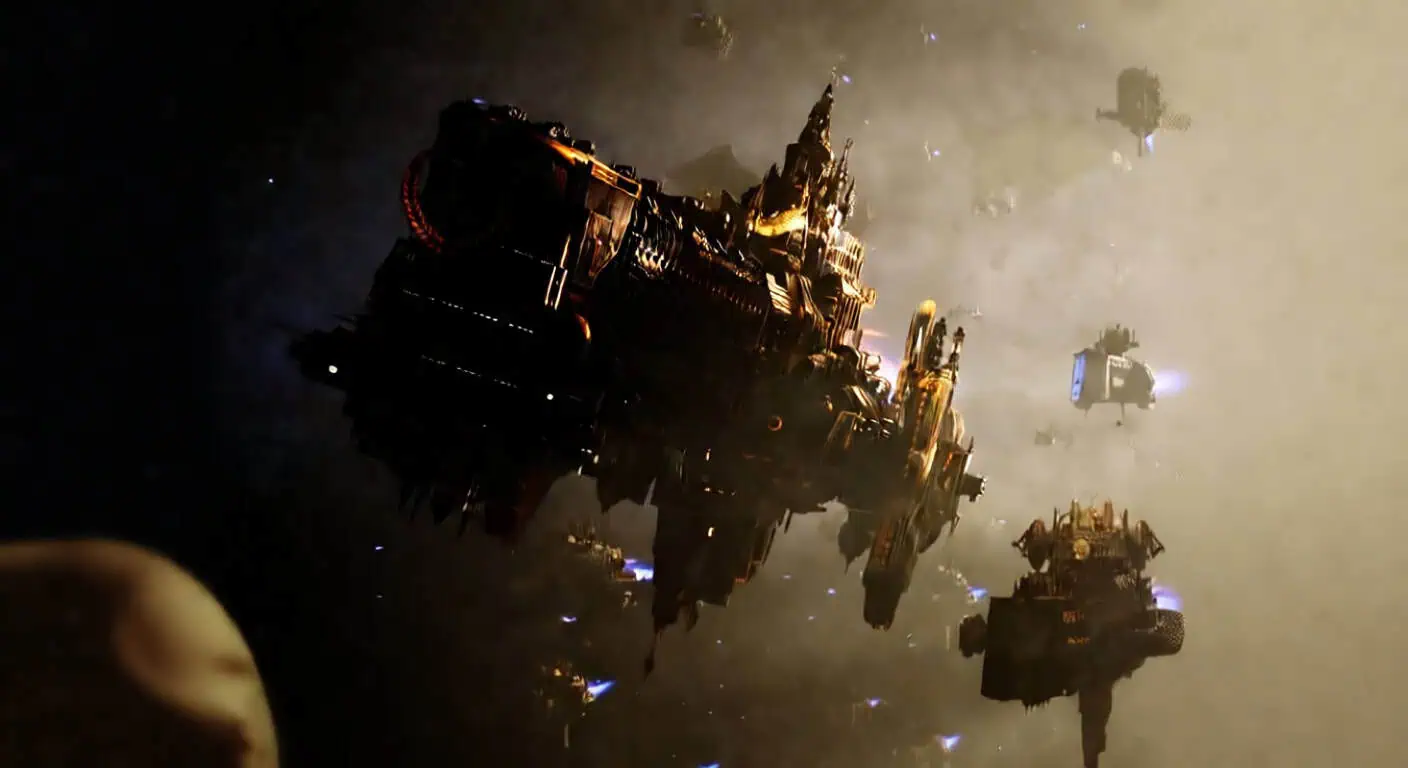
Spire’s Endgame Armada
You want two fleets built around Vengeance Grand Cruisers. By Level 13, Spire can bring six of these into one fight. It’s absolutely devastating.
- At 1000 Fleet Capacity: Run 3 Vengeance + 1 Exorcist per fleet. The Exorcist gives you fighters for scouting, which you’ll definitely need.
- At 1500 Leadership (Battle): Bring 6 Vengeance if you don’t need scouts, or 5 Vengeance + 1 Exorcist if you’re fighting Aeldari or Chaos (you need the detection).
The “Avenger” Alternative
If you like camping in Nebulas, Avenger GC spam is wild. Their short range doesn’t matter if the enemy has to fly right into your face. Six of these will shred almost anything the AI throws at you.
Hybrid Fleets (IMP + Admech)
Pair the Dominator (IMP) with the Admech Lunar. They fit together perfectly in terms of point costs, allowing you to field a full line of 8 cruisers once you hit max Leadership. It’s a great way to stack Nova Cannons.
Space Marines
Stick to the Strike Cruiser Mark III. The Mark I and II might look tempting, but the Mark III’s Heavy Lance is just better value for the points. Avoid the Mark I – it’s too expensive and actually lowers your overall DPS.
Battle Tactics: The Nebula Camp

If you want to make battles easy, set your battle type to Cruiser Clash and follow this setup:
- Park your fleet in a Nebula.
- Turn on “Reverse Thrusters” so they don’t move when attacking.
- Spread them out so they can rotate without hitting each other.
- Put your flagship (with the shield regen skill) in the very front to tank.
The Loop: The AI can’t see you in the Nebula. They’ll send small escorts to find you. Kill those escorts immediately. Once they’re dead, the AI loses sight of you again and their big battleships have to fly blindly into your range to find you. By the time they see you, you’ve already been shooting them for ten seconds.
Tyranid Campaign: The Infestation Strategy
Tyranids play a completely different game. Forget ramming – Tyranid ships are too fragile for that. You win through shooting and the Infestation mechanic.
The Infestation Trick
This is how you win the Tyranid campaign in record time. You can “Infest” systems for 100 resources.
- Level 3 Infestation: Lets you teleport fleets there instantly.
- Level 5 Infestation: You just win. The system is captured automatically, and the defenders are deleted.
The Secret: Only infest systems the AI already owns. If you infest a neutral system and the AI takes it, your infestation gets wiped. Wait for them to move in, then start the rot. You can literally take over entire sectors without fighting a single battle if you let the infestation timer run.
Quick Tips for the Grind
- Assassination Targets: It’s always the admiral’s ship. Focus fire and end it quick.
- Lances are King: They always hit and ignore most armor. Use them to melt heavy targets.
- Disengage: If an expensive ship is about to pop, Warp Jump it out. Replacing a ship is way more expensive than repairing one.
- Spacebar is your friend: Use tactical cogitators to slow down time when things get messy.
- Escorts are fodder: Use them to scout and soak up initial fire. If they die, who cares? They’re cheap.
Achievement Note: Natural Selection
Let’s be real – nobody actually wants to do this. You have to max out every ship class for every faction. It’s a massive grind and probably bugged. Unless you’re a completionist, just ignore it and enjoy the game.
