


Bismarck hits your tech tree as a straight-up brawler that divides players. Plenty of captains love the secondary barrage, but others hate watching those eight guns whiff shots. After grinding matches and burning credits on repairs, here’s exactly what makes this German tank tick in 2025.
She anchors Tier VIII for Germany – not her torpedo-packing sister Tirpitz, but the real deal that tests if you can handle knife fights up close or stick to sniping from afar. Everything revolves around closing distance, unleashing secondaries, and soaking hits that crumple other battleships.
Bismarck Technical Breakdown – All Variants and Stats
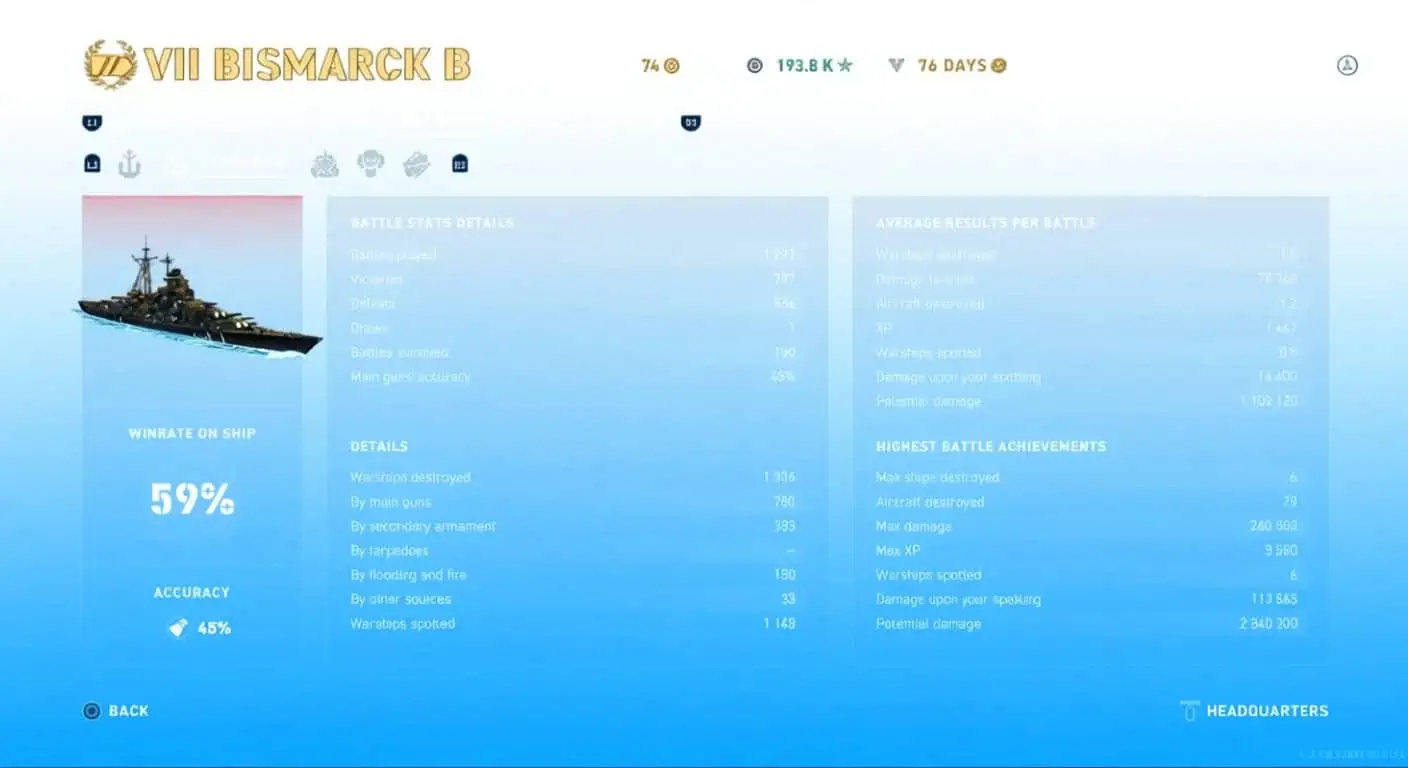
Bismarck packs two hulls, and the stats shift in ways that trip people up. Pulled every detail here so you know if Hull B deserves your XP or not.
Table: Bismarck Complete Stats Breakdown
| Specification | Bismarck (A) | Bismarck (B) |
|---|---|---|
| Hit Points | 64,500 | 69,200 |
| Belt Armor / Turret Armor | 19 mm / 360 mm | 19 mm / 360 mm |
| Main Battery Turrets | 4 × 2 (380 mm/52 SK C/34) | 4 × 2 (380 mm/52 SK C/34) |
| Main Battery Reload | 26 seconds | 26 seconds |
| Rate of Fire | 2.31 shots/min | 2.31 shots/min |
| Turret Traverse Speed | 5 deg/sec (36 sec for 180°) | 5 deg/sec (36 sec for 180°) |
| Firing Range | 19.28 – 21.21 km | 19.28 – 21.21 km |
| Maximum Dispersion | 272 m | 272 m |
| Secondary Gun Turrets | 8/6 (105mm + 150mm) | 8/6 (105mm + 150mm) |
| Secondary Range (stock) | 7.6 km | 7.6 km |
| Secondary Range (maximum boosted) | 11+ km | 11+ km |
| AA Mount Configuration | 12/2/8/8 | 14/16/10 |
| Maximum Speed | 28.52 – 31 knots | 28.52 – 31 knots |
| Turning Circle Radius | 850 m | 850 m |
| Rudder Shift Time | 16 – 22.4 seconds | 16 – 22.4 seconds |
| Surface Detectability | 15.89 km | 15.89 km |
| Air Detectability | 11.74 km | 11.74 km |
| Detectability Firing in Smoke | 15.05 km | 15.05 km |
Research and Purchase Costs:
- Initial research: 135,000 XP
- Hull (B) module research: 52,000 XP
- Ship purchase prices vary by module stage: 1,100,000 (early module) / 1,650,000 (Bismarck A) / 3,900,000 (Bismarck B) / 11,000,000 credits (final)
Main Battery – Eight Barrels of German Engineering

Those 380 mm guns draw complaints about “only eight barrels,” but they pack a punch North Carolina’s twelve can’t match in reload speed. Bismarck’s mains just need handling with care. That 26-second cycle keeps pressure on.
Main Battery Details:
- Armament: 4 × 2 380 mm/52 SK C/34 on Drh LC/34 mounts
- Reload Time: 26 seconds (quick for her size)
- Firing Range: 19.28 km stock, up to 21.21 km upgraded
- Turret Rotation: 5 degrees per second – 36 seconds full turn
- Maximum Dispersion: 272 meters at max range
HE Shell Performance (380 mm Spr.Gr. L/4.6):
- Maximum damage: 4,400 per shell
- Fire chance: 34% (solid output)
- Shell velocity: 820 m/s
- Shell weight: 800 kg
AP Shell Performance (380 mm P.Spr.Gr. L/4.4):
- Maximum damage: 11,600 per penetration
- Shell velocity: 820 m/s
- Shell weight: 800 kg
Truth hits hard – these guns troll you with dispersion until you adapt. That 272 m spread sends shells everywhere. Skip Aiming Systems Mod for secondaries, and you’ll curse straddles at point-blank.
When they land, though, AP crushes cruiser sides at mid-range. HE lights up bow-on battleships. The quick 26-second cycle keeps pressure on – no lulls like slower guns.
Secondary Batteries – Where Bismarck Really Shines

Main guns take a backseat. Secondaries turn her into a destroyer nightmare and cruiser shredder.
105 mm/65 SK C/33 on Dop. L. C/31 and L. C/37 Mounts:
- Configuration: 4 × 2 OR 6 × 2 (hull dependent)
- Firing range: 7.6 km stock
- Rate of fire: 17.91 shots/minute
- Reload time: 3.35 seconds
- HE shell damage: 1,200 per hit
- Fire chance: 5%
- Shell velocity: 900 m/s
150 mm/55 SK C/28 on Dop. L. C/34 Mounts:
- Configuration: 2 × 2 and 4 × 2 variants
- Firing range: 7.6 km stock
- Rate of fire: 8 shots/minute
- Reload time: 7.5 seconds
- HE shell damage: 1,700 per hit
- Fire chance: 8%
- Shell velocity: 875 m/s
Stack upgrades, skills like Long-Range Secondary Battery Shells and Manual Secondary Battery Aiming, plus Mike Yankee Soxisix flags – range tops 11 km. Enemies pay in constant pings or back off.
Catch: 105 mm shells bounce off battleship superstructures up close. They delete DDs and cruisers, but 150 mm adds punch at slower pace. Harassment builds damage, not bursts.
Anti-Aircraft Suite and Damage Mitigation

AA setups shift by hull, and port screens beat wiki guesses. Check yours – Wargaming tweaks nonstop.
AA Mount Configurations (varies by hull):
- 105 mm/65 SK C/33 (Dop. L. C/31 mount): Average DPS 33.2 – 66.4 at 4.5 km range
- 105 mm/65 SK C/33 (Dop. L. C/37 mount): Average DPS 66.8 – 100.2 at 4.5 km range
- 37 mm/83 SK C/30 (Dopp LC/30 mount): Average DPS 20.8 at 3.51 km range
- 37 mm/69 Flak M42 (LM/42 mount): Average DPS 103 at 3.51 km range
- 20 mm/65 C/38 mounts: Various configurations with DPS ranging from 12 to 96
Important Warning: The AA Defense data presented above may be incorrect – port screen rules.
Survivability Features:
Turtleback armor steals the show over AA (decent for Tier VIII). Angled internal deck bounces citadel attempts. Close up, you’re a brick wall.
Armor Layout Highlights:
- Main belt: 19 – 320 mm (thickest at waterline)
- Turret faces: 360 mm
- “Turtleback” internal armor: angled plates deflecting close-range fire
- Hit points: 64,500 (Hull A) or 69,200 (Hull B)
Downside: plunging shells from 18+ km ignore it, hitting decks. Brawl safe, snipe vulnerable.
Damage Control & Healing:
- Standard Damage Control Party
- Repair Party consumable (more on this later)
- Access to Hydroacoustic Search (game-changer)
Big HP lets you trade hard – Repair Party claws back 15k+ and flips fights.
Upgrade Configuration – Slot-by-Slot Optimization
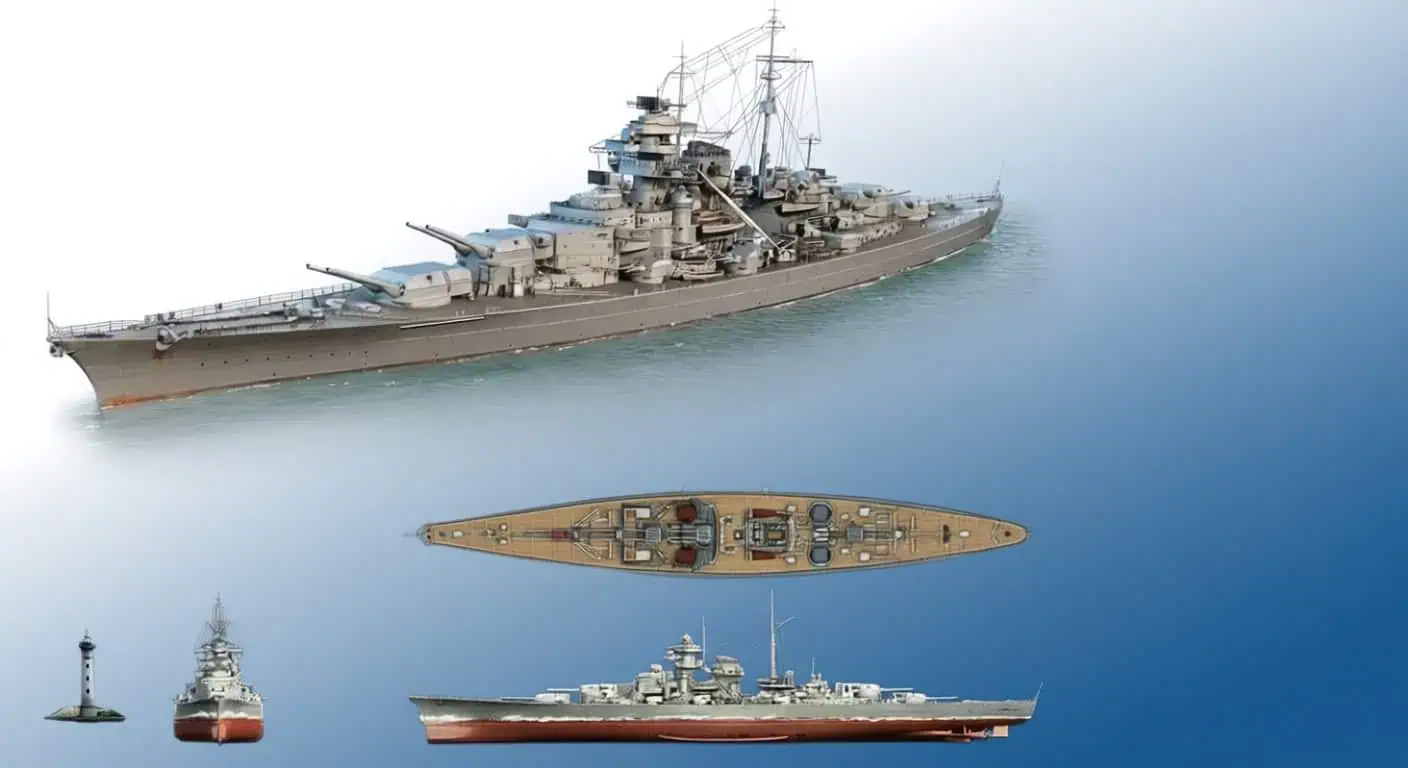
Five slots, real choices – Slot 3 forces your hand between secondaries or safe plays.
Slot 1: Auxiliary Armaments Modification 1
Keeps AA and secondaries alive under spam. Non-negotiable for her style.
Slot 2: Damage Control System Modification 1
Cuts fire, flood damage. Essential when diving HE hell and torp soup.
Slot 3: Secondary Battery Modification 1
Boosts accuracy, range. Skip it, play something else. Turns okay guns into a zone killer.
Alternative: Aiming Systems tightens mains, but secondaries define her. Stick to type.
Slot 4: Damage Control System Modification 2
More fire, flood resistance – stacks for brawl endurance. Three blazes at 8 km? You’ll need it.
Alternative: Steering Gears Mod 1 speeds rudder for dodges. Good if fires don’t faze you.
Slot 5: Concealment System Modification 1
Shrinks spot range, bloats enemy spreads. Helps brawlers choose fights.
Commander Skills – Building Your Captain for 2025
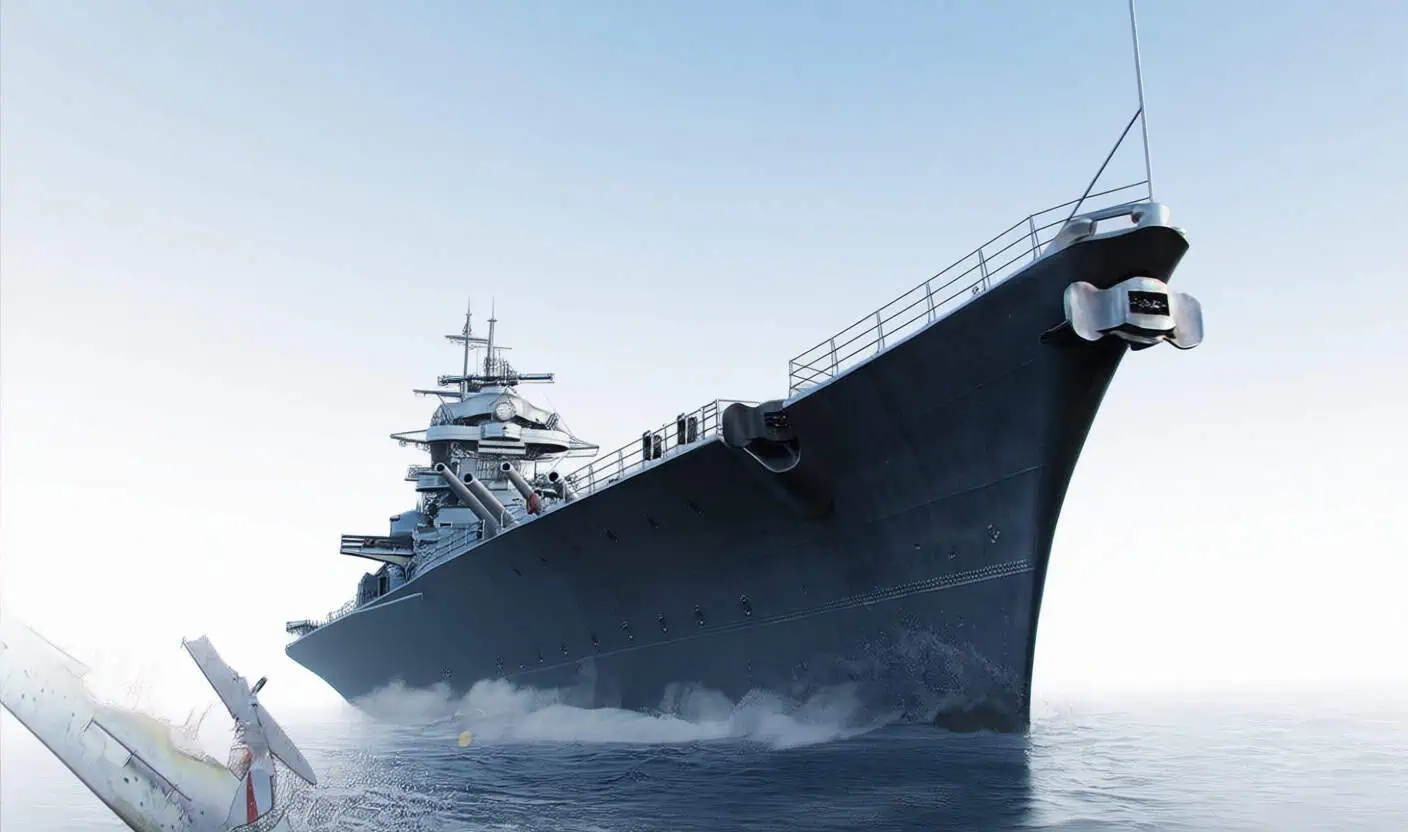
Skills got reshuffled, points moved. Broke it down by tier, stars for value (★★★ must-have, ★★ solid, ★ niche).
1-Point Skills
- Gun Feeder: – 40% time to switch between HE and AP shells
- Demolition Expert (★★): +1% fire chance for main and secondary HE shells; +15% fragmentation damage area vs submarines
- Consumable Specialist: – 7.5% cooldown on all consumables except Damage Control Party and Repair Party
- Emergency Repair Specialist: – 3% cooldown specifically for Damage Control Party and Repair Party
- Incoming Fire Alert: Visual warning when salvos are fired at your ship from beyond 4.5 km
- Preventive Maintenance: – 30% chance of main armament/engines/steering incapacitation; +15% HP for secondary and AA guns
2-Point Skills
- Grease the Gears (★★): +20% main battery turret traverse – keeps 380s on wiggly targets
- Inertial Fuse for HE Shells: +25% HE penetration; fire chance halved (helps pen but guts fires)
- Brisk: +10% ship speed undetected (spotty for close-in work)
- Vigilance: +25% torpedo detection; +7% Torpedo Protection damage cut
- Priority Target: Enemy target count (awareness gold)
- AAA & ASW Expert: +15% AA/flak; +10% depth charges; – 40% consumables in AA
3-Point Skills
- Super-Heavy AP Shells: +7.5% AP; – 10% fire/flood taken; +25% durations (skip usually)
- Long-Range Secondary Battery Shells (★★★): +20% secondary range – core for the build
- Adrenaline Rush (★★): – 0.2% armament reload per 1% HP lost; +0.2% AA per 1% (nuts at low health)
- Basics of Survivability (★★): – 15% repair/fire/flood time – pairs with mods
- Improved Repair Party Readiness: – 0.8% Repair reload per 100% base HP damage; +1 charge post-2M (long-game only)
- Focus Fire Training: AA boosts – damage up, prep/reload down
4-Point Skills
- Furious: Fires/floods speed main reload ( – 10% first, – 5% each after, max 5)
- Manual Secondary Battery Aiming (★★): – 10% secondary reload/dispersion; target lock improves to – 50% – build staple
- Close Quarters Combat (★★): – 10% main reload in secondary range – fits perfect
- Emergency Repair Expert (★★★): +1 charge Damage Control/Repair; +10% time – clutch saver
- Concealment Expert: – 10% detectability (positioning edge)
- Fire Prevention Expert (★★): – 10% fire chance; max three fires – survival king
Build Archetypes
Full Secondary Brawler (my pick):
- Long-Range Secondary Battery Shells (3pt)
- Manual Secondary Battery Aiming (4pt)
- Close Quarters Combat (4pt)
- Adrenaline Rush (3pt)
- Emergency Repair Expert (4pt)
- Grease the Gears (2pt)
- Demolition Expert (1pt)
- Preventive Maintenance (1pt)
Tank/Survival Focus:
- Emergency Repair Expert (4pt)
- Fire Prevention Expert (4pt)
- Basics of Survivability (3pt)
- Concealment Expert (4pt)
- Vigilance (2pt)
- Priority Target (2pt)
- Preventive Maintenance (1pt)
- Emergency Repair Specialist (1pt)
Hybrid Compromise:
- Long-Range Secondary Battery Shells (3pt)
- Emergency Repair Expert (4pt)
- Adrenaline Rush (3pt)
- Fire Prevention Expert (4pt)
- Grease the Gears (2pt)
- Priority Target (2pt)
- Demolition Expert (1pt)
- Preventive Maintenance (1pt)
22 points – veteran setup, wrecks in range. 21 points – lives forever, hurts less. 20 points – power with staying power; newbie-friendly.
Consumables – What to Bring and When
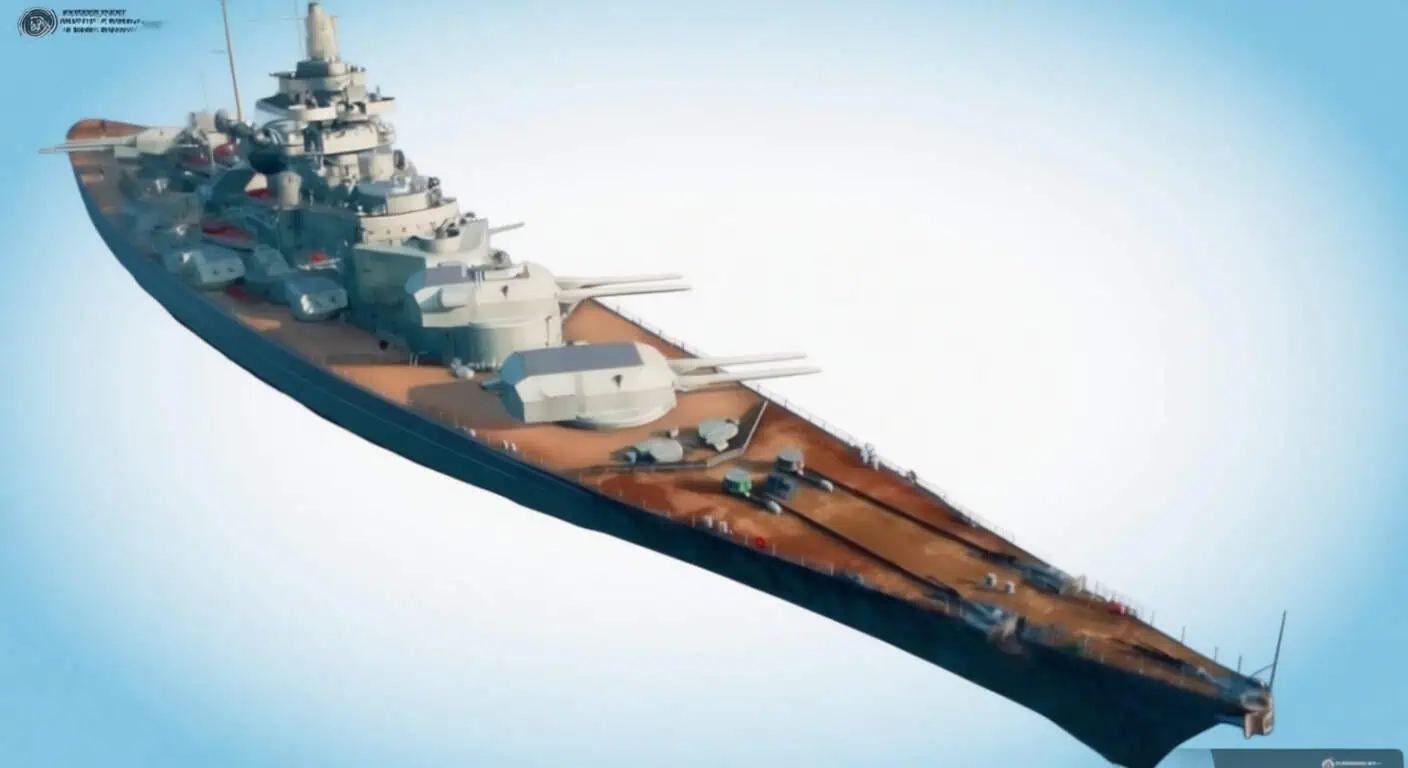
Hydro in Slot 4 sets her apart from plain battleships.
Slot 1: Damage Control Party
Kills fires, floods. Hold for multiples – tanking a couple separates pros.
Slot 2: Repair Party
HP over time. Hit at 40-50% mid-fight, not 75% top-off or 20% too-late.
Slot 3: Catapult Fighter OR Spotting Aircraft
Catapult Fighter wins. Range solid already; fighter spots torps, adds AA in brawls.
Slot 4: Hydroacoustic Search
Push enabler:
- Ship detection: 5 km
- Torpedo detection: 3.5 km
Patch 0.7.10 standardized it. Fire before islands, smoke hunts, torp alerts.
Usage Tips:
- Skip empty pushes – torp ping first
- Spot calls win teams
- 90-120 sec duration; time around cooldown
Signal Flags – Small Bonuses, Big Impact
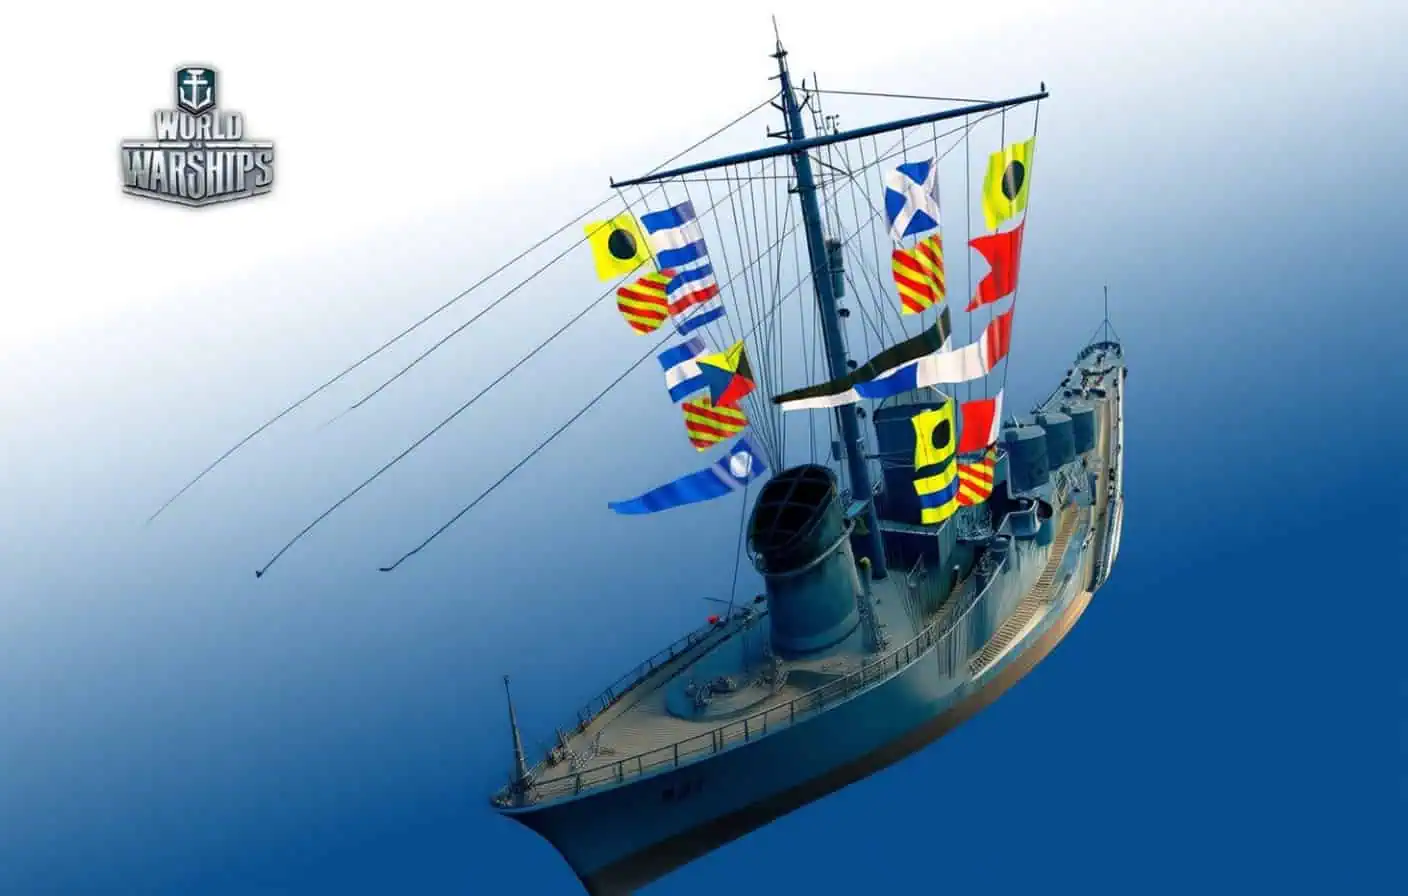
Flags stack sneaky. Relevant ones, straight talk.
| Signal Flag | Effect | Best Build Focus | Rating |
|---|---|---|---|
| Mike Yankee Soxisix | +5% secondary range; – 5% secondary dispersion; – 5% secondary reload | Secondary/Brawler | ★★★ |
| India Delta | +20% HP recovered when using Repair Party | All builds | ★★★ |
| Sierra Mike | +5% maximum speed | All builds | ★★★ |
| November Foxtrot | – 5% reload time on all consumables | All builds | ★★ |
| November Echo Setteseven | +5% continuous AA damage; +5% flak burst damage | AA focus | ★★ |
| India Yankee | – 20% fire duration | Tank/Survivability | ★★ |
| Juliet Yankee Bissotwo | – 20% flooding duration | Tank/Survivability | ★★ |
| Victor Lima | +1% fire chance for HE >160mm; +0.5% for smaller shells; +4% torpedo flooding chance | Secondary | ★ |
| India X-Ray | +1% fire chance for HE >160mm; +0.5% for smaller shells | Secondary | ★ |
| Juliet Whiskey Unaone | +15% chance of causing flooding (no torps) | None | – |
| Hotel Yankee | – 20% ramming damage received; +50% ramming damage dealt | Meme/Situational | ★ |
| Charlie Kilo | +5% ship HP; +2.5% squadron HP | Marginal gain | – |
| X-Ray Papa Unaone | +10% Smoke Generator action time (no smoke) | None | – |
| Sierra Bravo | +10% Hydroacoustic Search action time; – 10% Defensive AA Fire reload | Hydro specialist | ★★ |
Recommended Flag Loadouts:
Secondary Brawler Package:
- Mike Yankee Soxisix
- India Delta
- Sierra Mike
- November Foxtrot
- Victor Lima or India X-Ray
Maximum Survival Package:
- India Delta
- India Yankee
- Juliet Yankee Bissotwo
- November Foxtrot
- Sierra Mike
Anti-Aircraft Package:
- November Echo Setteseven
- India Delta
- Sierra Mike
- Sierra Bravo
Brawler flags for randoms; survival for ranked.
Tactical Gameplay – Making Bismarck Work in 2025
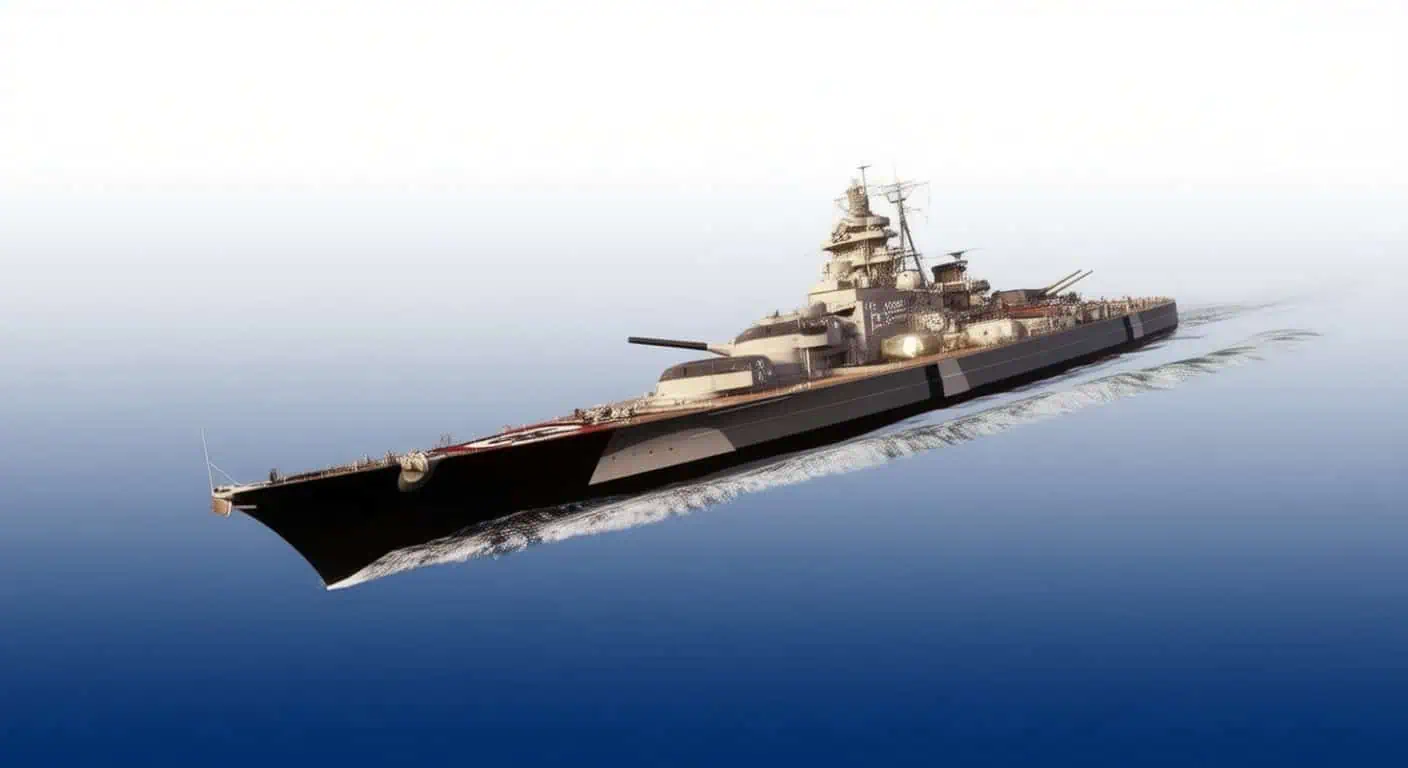
Stats flop without positioning. She skips the 17 km camp.
Opening Game (0-5 Minutes)
Do:
- Flank with cruiser/DD backup
- Conceal to 12-14 km spot
- Angle in
- Minimap enemy BBs
- Call push
Don’t:
- Solo multi-ship rush
- Broadside “angle”
- Blind to DDs
- Early Repair
- No-exit commit
Spot sets the match. Island cover or die farming.
Mid-Game Brawling (5-15 Minutes)
Secondaries feast here.
Positioning Checklist:
- 10-11 km targets?
- Island retreat?
- Repair ready?
- DD spots?
- Focus count? (Priority Target)
The Perfect Push:
- Spot at 13-14 km
- Hydro on
- 30-45° angle
- Close firing mains
- Hold secondary bracket
- Damage Control for 3+ fires/flood
- Repair at 40-50%
- Island break if 3+ focus
Common Mistakes to Avoid:
- Flat side for guns – 30k cits
- No Hydro push – torp delete
- First-fire panic – triple later
- Lone charge – 1v3 fails
- Late turns – 16-22 sec rudder
Destroyer Hunting
Bullying DDs works:
- Hydro for caps/smoke
- Secondaries kill in 15-20 sec
- Bait them in
- Fighter torp spot
- Main salvo 8-15k
Torps chunk 20k – Hydro dodges.
Late Game (15+ Minutes)
If Ahead:
- Zone with threat bubble
- No YOLO
- Cap pressure
- Alive supports
If Behind:
- Trade smart
- Clutch consumables
- Deny area
- Hydro last DD swings
Angling and Armor Management
Turtleback shines 8-13 km flat shots.
Optimal Angles:
- 30-45° main threat
- Bow retreat/single only
- Broadside suicide
When Taking Fire:
- Single fire: angle it
- Cross: biggest threat
- Wiggle
- Bait with rudder
Using Hydroacoustic Search Aggressively
Push tool, not shield:
- Smoke clears DDs
- Cap torp-free
- Island cruisers (5 km huge)
- Team calls
Run it 50% in brawls.
Advanced Tips
Fire Management Math:
- 1 fire: wait
- 2 + flood: now
- 3+: yes
- Post-use: conservative 60 sec
Reload Timing:
- 26 sec edge:
- Track enemy fires
- Count 28-35 sec BBs
- Push all-reload
- 2:1 salvos win
Secondary Priority:
- Lock order:
- 1. DDs <8 km
- 2. Cruiser broadsides
- 3. BBs last
Strengths and Weaknesses – The Honest Truth
Hundreds of games boil it down.
Strengths (What Actually Makes Her Good)
- Fast turret traverse and reload – 26 sec, 5 deg/sec keeps firing; no Yamato wait
- Outstanding secondary battery – 11+ km chips 1-3k per volley, forces respect
- Hydroacoustic Search access – 3.5 km torps, 5 km ships; push fear-free
- Above-average AA suite – costs CV squads
- Surprisingly nimble – 31 knots, 850m circle dodges/repos
- Exceptionally durable – turtleback + 69k HP tanks focus; Repair 80k+
- Secondaries shred destroyers – caught DDs die quick
- High HP pool – trade monster
Weaknesses (What’ll Get You Killed)
- No torpedoes – Tirpitz edge gone; 6 km pure guns
- Only eight main battery barrels – fewer shells than NC/Monarch/Amagi
- Vulnerable to AP penetrations when broadside – turtleback fails flat; 30k+ pens
- Main gun accuracy disappointing – 272m trolls; no Aiming Mod hurts
- Secondary reliability inconsistent – 105mm bounces BBs close; DDs dodge
- Still vulnerable to citadel/penetrations when broadside – 36m beam eats big
Push active or fail passive.
Historical Context and In-Game Inaccuracies
Iron Chancellor replica – fact vs myth.
Real-World Bismarck – The Actual History
Construction Details:
- Builder: Blohm and Voss shipyard, Hamburg, Germany
- Laid down: July 1, 1936
- Launched: February 14, 1939
- Commissioned: August 24, 1940
- Construction cost: 196.8 million Reichsmarks
Technical Specifications (Historical):
- Displacement: 41,700 metric tons standard / 50,300 fully loaded
- Dimensions: 250.5 m length × 36 m beam × 8.7-10.2 m draft
- Propulsion: 12 boilers, 3 turbines – 138,000 shp
- Performance: 29 knots service; 30.1 trials
- Range: 8,410 nm at 15 knots
- Crew: 2,065
Armor Protection (Historical Values):
- Main belt: 320 mm waterline
- Upper belt: 145 mm
- Torpedo bulkhead: 45 mm
- Main deck: 51 mm
- Armored deck: 83-121 mm
- Turret faces: 360 mm
- Barbettes: 340/220 mm
- Conning tower: 356 mm
Armament (As Built):
- Main: 8 × 380 mm/47 in 4×2
- Secondary: 12 × 150 mm/55; 16 × 105 mm/65
- AA: 16 × 37 mm; 12 × 20 mm
- Aircraft: 4 Arado Ar 196
Operational Service – The Short, Dramatic Career
One sortie career.
Operation Rheinübung (May 1941):
- May 18: Left Gotenhafen with Prinz Eugen
- Atlantic raid
- May 23: Denmark Strait spot
- May 24: Denmark Strait – sank Hood (magazine hit, 1,415 dead, 3 live); damaged by Prince of Wales
- May 26: Ark Royal Swordfish rudder jam
- May 27: KGV/Rodney pound; scuttled
- Sunk: May 27, 400 mi west Brest
- Casualties: 2,086 dead; 110 saved
Wreck Discovery:
- 1989, Robert Ballard
- 4,790 m deep
- Upright, damaged but hull solid
One kill, Navy revenge.
Game Inaccuracies – Where Wargaming Took Liberties
- Hull (B) ahistorical – 1943 AA on 1941 sinker.
- AA timeline off – mixes Tirpitz upgrades.
- “The Last Conquest” camo – deck crosses/yellow roofs gone pre-sortie.
- Speed generous – 31 knots stretches trials.
- Range extended – 21 km optimistic.
Hybrid real + refit fantasy.
Patch History – How Bismarck Evolved
- Update 0.5.10
Researchable debut. - Update 0.5.12
Low-graphic lights fix. - Update 0.5.13
Citadel text correct. - Update 0.5.14
Camo – 10% cost. - Update 0.6.0
Standard Hydro nerf. - Update 0.6.6
Rigging visuals. - Update 0.6.8
105 mm fire 9→5%; damage 1,300→1,200; range 7→7.5 km. - Update 0.6.12
Smoke fire 15.05 km; plane detect up. - Update 0.7.10
Hydro 5/3.5 km standard. - Update 0.8.6
105 mm pen 18→26 mm. - Update 0.8.11
Dispersion to US/UK pattern. - Update 0.10.0
Secondary accuracy/range 7.5→7.6 km. - Update 12.0
Camo visuals.
Secondaries dipped 2017, peaked now.
Wrapping This Up

Bismarck splits 2025 – underrated brawler or overrated gamble, match-dependent. Dominate with 150k/3 kills pushing Hydro-fueled, or farm 50k kited.
Commit smart. Ditch range camping. Hydro licenses pushes. Secondaries deny space.
Core build: Long-Range/Manual skills. Mike/India flags. Emergency Repair/Adrenaline.
Angle 30-45° – flat dies. Repair 40-50%. Damage Control multi-hits only.
She’s no Yamato tank or Montana gun spam. Close, survive, bleed dry. Play it, thrive. All details here – no forum digs. Show DDs the error.
