


Naval combat in War Thunder isn’t just about “point and fire.” If you want to actually sink things, you need to understand the mechanics – everything from depth settings and spread patterns to which warheads punch through armor belts and which ones just tickle the bilge. We’ve pulled together everything that matters right here. Bookmark this page and give it a read before your next sortie.
Torpedo Types and Key Statistics
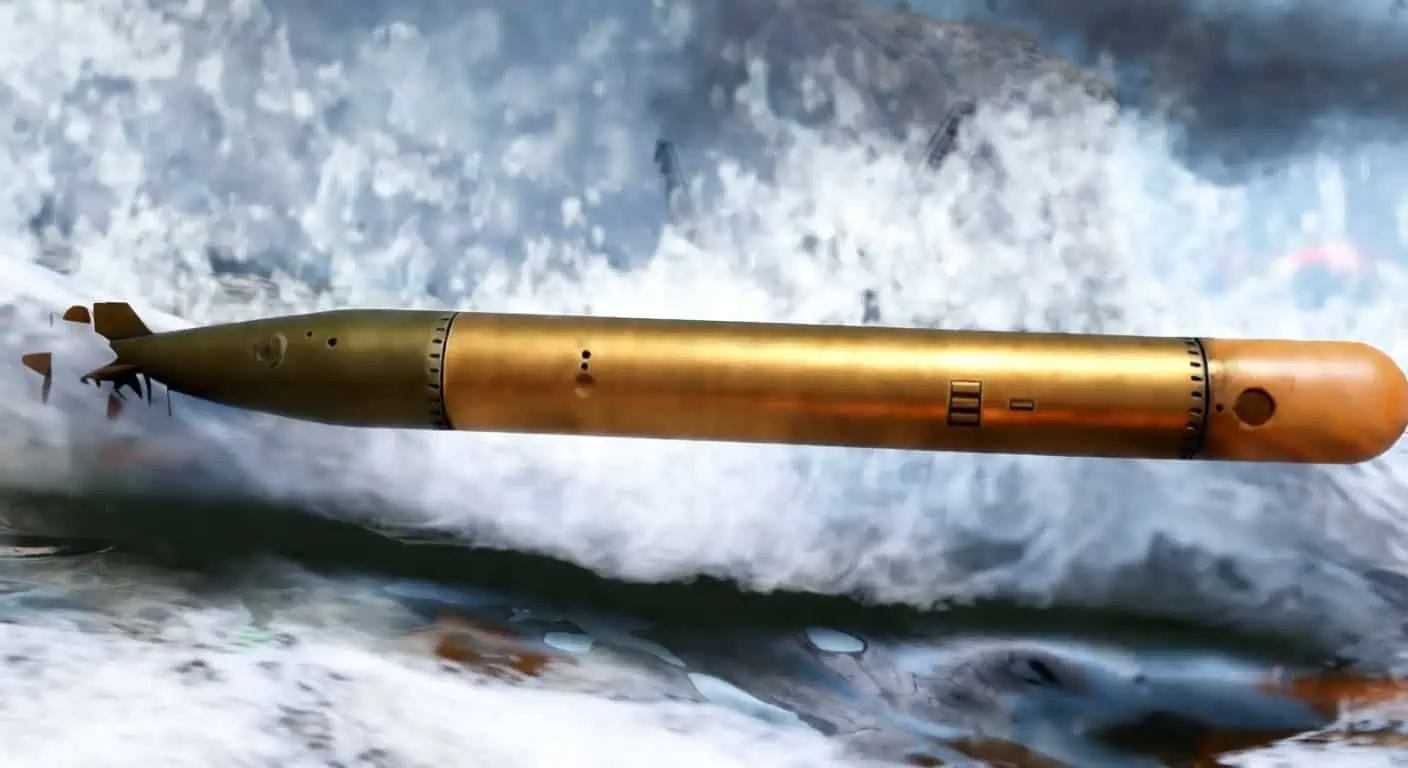
You need to know your tools. Speed determines your lead, range dictates your positioning, and explosive mass tells you if you’re getting a “Target Destroyed” notification or just a “Flooding” prompt. These four stats should drive every move you make. The table below covers the heavy hitters. Note that some community-reported numbers might vary slightly from official stat cards – usually due to different modifications – but they’re accurate enough for the heat of battle.
| Name | Nation | Explosive Mass (kg) | Range (km) | Speed (km/h) | Notable Features |
|---|---|---|---|---|---|
| Type 93 Mod 1 (“Long Lance”) | Japan | 627 | 20 | ~92 | Oxygen-powered, insane range, visible wake |
| Type 93 Mod 3 (“Long Lance”) | Japan | 780 | 15 | 91 | Battleship killer, ~9,908 kg TNT equivalent |
| USN Mk 13 | USA | 1,005 | Varies | Moderate | Reliable; deletes heavy cruisers |
| USN Mk 15 | USA | 224 (claimed) | 5.5 – 9.2 | 62 – 83 | Slower at long range; stats are debated |
| British Mk IX | Britain | 340 | 9.6 | 67 | Solid mid-range workhorse |
| British Mk XII | Britain | 702 | Varies | Moderate | Wrecks destroyers and heavy cruisers |
| British Mark XV | Britain | Varies | Varies | Moderate | Standard bluewater loadout |
| German G7a | Germany | 358 | 6 | 81 | Great short-range punch |
| Soviet 53-65 | USSR | High | Long | Fast | One of the fastest in the game |
| Soviet 53-38 / 53-39 | USSR | Varies | Varies | Moderate | Standard Soviet bluewater options |
| Soviet 45-36NU | USSR | Moderate | Moderate | Moderate | Older tech, smaller warhead |
| Italian F200/450 | Italy | 200 | Varies | Moderate | Light warhead, very situational |
| French torpedoes | France | Larger (claimed) | 9 | Slower | Good range, but they take their time |
| PT-15 torpedo | USA (coastal) | 300 | 10 | ~121 (75 mph) | Fast for coastal, but lacks “oomph” |
| V-990 torpedo | Germany | Decent | Moderate | Very fast | Possibly the fastest in-game; great for challenges |
| Type 91 Mod 2 | Japan (aerial) | 835 | Aerial | Moderate | One-shots destroyers and cruisers |
| Type 91 Mod 3 | Japan (aerial) | 849 | Aerial | Moderate | Heavier version of the Mod 2 |
| Mark 12 (aerial) | USA (aerial) | 1,593 | Aerial | Moderate | Deletes aircraft carriers |
How These Stats Actually Play Out
Explosive mass is simple: bigger is better. Anything over 700 kg is a nightmare for destroyers. The Type 93 Mod 3 is the king here – its 780 kg of Type 97 explosive hits like nearly 10,000 kg of TNT. That’s why it doesn’t just cause flooding; it usually triggers a catastrophic overpressure kill.
Speed is your best friend against moving targets. A 91 km/h torpedo needs way less lead than a 62 km/h crawler. If you’re hunting a destroyer doing 40 knots at 2 km, a slow torpedo gives them way too much time to dodge.
Range dictates your safety. Long-range gear like the Type 93 Mod 1 (20 km) lets you snipe from outside the enemy’s AA umbrella. Short-range stuff like the G7a (6 km) forces you to get aggressive, which usually means taking fire.
Depth settings are the secret sauce. 1 meter is perfect for destroyers and cruisers – it hits the hull near the waterline for maximum flooding. Against battleships, 4 meters is the play. It passes under smaller ships, hits the battleship’s keel, and is much harder for the enemy to spot because it’s running beneath the surface chop.
Torpedo Mechanics and Controls
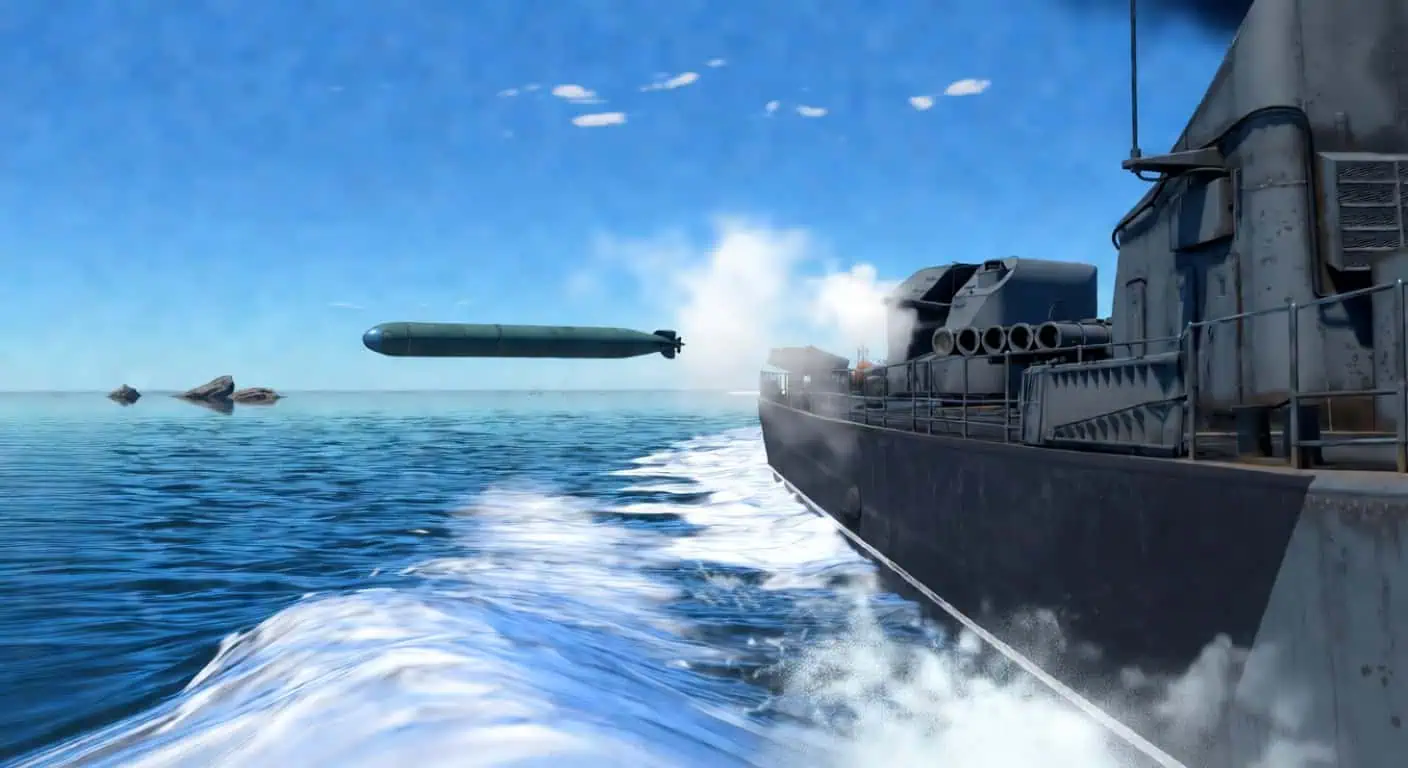
Ship-Launched Torpedoes
Before you fire, know your tube layout. You aim by turning the whole ship until the tubes line up, then hit your launch key. Don’t forget the arming distance – torpedoes need at least 50 meters of travel before they’ll actually explode. Fire too close and you’re just throwing expensive metal at them.
Torpedoes require a minimum arming distance (~50 meters). Firing too close will not detonate on impact.
The independent tube reload is a game-changer. Each tube now reloads on its own timer. If you have tubes on both sides, you don’t have to wait for the port side to finish before the starboard side starts cycling. Fire one side, swing around, and the other side is ready to go.
Modifications matter. Turning on “long-range mode” usually trades speed for distance. On the Type 93, this gives you 20 km of range but slows you down. If you’re playing below BR 5.0, you’re usually better off disabling this mod – speed is king in close quarters.
Depth Settings
Take three seconds to set this before the match starts.
- 1 meter: Destroyers and cruisers (shallow run, hits the waterline).
- 4 meters: Battleships (hits the keel, stays hidden).
Tracking and Notifications
War Thunder gives you some solid QoL features now. You can see bubble trails in the water, and active torpedoes show up on your minimap. Hit notifications also pop up in the center of your screen now, even if you aren’t looking at the target. This is huge when you fire a spread into a choke point and turn away – you’ll know the second you connect.
Aerial Torpedo Mechanics
Planes are trickier. If you drop too fast or too high, the torpedo “drowns” (it breaks on impact). Always check your plane’s stat card for the specific limits. A good rule of thumb for most bombers:
- Speed: ~205 km/h (128 mph)
- Altitude: 100-150 meters
- Distance: 500-1000 meters from the target
Once you drop, don’t hang around. Pull up and use your dive speed to get out of the AA fire immediately.
Choosing and Approaching Targets
What to Target
Torpedoes are for ships, period. Don’t waste them on coastal boats (PT boats, etc.) unless you have no other choice. They’re too small, too fast, and can often outrun the arming distance. Stick to the big stuff.
- Battleships and Heavy Cruisers: They’re huge, slow, and easy to hit. Older dreadnoughts often have terrible AA, making them sitting ducks for planes.
- Light Cruisers: Still big enough to hit, but they pack more AA heat.
- Destroyers: Fast and agile. Only target these if you have a clear shot or a wide spread.
Isolation is key. A lone destroyer is actually more dangerous to a pilot than a battleship in a fleet. The destroyer can dodge; the battleship is a massive target, even if it has friends nearby.
Also, watch out for torpedo protection belts. If a ship has them, don’t aim for center mass. Aim for the bow or stern – the ends of the ship are much more vulnerable.
Approach Routes
Use the map. Choke points and capture zones are your best friends. On maps like North Port, ships have to pass through certain channels. Don’t aim at a ship; aim at the channel.
For planes, use terrain. Fly in high (2-3 km) to stay above the autocannons, then dive to your release height (100-150m) when you’re about 2 km out. Use islands to mask your approach. Remember: you have to fly straight and level to drop, so minimize that “predictable” time as much as possible.
Torpedo Attack Tactics and Best Practices
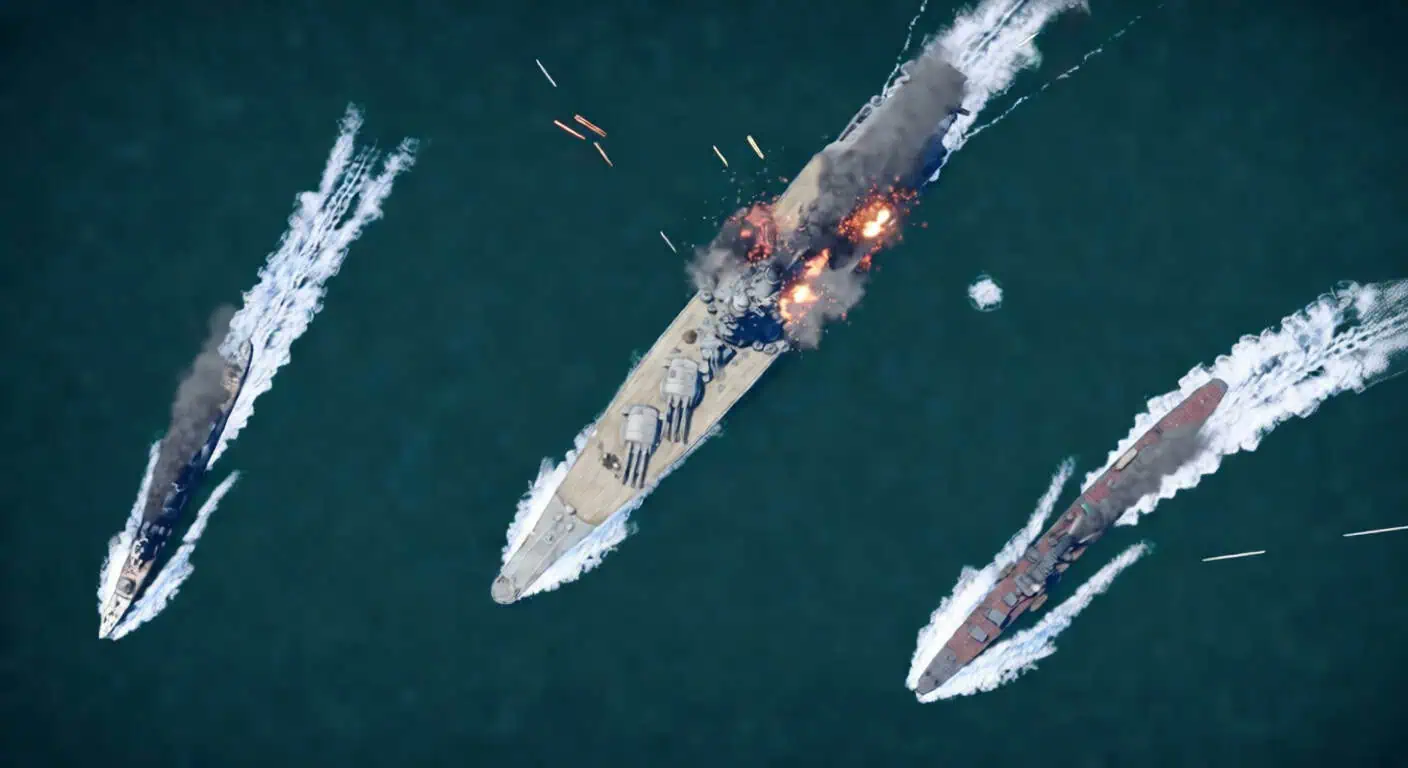
Ship-Launched Attack: Step by Step
- Check your mods: Below BR 5.0? Go for speed over range.
- Close in: Try to get within 1 km. Any further and the enemy has too much time to react to the wake.
- Fire a spread: Don’t just spam one spot. Turn slightly between launches to “rake” the water. A spread of four torpedoes is way harder to dodge than one.
- Target lanes: Fire at spawn exits and cap zones. A Long Lance can travel across the map – use that to contaminate the water where the enemy wants to go.
- Arming: Make sure you aren’t too close (50m minimum).
Aerial Attack: Step by Step
- Stay high: Transit at 2-3 km.
- Commit: Pick a target and stick to it. Changing your mind mid-dive usually ruins the run.
- The Dive: Drop to 100-150m when you’re 2 km away.
- Level out: This is vital. If your wings aren’t level, the torpedo will veer off course.
- Watch the gauges: Stay around 205 km/h.
- The Drop: Release at 500-1000m. If they’re moving, aim slightly ahead of the bow.
- GTFO: Pull up immediately after release.
Recommended Vehicles

Surface:
- IJN Akizuki: Great for grinding torpedo challenges.
- IJN Shimakaze (BR 5.0): A total monster. Long Lances at this tier are basically cheating.
- V-990 (Germany): Fast boat, fast torpedoes. Perfect for quick challenges.
- USN Destroyers: Great guns to keep you alive while you close the distance for a torpedo run.
Aircraft:
- Swordfish Mk I: A legend for a reason. It’s slow, but it can drop torpedoes in tight spots where faster planes fail.
- Beaufighter: Tougher than a standard bomber, which helps when flying into AA.
- BTD-1: A very versatile US hybrid that handles torpedo runs well.
Advanced Tips

- Spawn Pressure: If you’re in a Japanese ship, use that 20 km range. Fire into the enemy’s path right at the start of the match. You’d be surprised how often you get a “free” kill three minutes later.
- Wake Stealth: Electric torpedoes have almost no wake. If you use them at 4-meter depth, they’re practically invisible.
- Self-Destruction: Be careful – if your torpedo tubes get hit while they’re loaded, you will explode. It’s a massive weak point, especially on Japanese cruisers.
- Damage Control: Sequence your repairs. Fix flooding first, then fires, then engines. Doing them one by one is often faster than trying to fix everything at once.
One-Hit-Kill Guide
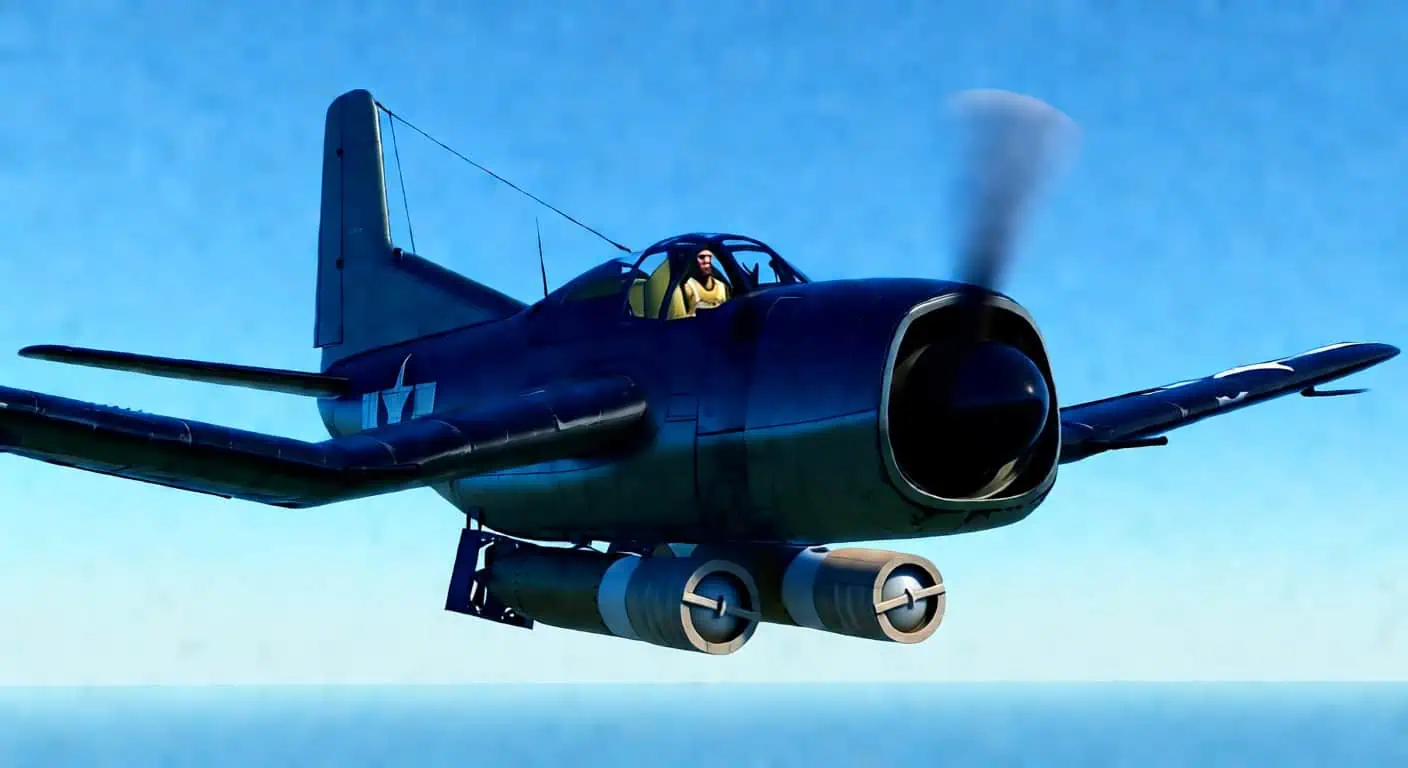
Where you hit matters, but these are the general rules for a one-shot:
| Torpedo | One-Hit-Kill Targets |
|---|---|
| Mk. XII, Type 91, Mark 13 (700kg+) | Cargo ships, Destroyers, Heavy Cruisers |
| Mark 12 (1,593 kg) | Aircraft Carriers |
Pro tip: If you’re hitting a heavy cruiser, avoid the middle. Hit the bow or stern to bypass the armor belt.
